Expanded Foot
Box
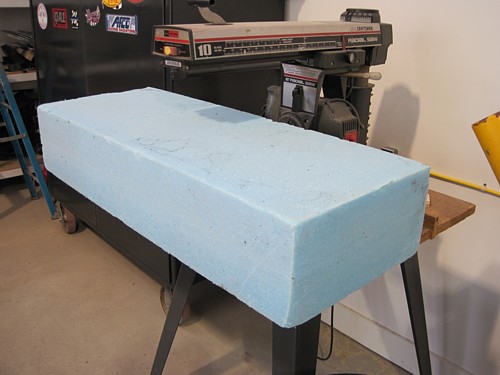
To expand the box, I
needed to build a form. I choose to use a block of blue styrene that I
buy from an aircraft parts supplier. I like it because I can glue it
together with epoxy very easily, it sands very easily, and it is fairly
rigid so it will hold shapes very well. I use a wood hand saw to cut
the block into 1" slabs that I then glue together to form the mold.
You'll see what I mean below.

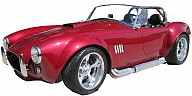
Here's an in-between
picture of the process of building the form. I use 60 second epoxy to
quickly join parts together. The idea is to build the outside shape
that I want. I don't care about the inside shape because after I glass
the outside, I will remove the blue foam from the inside.
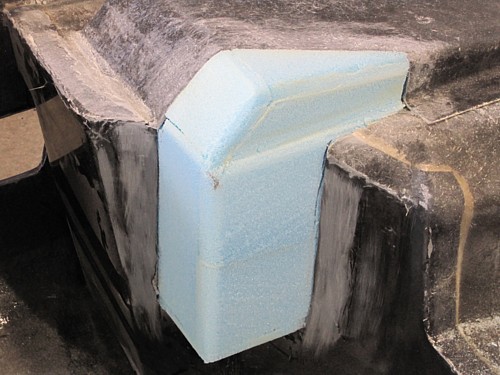
Here is what my
finished foot box looks like before I applied the fiberglass cloth.
This view is with the body upside down, so you are looking at the bottom of
the box. It is indented so that it will fit in the frame rails.
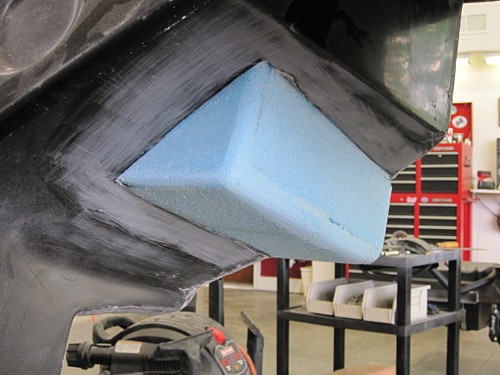
Here's a picture of
the finished box from the top. The body is resting on its right side.

I then applied two
plies of 9 ounce fiberglass bi-directional cloth to the mold. I
actually applied the glass in 4 pieces and overlapped them about an inch.
I was also careful to overlap the body panels by about two inches.
This will all be finished smooth with body filler, sanded, and painted with
the engine compartment during the finishing stage.

This picture is
looking inside the cockpit with the body laying on its right side.
Once the glass dried, I removed the blue foam and sanded the inside with 80
grit sandpaper. Although I don't have a picture of it, I then applied
two layers of fiberglass mat that I got at the auto parts store to all the
inside parts of the new box, and then I covered that with 1 layer of
fiberglass cloth, again overlapping the body panels about 2 inches.
For now, that finishes up the box. As I install the gas pedal, I may
need to reinforce the mounting points but I'll do that later when I install
the pedals.
Side Vents
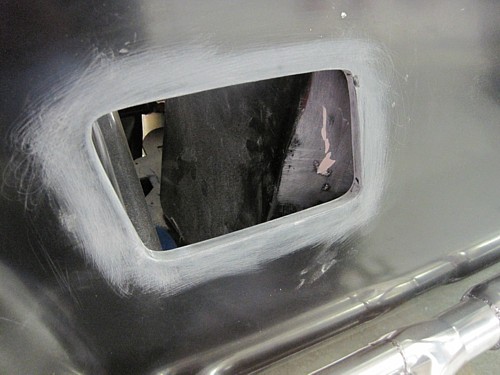
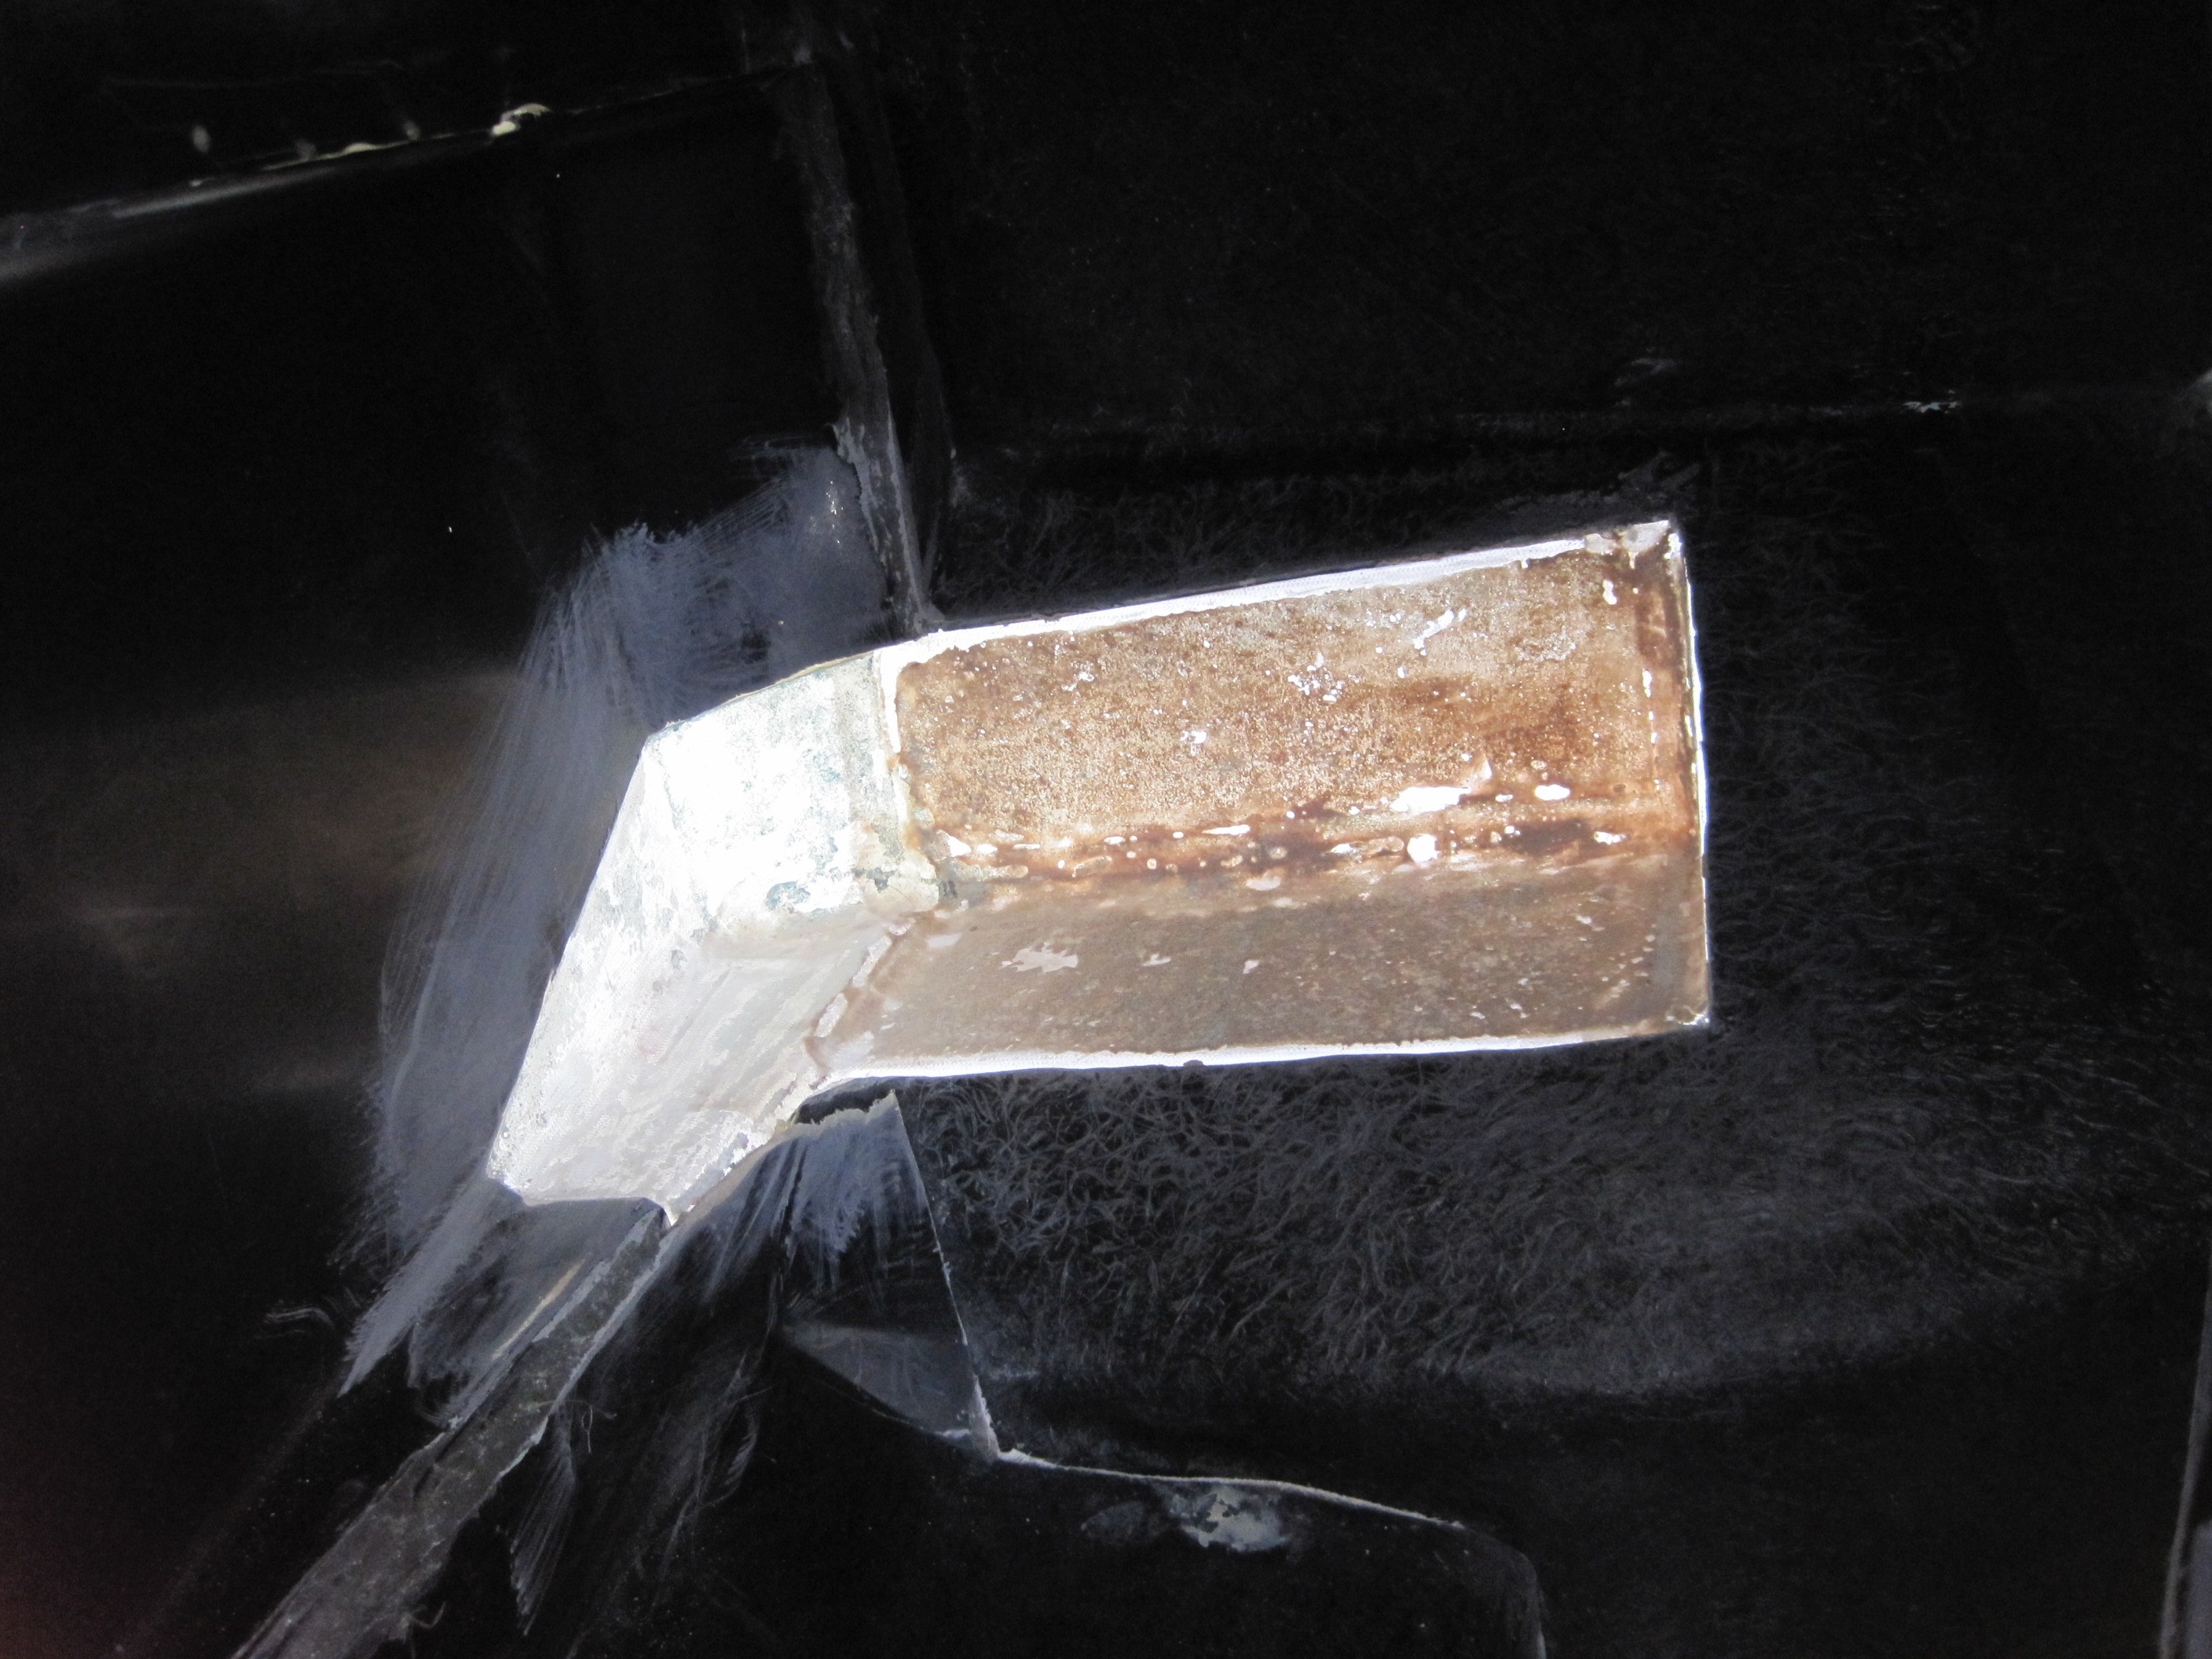
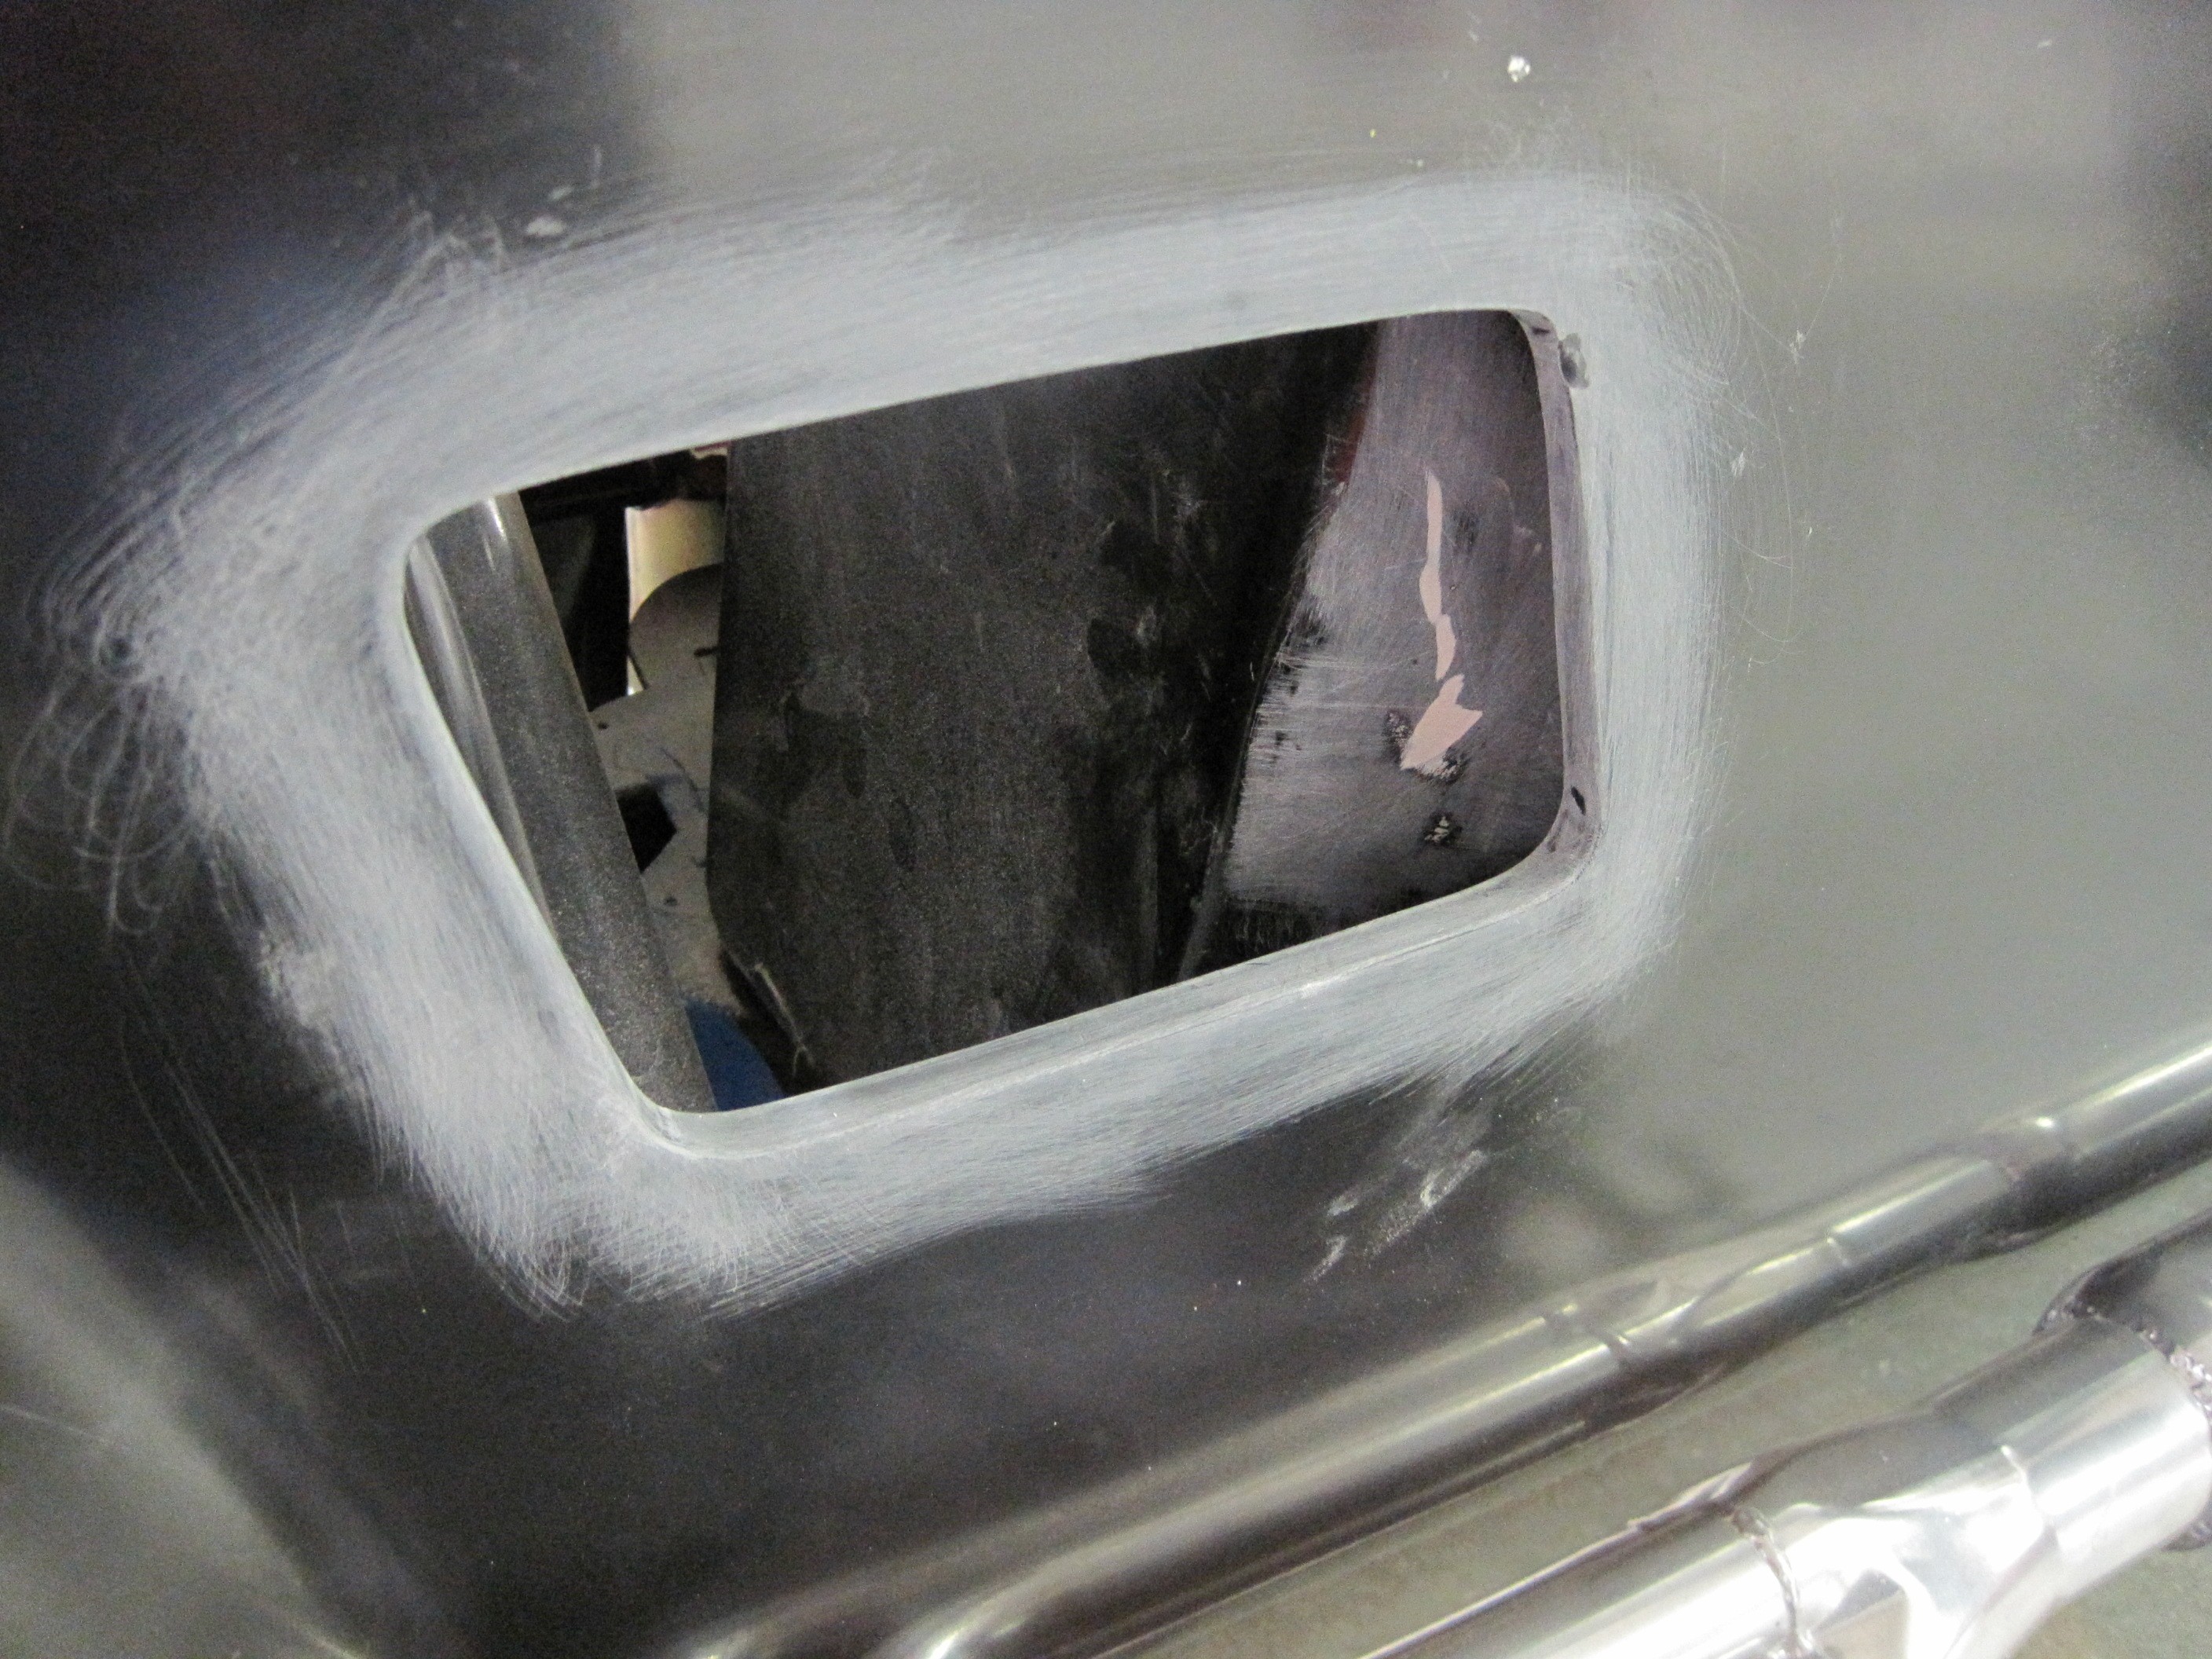
The first thing I did
was to trim the inside of the opening so that it is a consistent thickness
all the way around. I was a little limited on the right-hand side
because the initial trimmer got a little carried away when they removed the
body from the mold.
When I first fit the
vents, I had a hard time getting them to fit the way I wanted. I had
to bend them around a little so the angle of the vents aligned with the
angle of the opening in the body. Since the sides of the opening in
the body are not parallel, I had to get the best compromise I could.
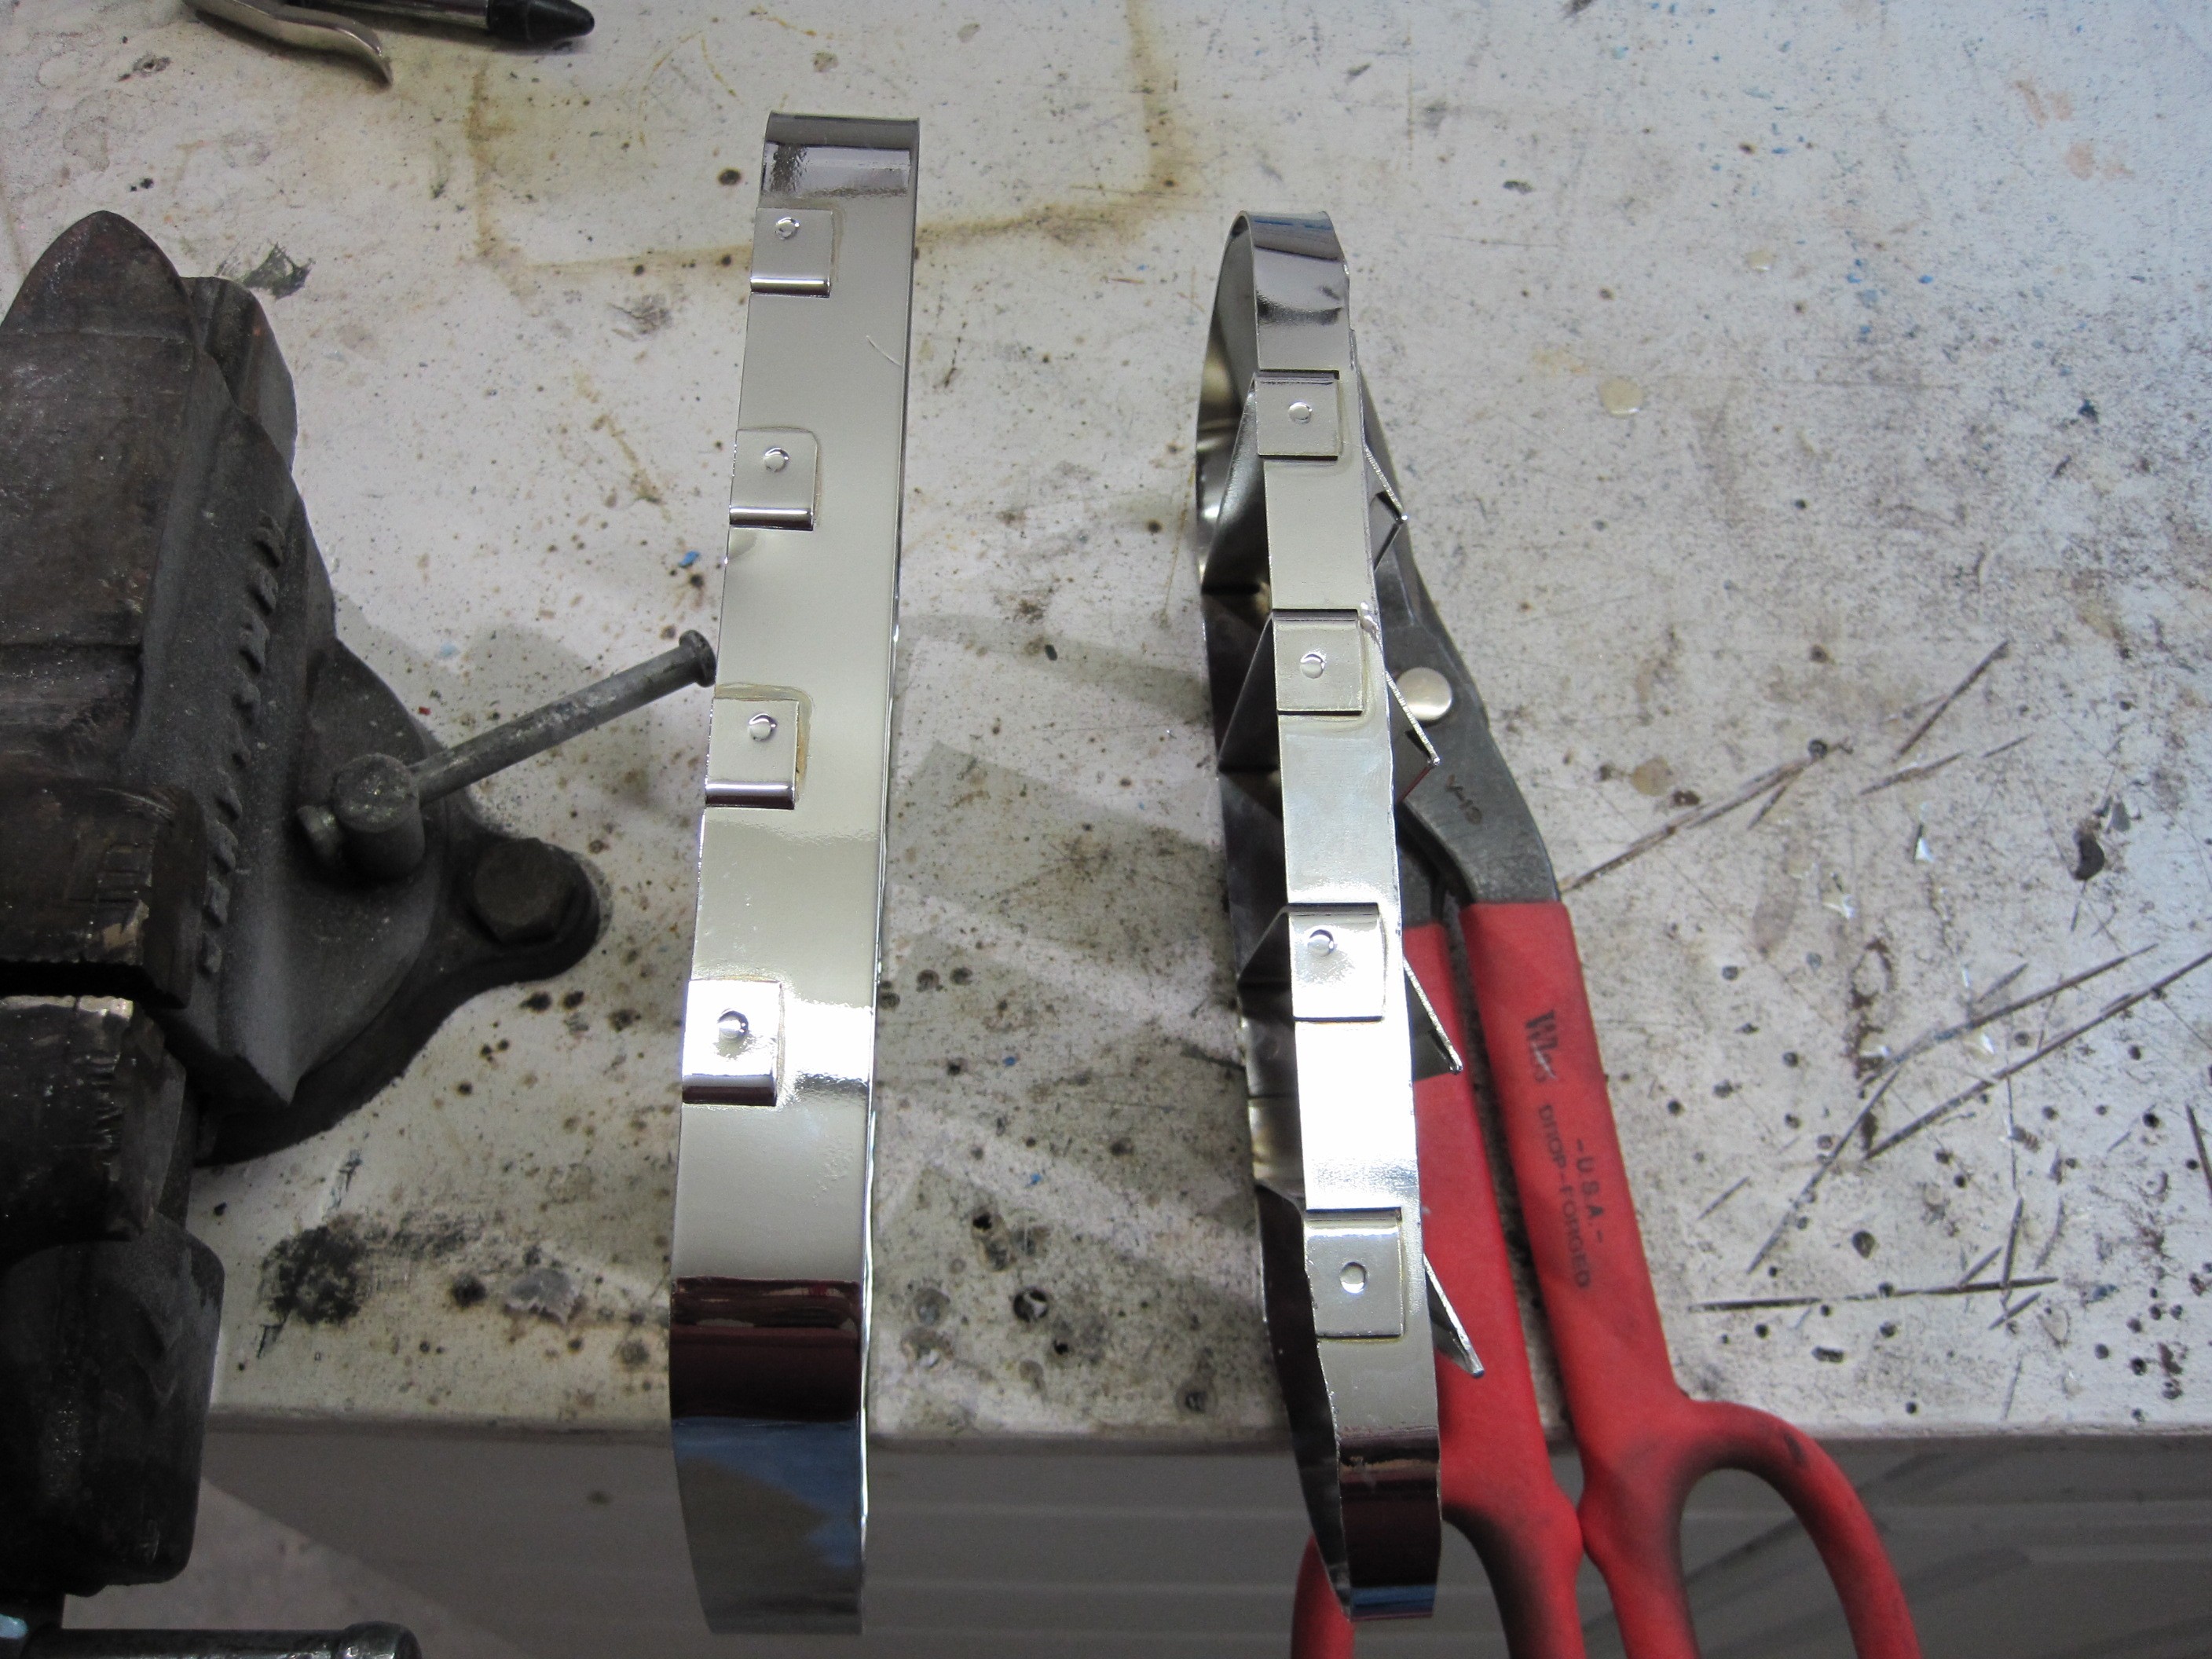
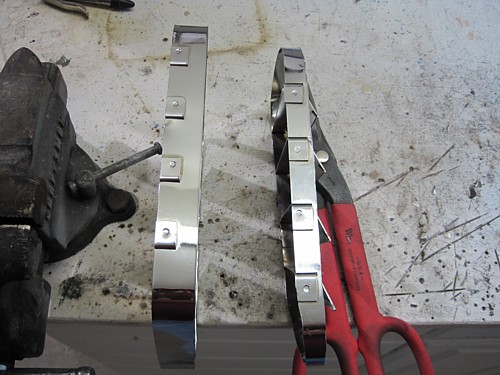
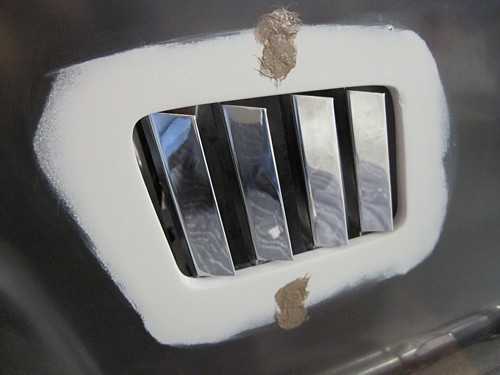
Also, after seeing Tony Jacobs' vents at the London Cobra Show, I decided to
mount mine like his. That is to say that the vent louvers stick
through the opening of the body and are flush with the outside of the body.
To do that, I had to trim away about half the thickness of the mounting
ring, as you can see in the picture.

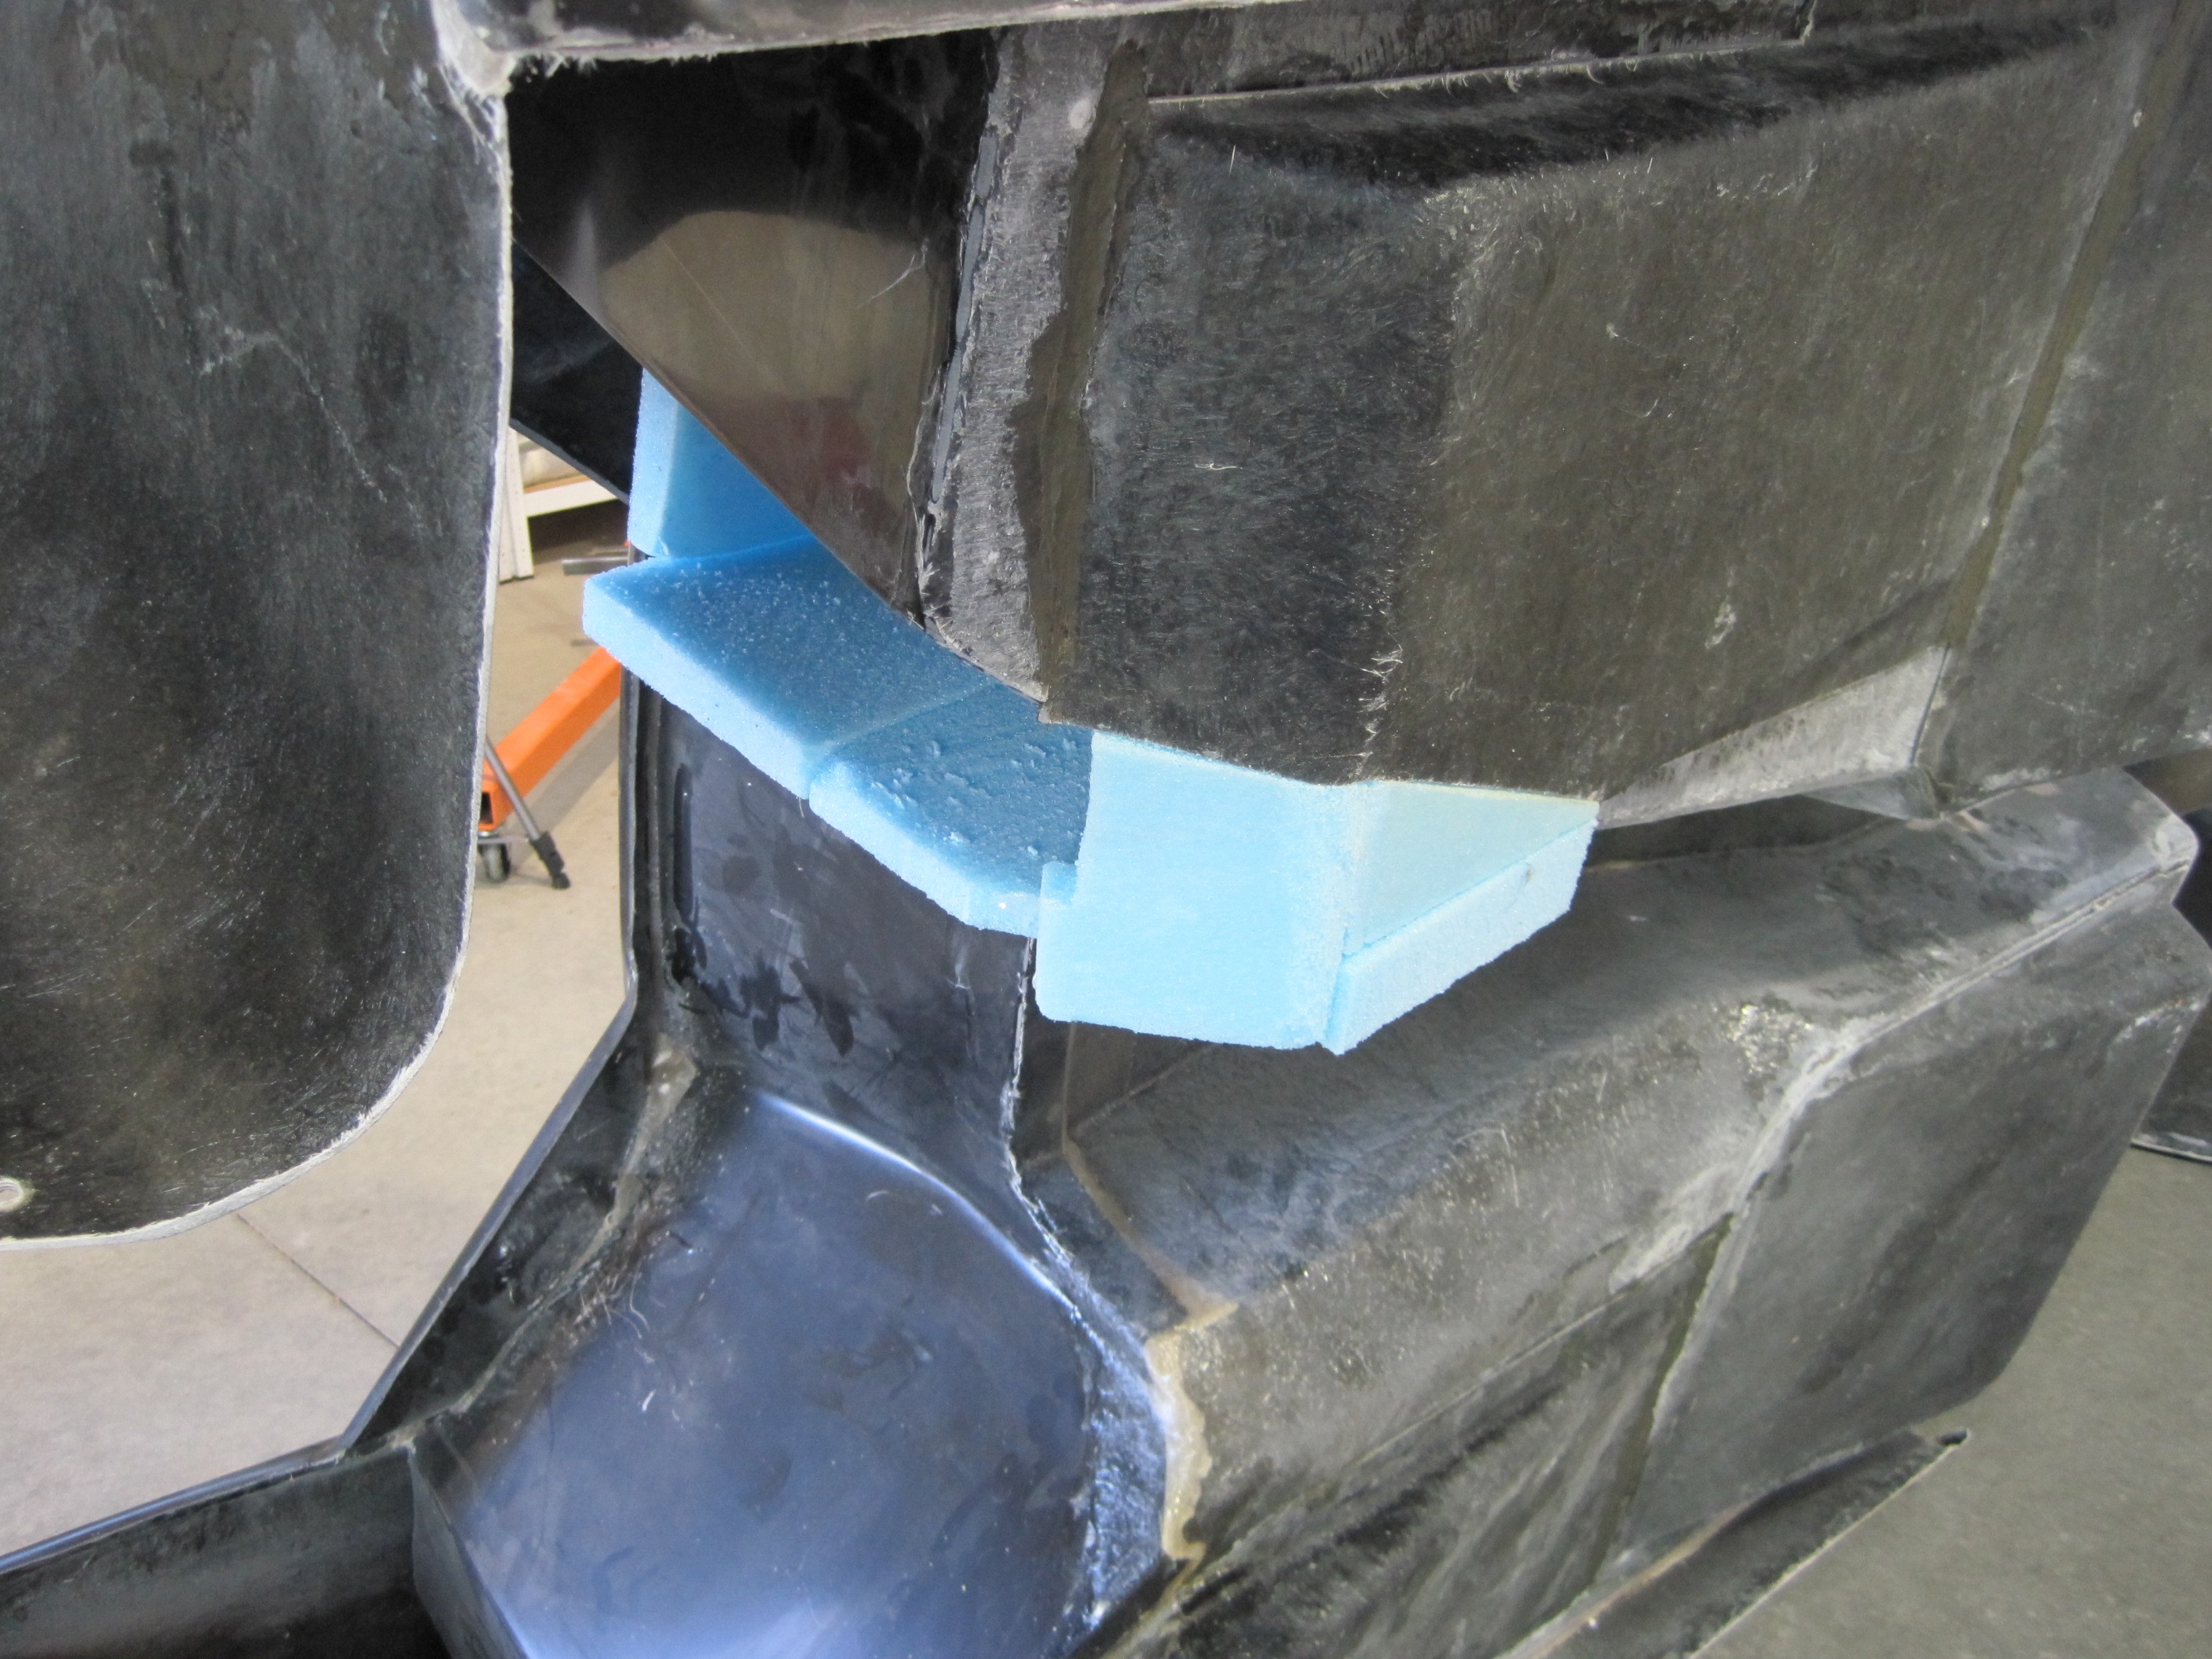
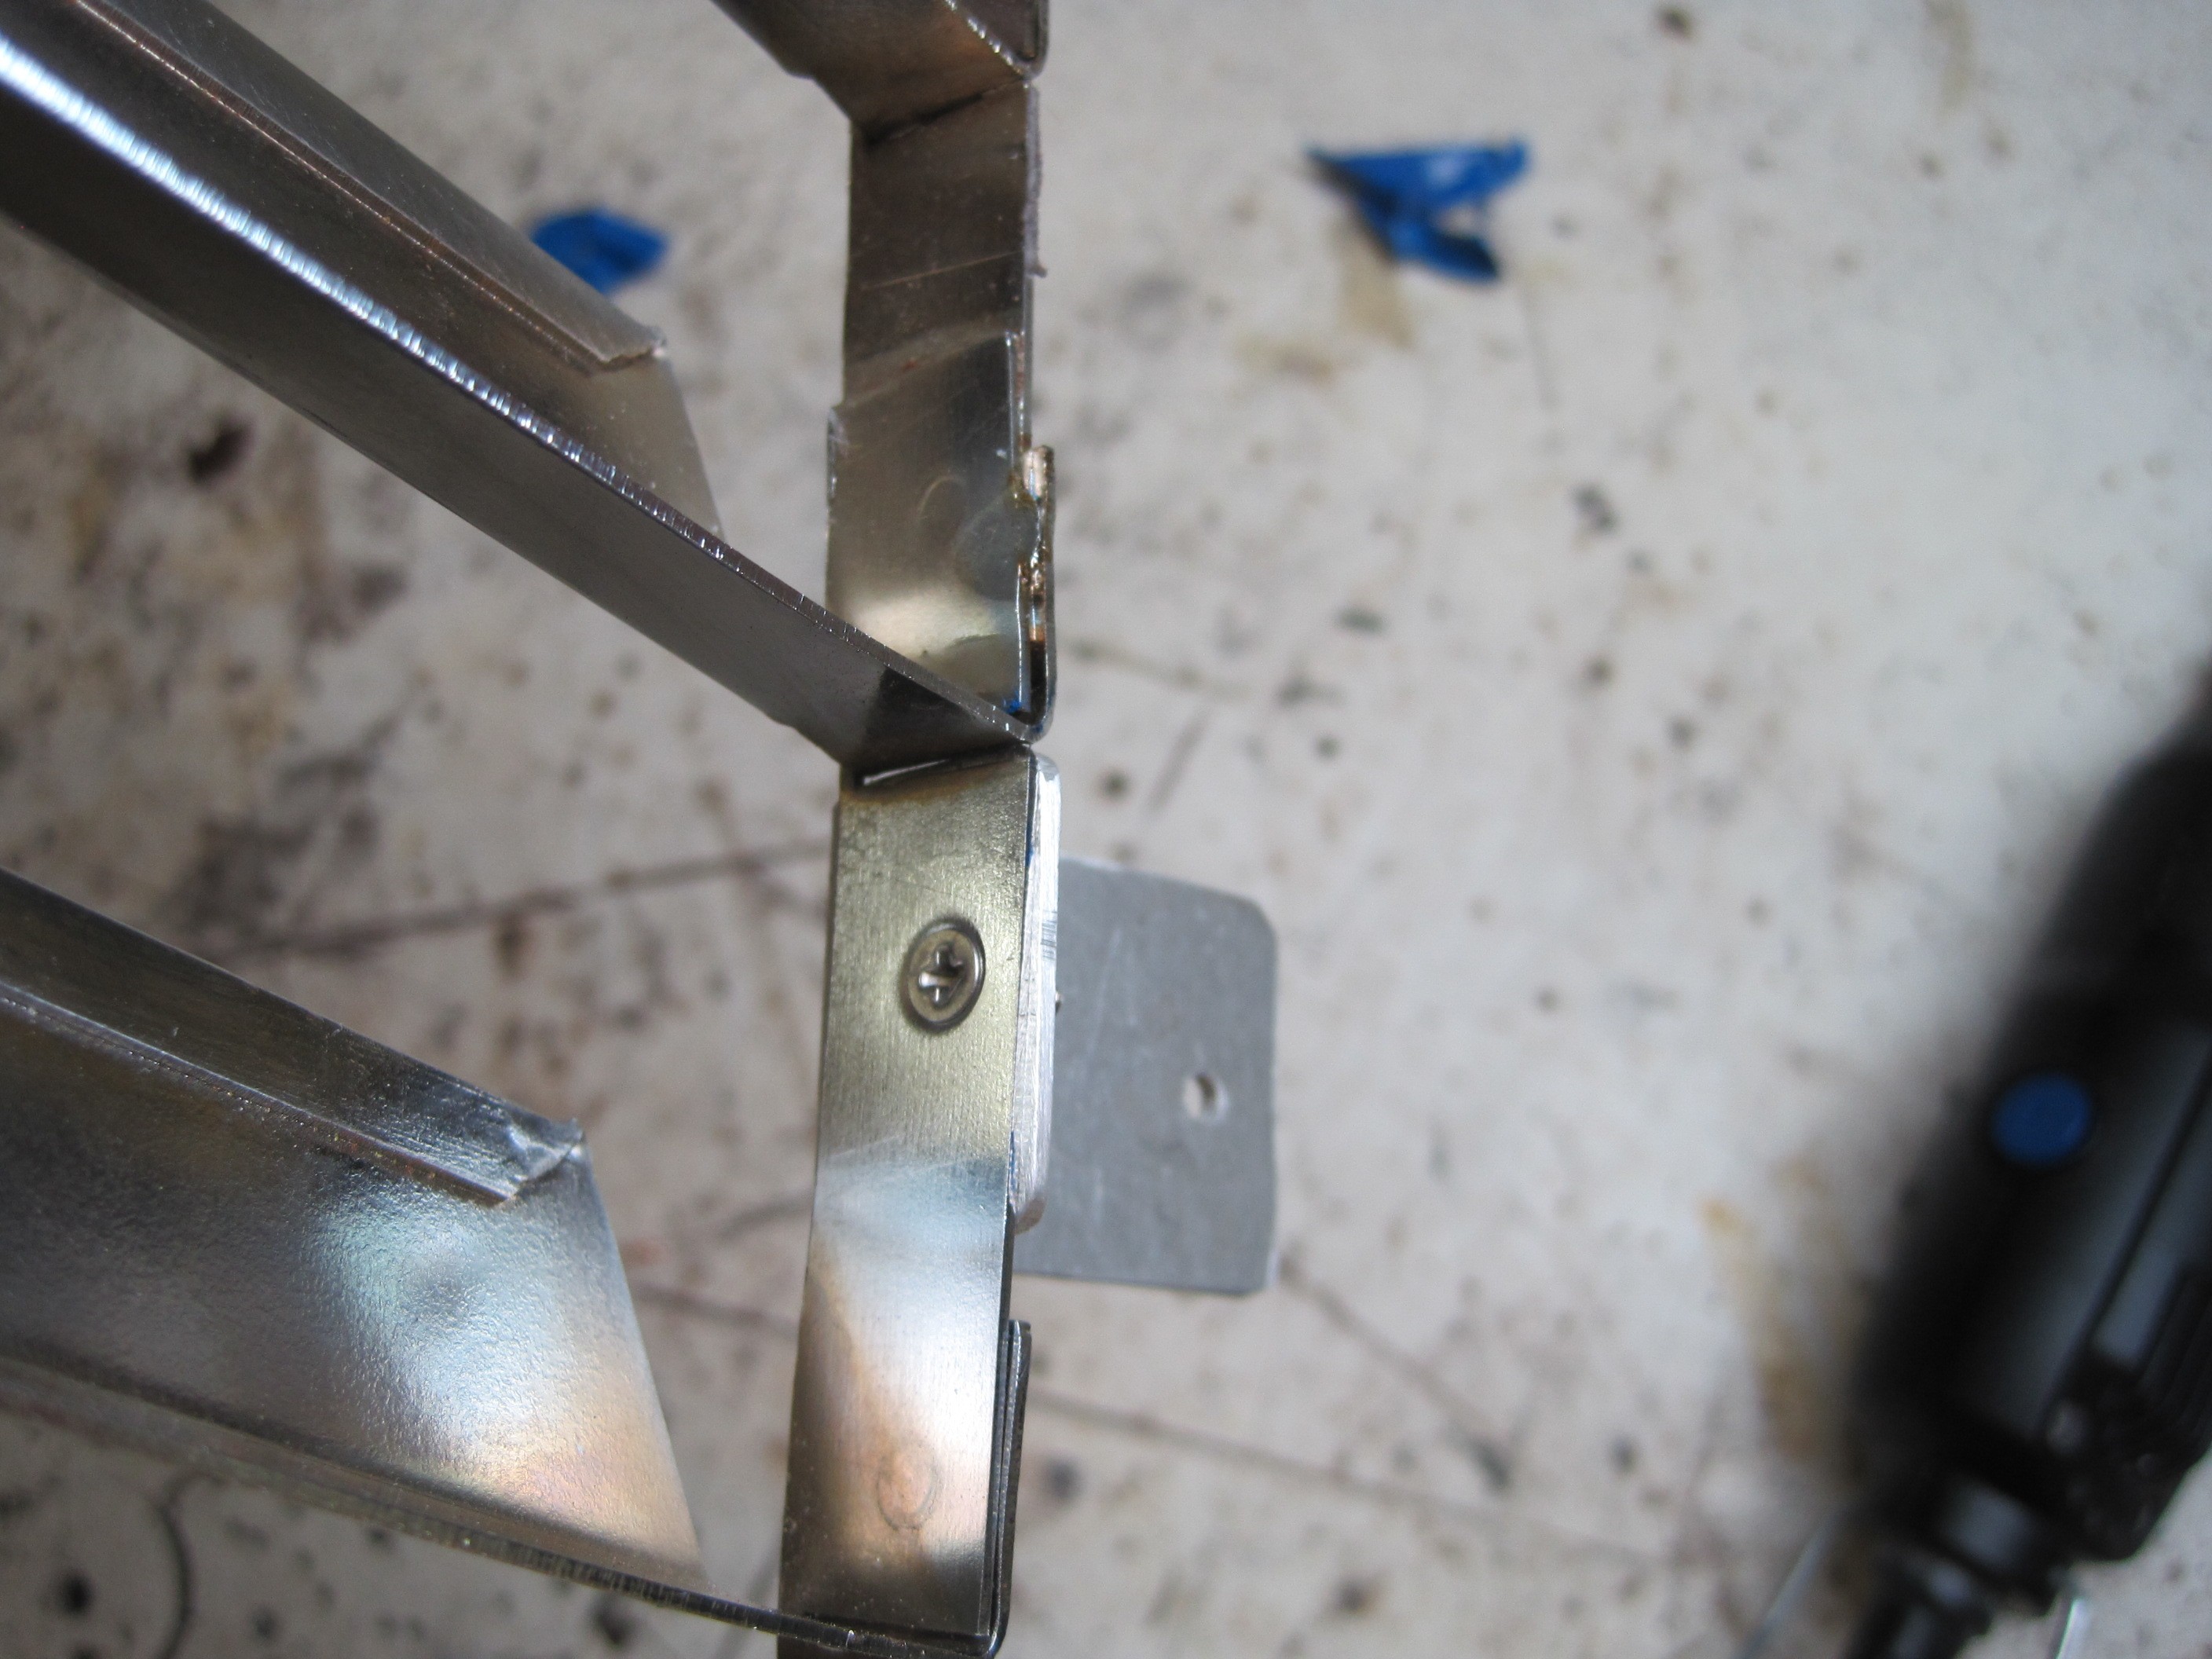
Next I came up with a
mounting system so the vents could be removed. I drilled and
countersunk a stainless screw into a L-bracket that I made out of aluminum.
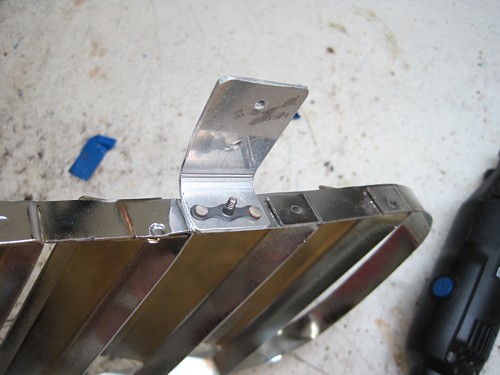
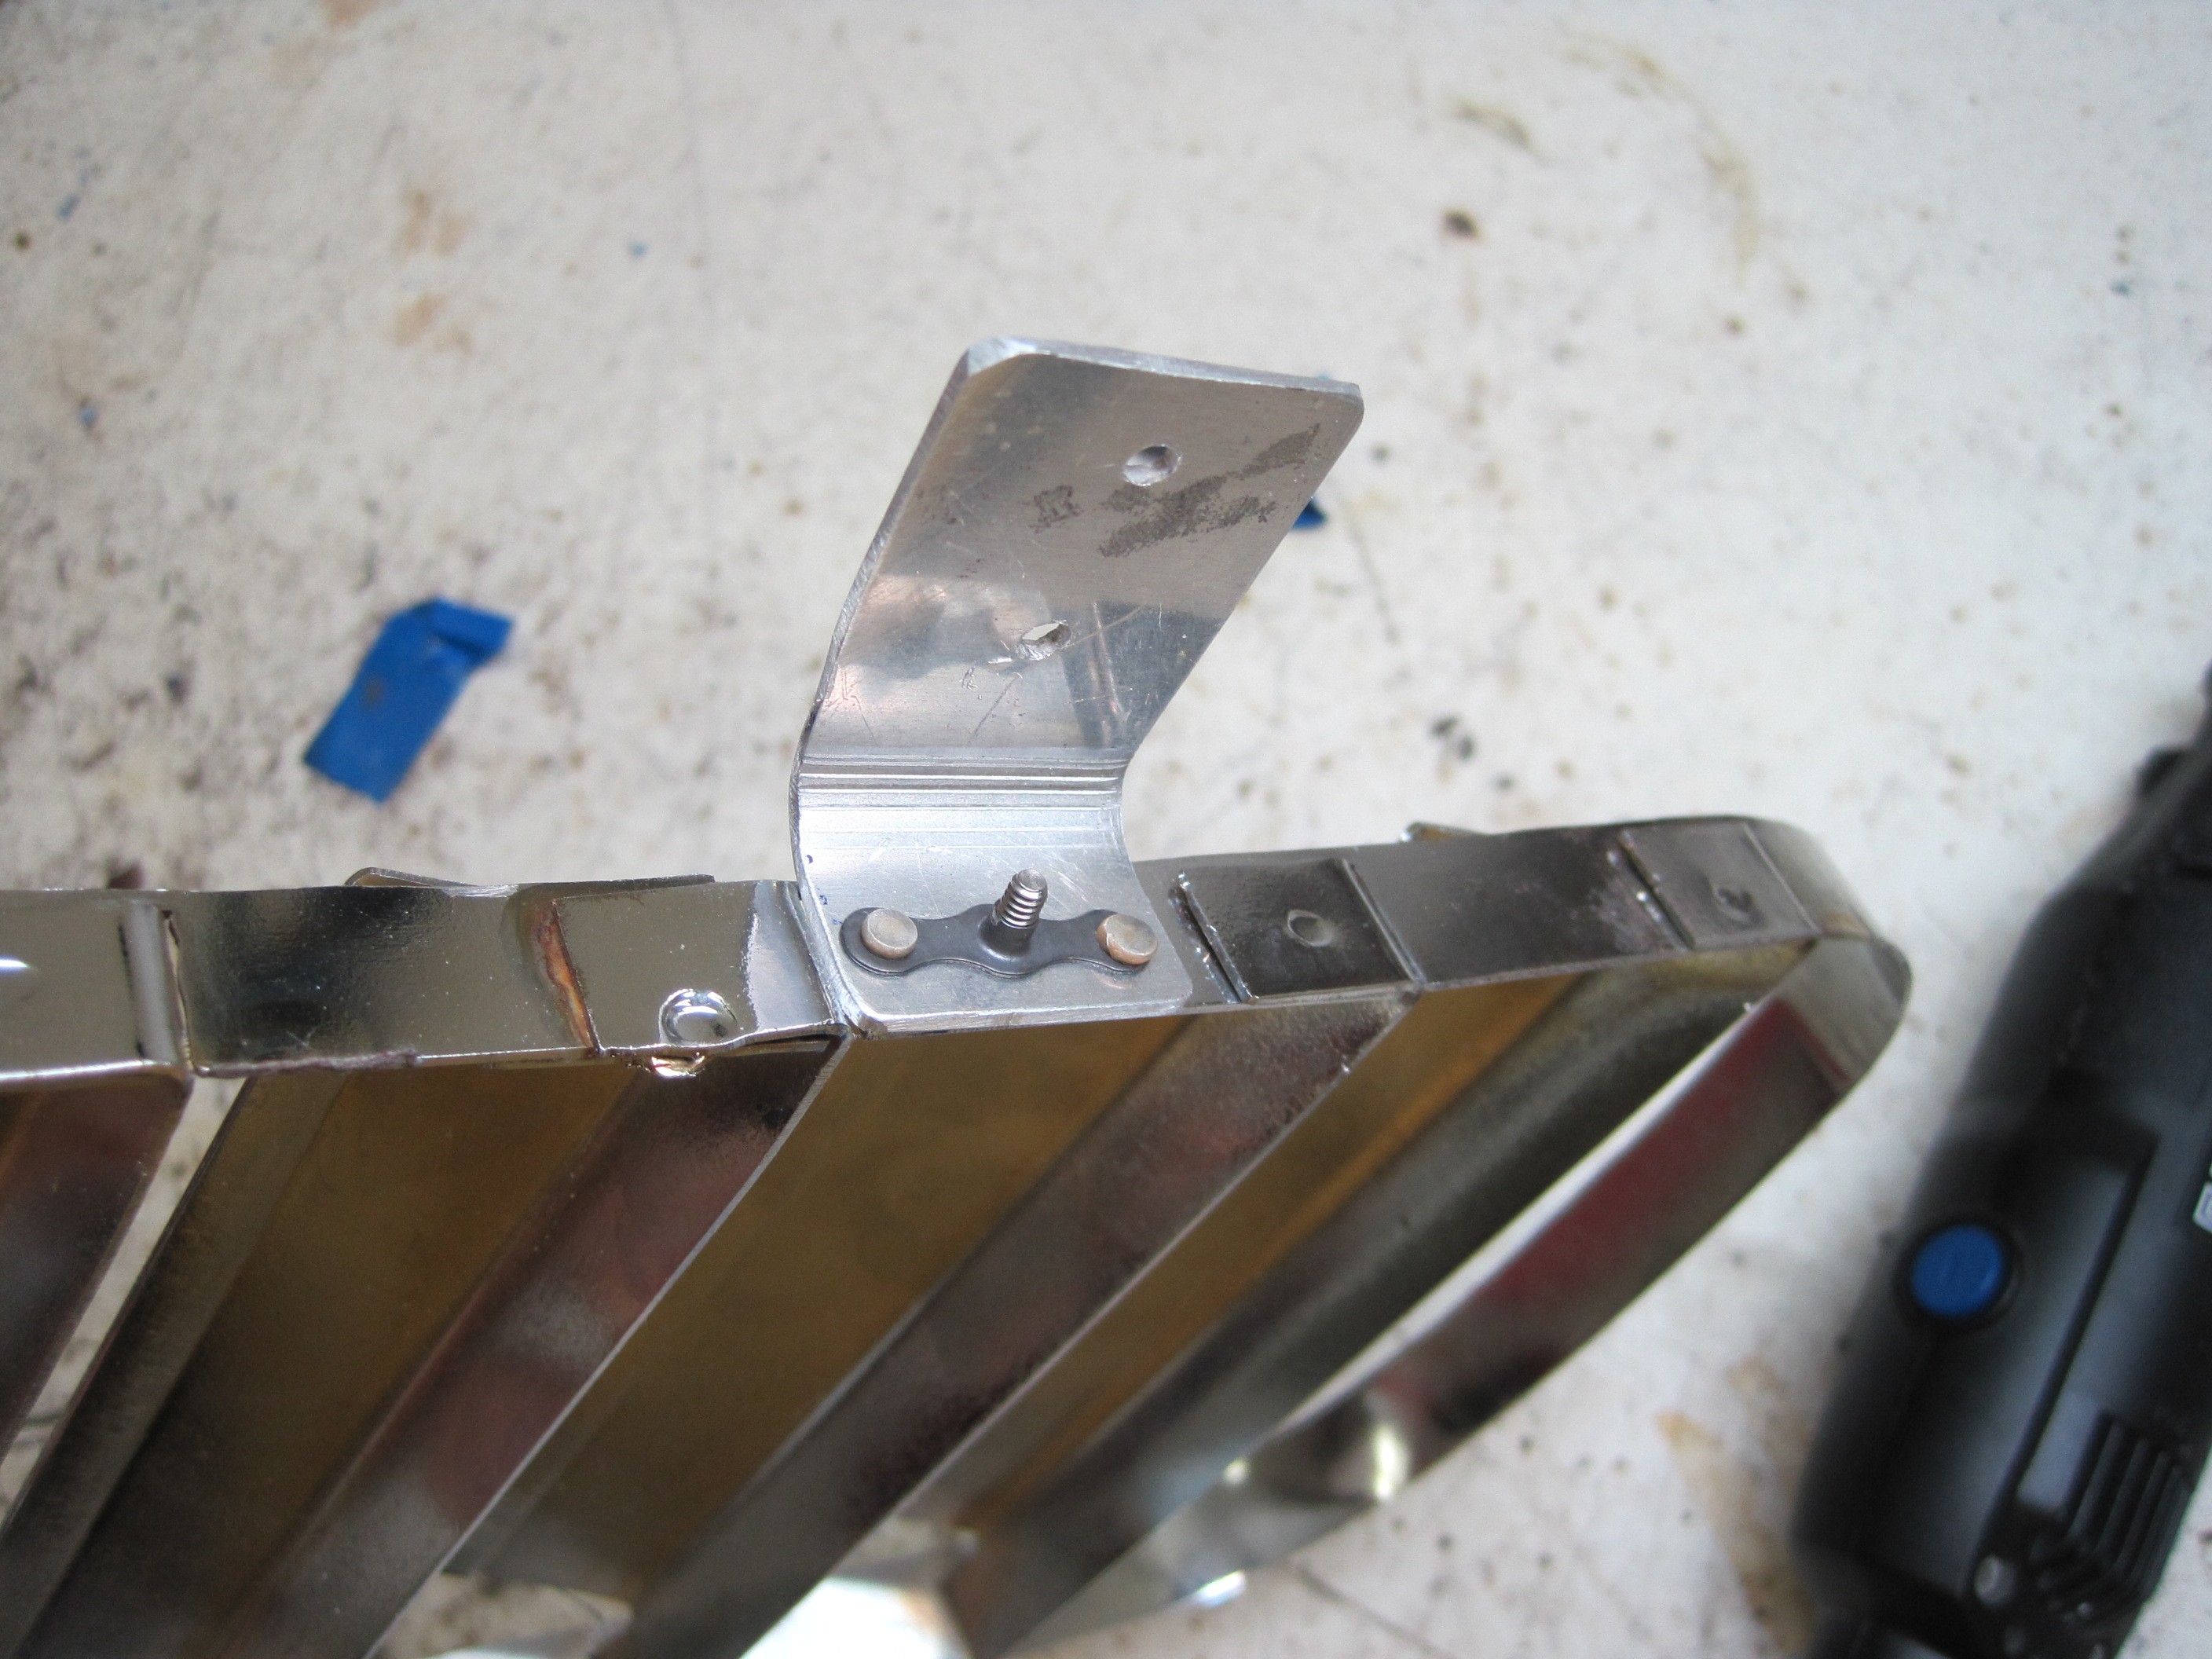
Here is the underside
of the bracket with a nutplate riveted on. I built a bracket for both
the top and bottom of the vent.
I used some steel pop
rivets to rivet the brackets to the body. I countersunk the body and
after the rivets were set, I covered them with glass flocking.
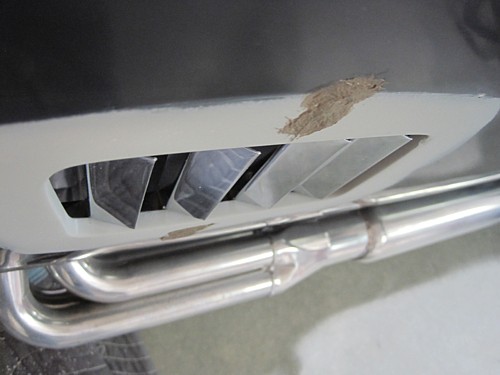
Here's a picture from
the top so you can see how the louvers stick through the opening. They
look real nice once the body is painted.
The last step in
completing the pre-body stage is to fit up the brake vents. That work
can be found on the next page.
|