Brake Lines
I spent a lot of time
studying the installation of the brake lines because the instructions are
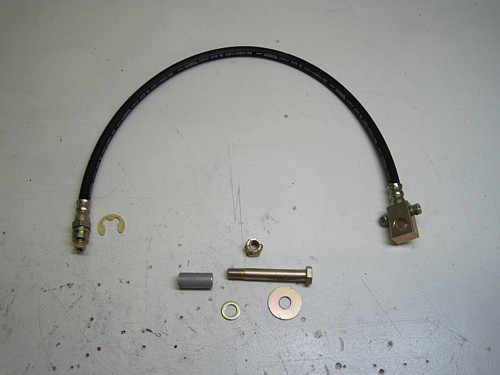
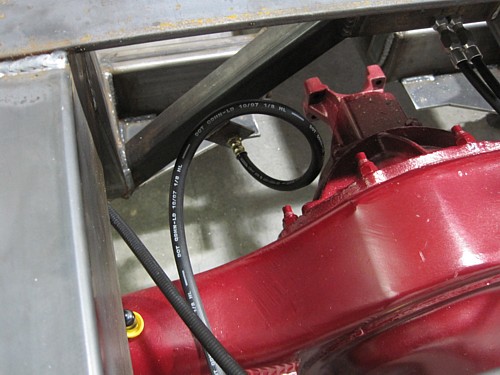
not that helpful. After looking through some pictures provided by Lakeway Cobra, I decided that the first thing to install is the rear hose
that connects the frame to a solid mounting point on the rear end for the
rear bake lines to branch. I had to supply the mounting hardware from
my bin of aircraft parts.
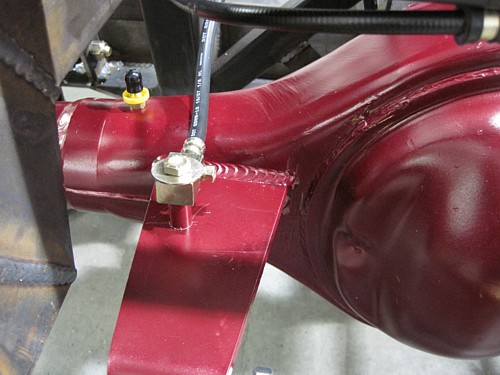
The bracket for the
pan hard bar is the preferred location and provides a solid mounting point
for the fitting. I drilled through the bracket and installed a nut and
washer on the bottom side.
The other end of the
hose connects up to the frame in the lower left mounting bracket as
pictures. The C-clip holds it in place.
At this point, I am
not running the brake line forward from this point until I fit the body.
I'm looking at options on where the line might go and I won't know what
options I have until I fit the body. I will likely finish up this when
I am disassembling the frame before it goes to powder coating.
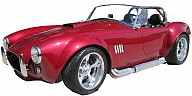
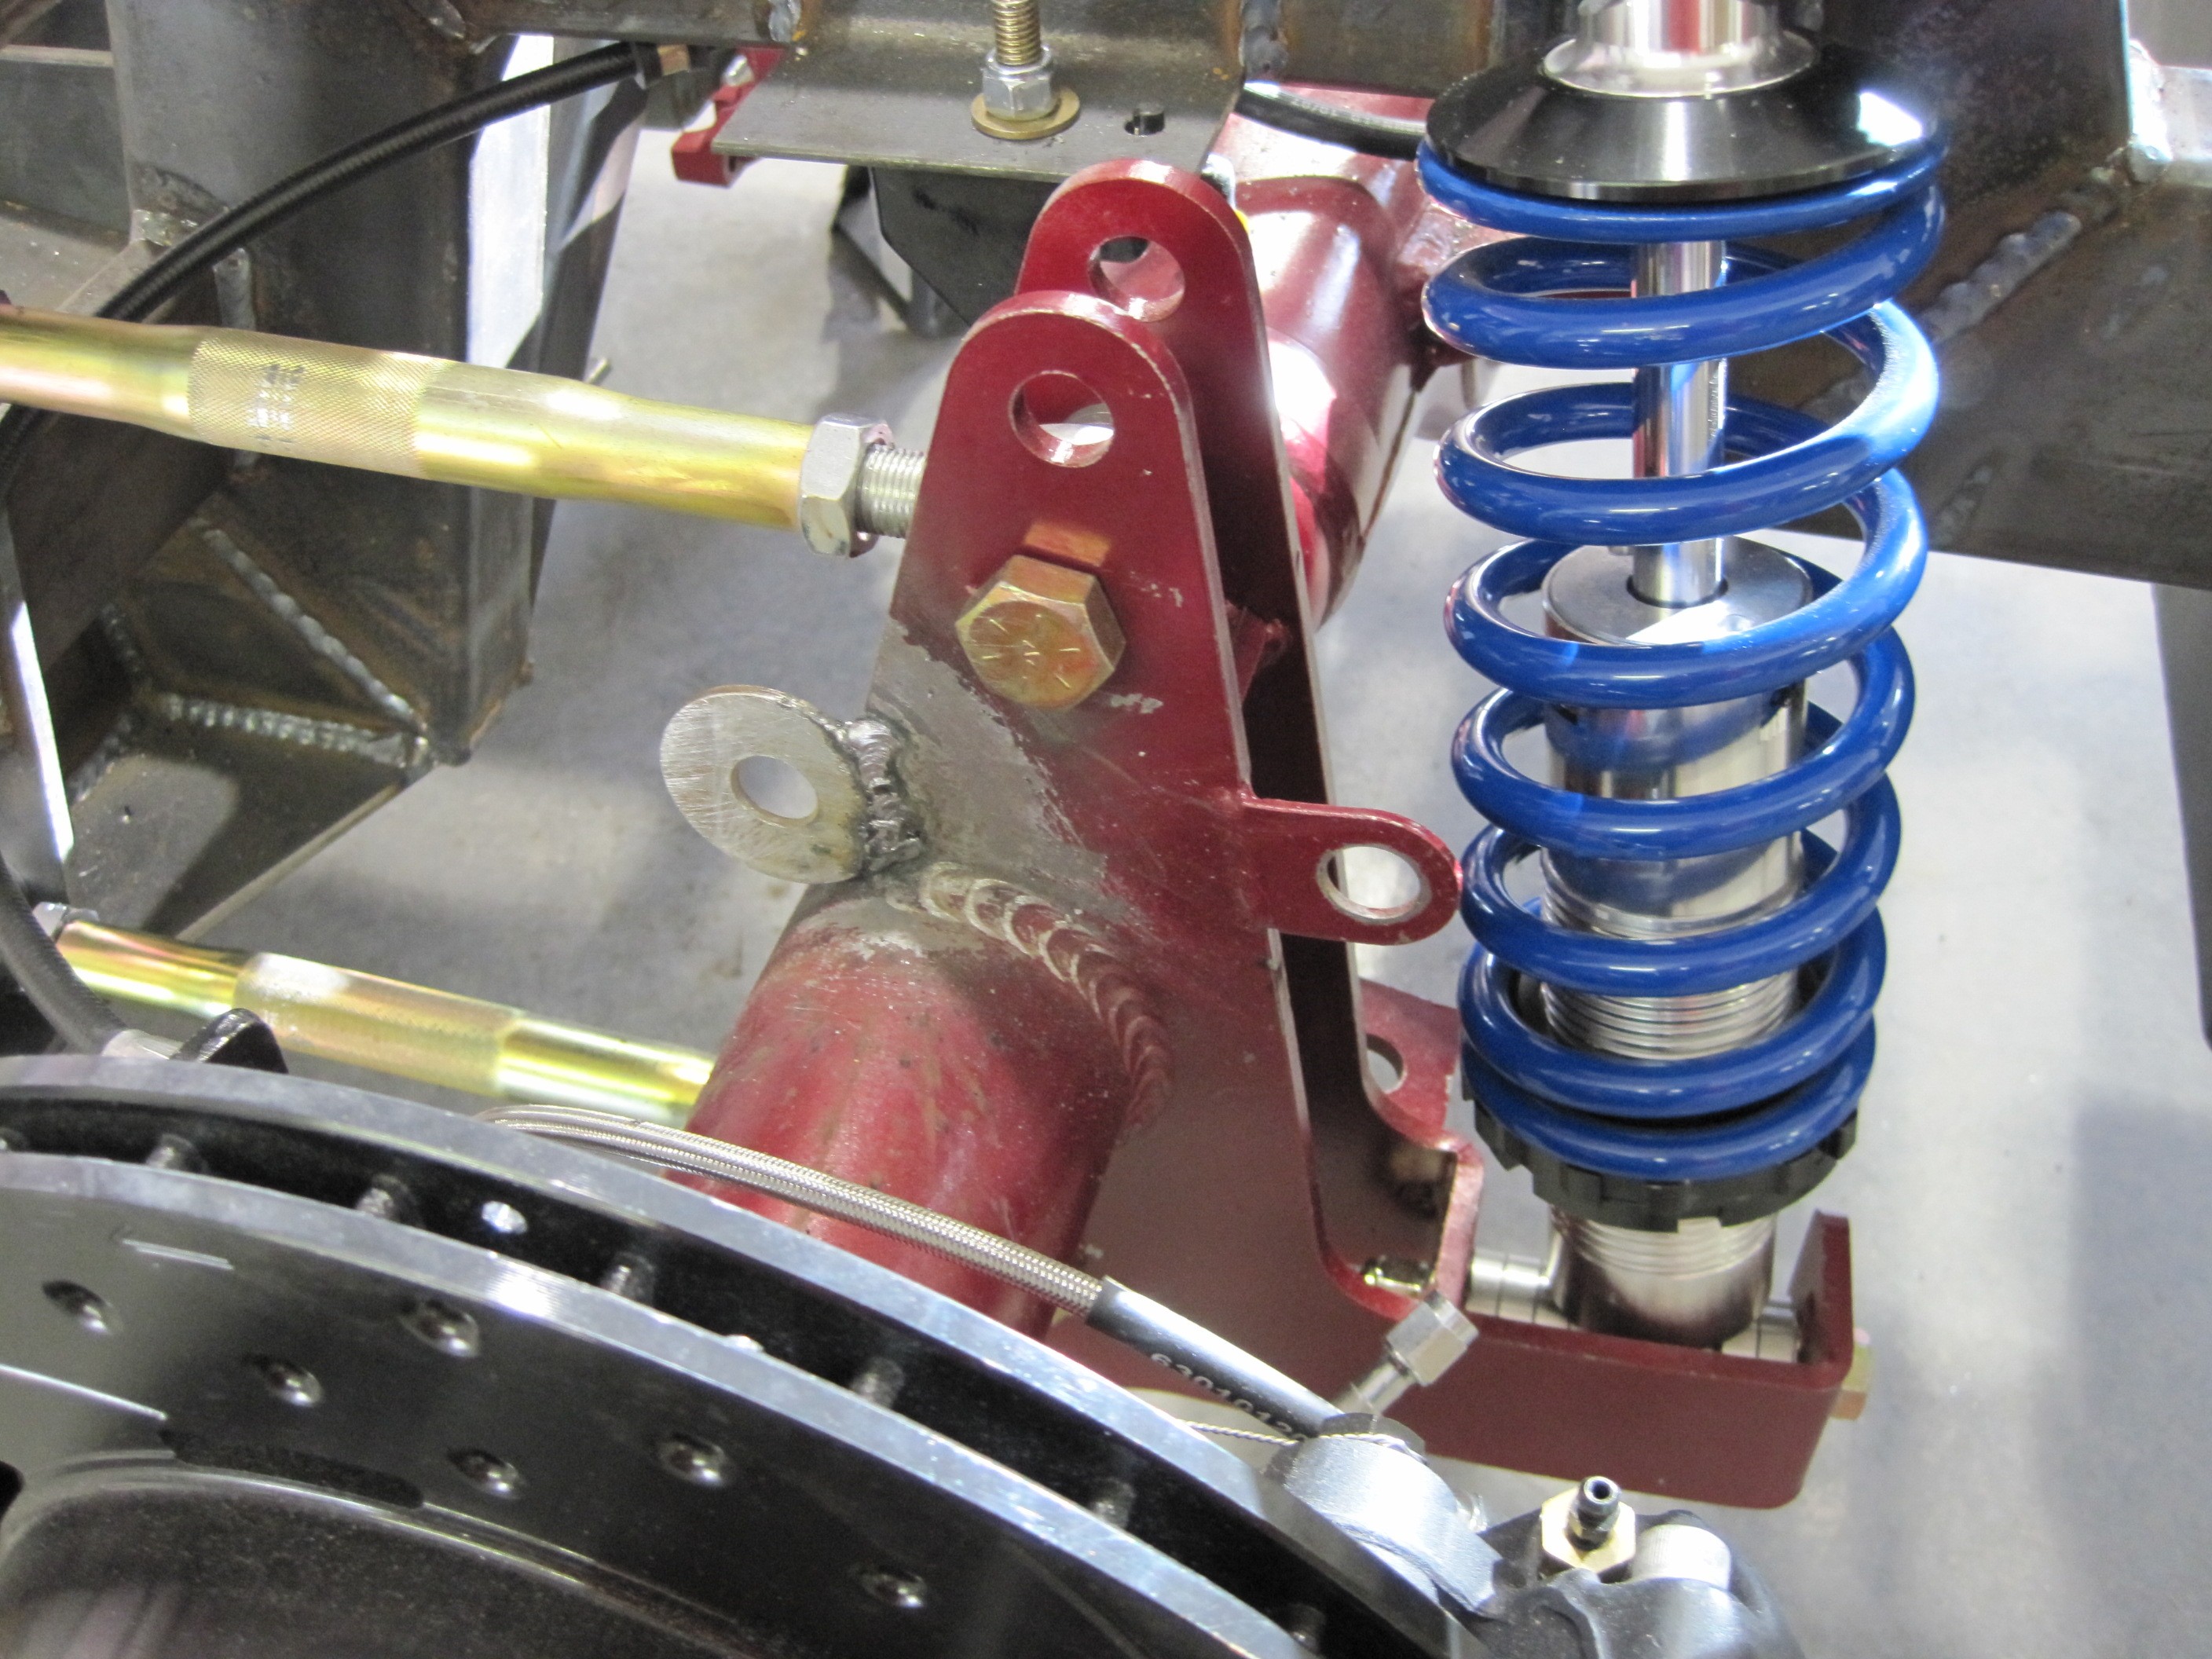
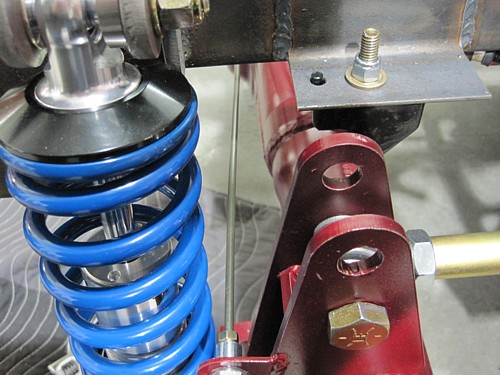
Next step is to mount
the flexible lines that run from the brakes to the frame. The kit
comes with two 90 degree elbows and two 45 degree elbows. I chose to
install the 90 degree elbows in the rear calipers and the 45 degree elbows
in the front calipers. I routed the hose as shown in the picture
above. So that the hose would not rub against the rear axle housing, I
slid on a piece of the shrink tubing to provide a rubber buffer. The
end of the hose connects up to fittings that slip into the mounting bracket
on the frame. It is held in place with a C-clip that you have to
purchase. Again, why these suppliers don't give you the hardware you
need just escapes me. BTW, you need 5/8" C-clips. I found them
at Ace Hardware in their Custom Cobra parts isle.

From there, I
installed the hard line. When you make these lines, you need to buy a
special flaring tool that puts a double flare on the line. I picked
one up at Sears. Others have had problems with these inexpensive tools
but mine worked great. I found the job a lot easier if I put the
handle of the tool in a vise. That frees up both hands to do the
flaring.
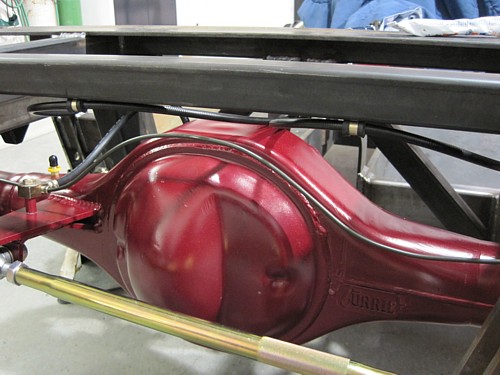
I routed the other
brake line to follow the contour of the rear end housing.

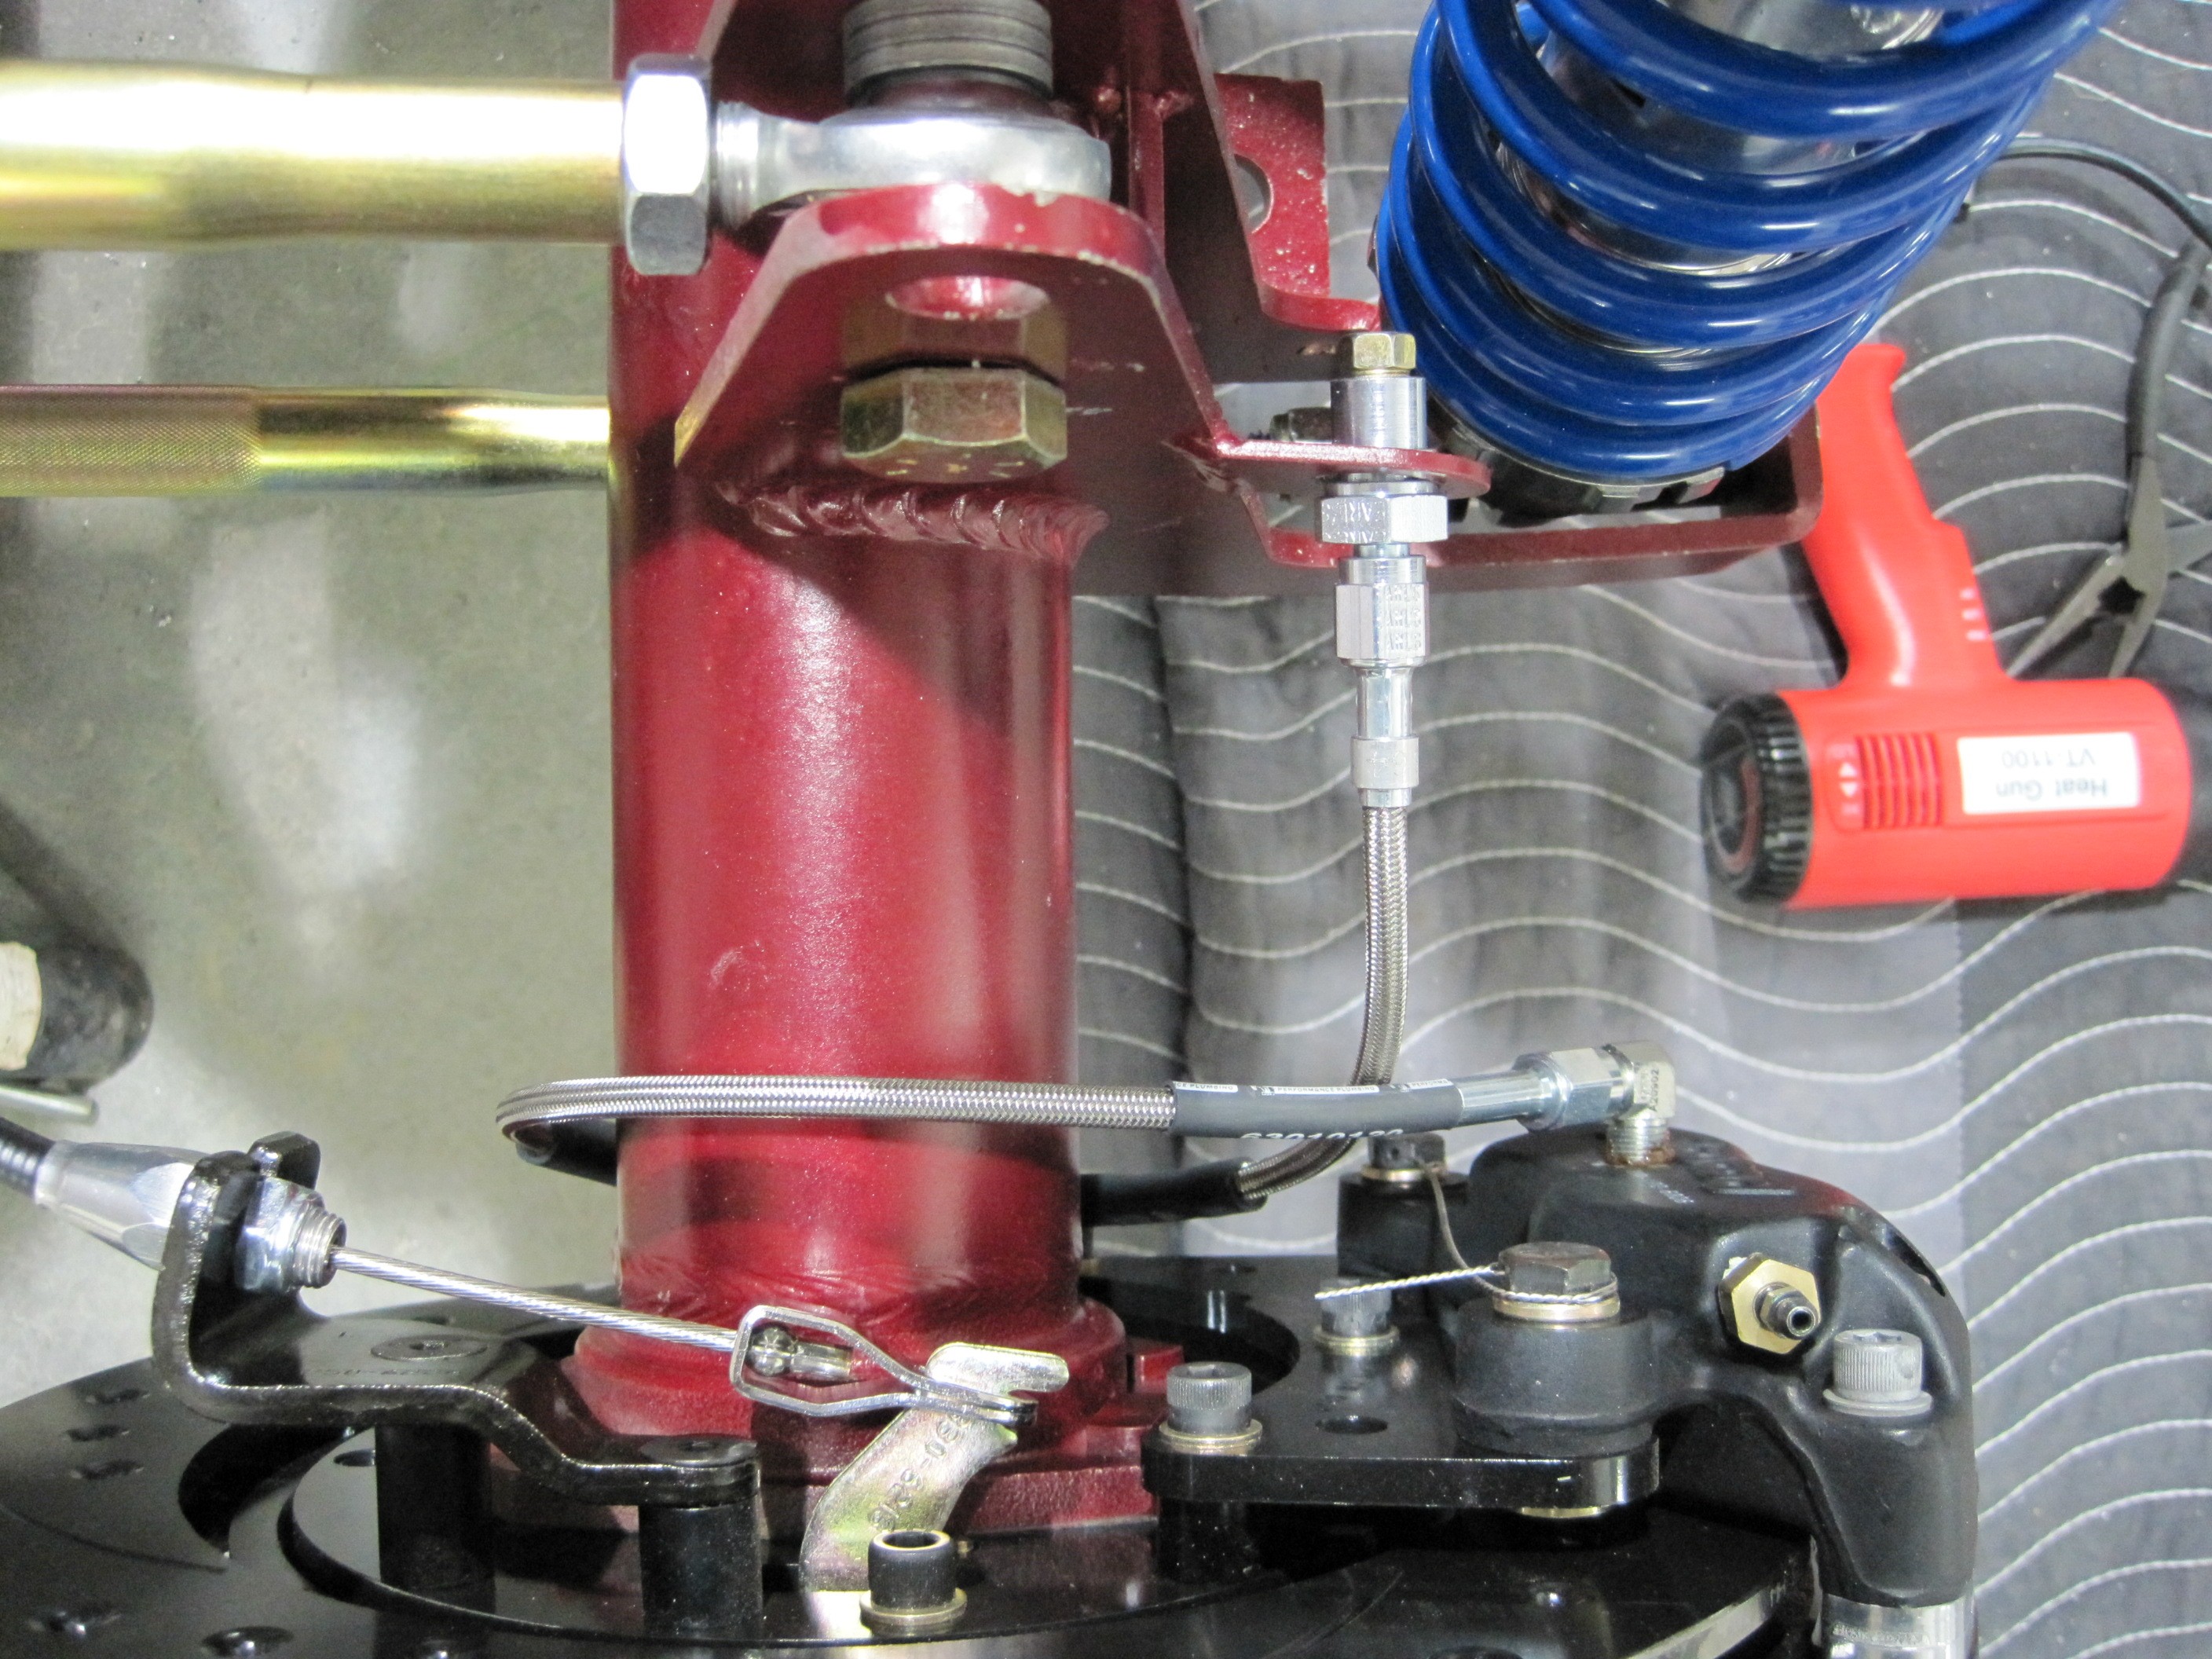
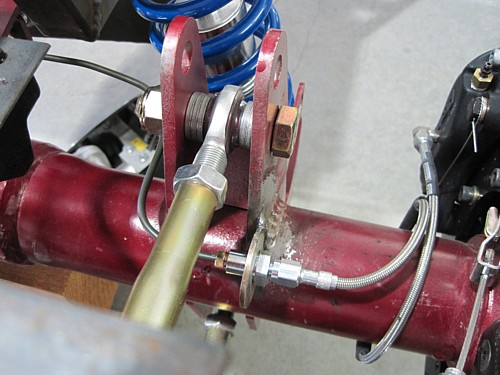
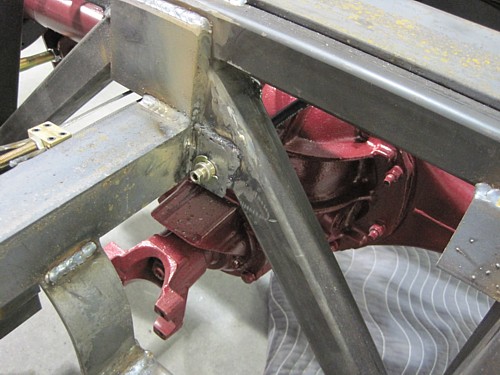
UPDATE:
After properly locating the rear-end in the frame, I found that the shock
interfered with the fuel line. This meant that the mounting tabs
needed to be moved to the front of the 4-link bracket. Rather than try
and cut and re-weld the existing tabs, I just welded a fender washer to the
bracket. Once I remove the parts for final paint, I'll cut off the old
bracket and shape the new on a little with my Dremel.
Here's a picture of
how I re-routed the fuel lines to use the new bracket.
That made it a
straight shot over to the right brake.
UPDATE: The
brake line bracket was moved on this side as well to the front of the 4-link
bracket and the fuel line re-routed.

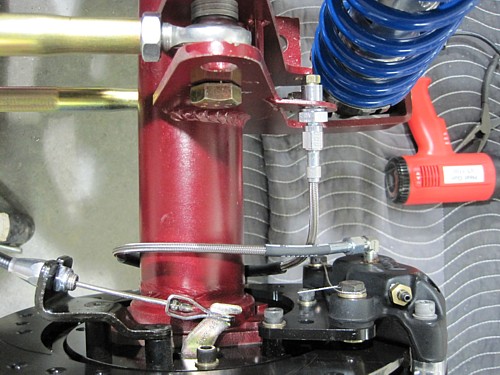
On the front caliper,
I installed the 45 degree elbow and routed the hose as shown.
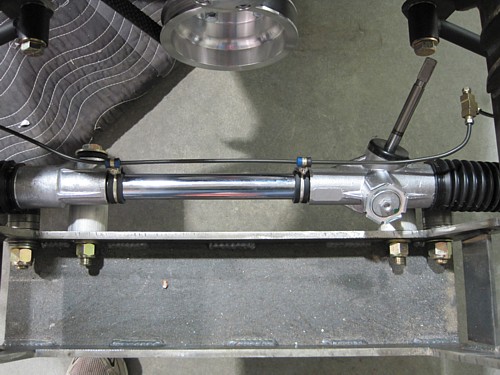
I chose to run the
line over to the right front brake by clamping it to the steering rack.
All the other installs I've seen require these elaborate bends to follow the
frame and then the cross member. I found my method to be simple,
straight, and easy to do. I'm sure someone will point out to me why
this is a bad idea so until then, this is the way I intend to do it.
The kit comes with two brass elbows. One has three flare fittings and
it is used above to connect up the two front brakes. The other elbow
has a two flare fitting and a pipe fitting. That is used for a brake
pressure switch, if you are using one.
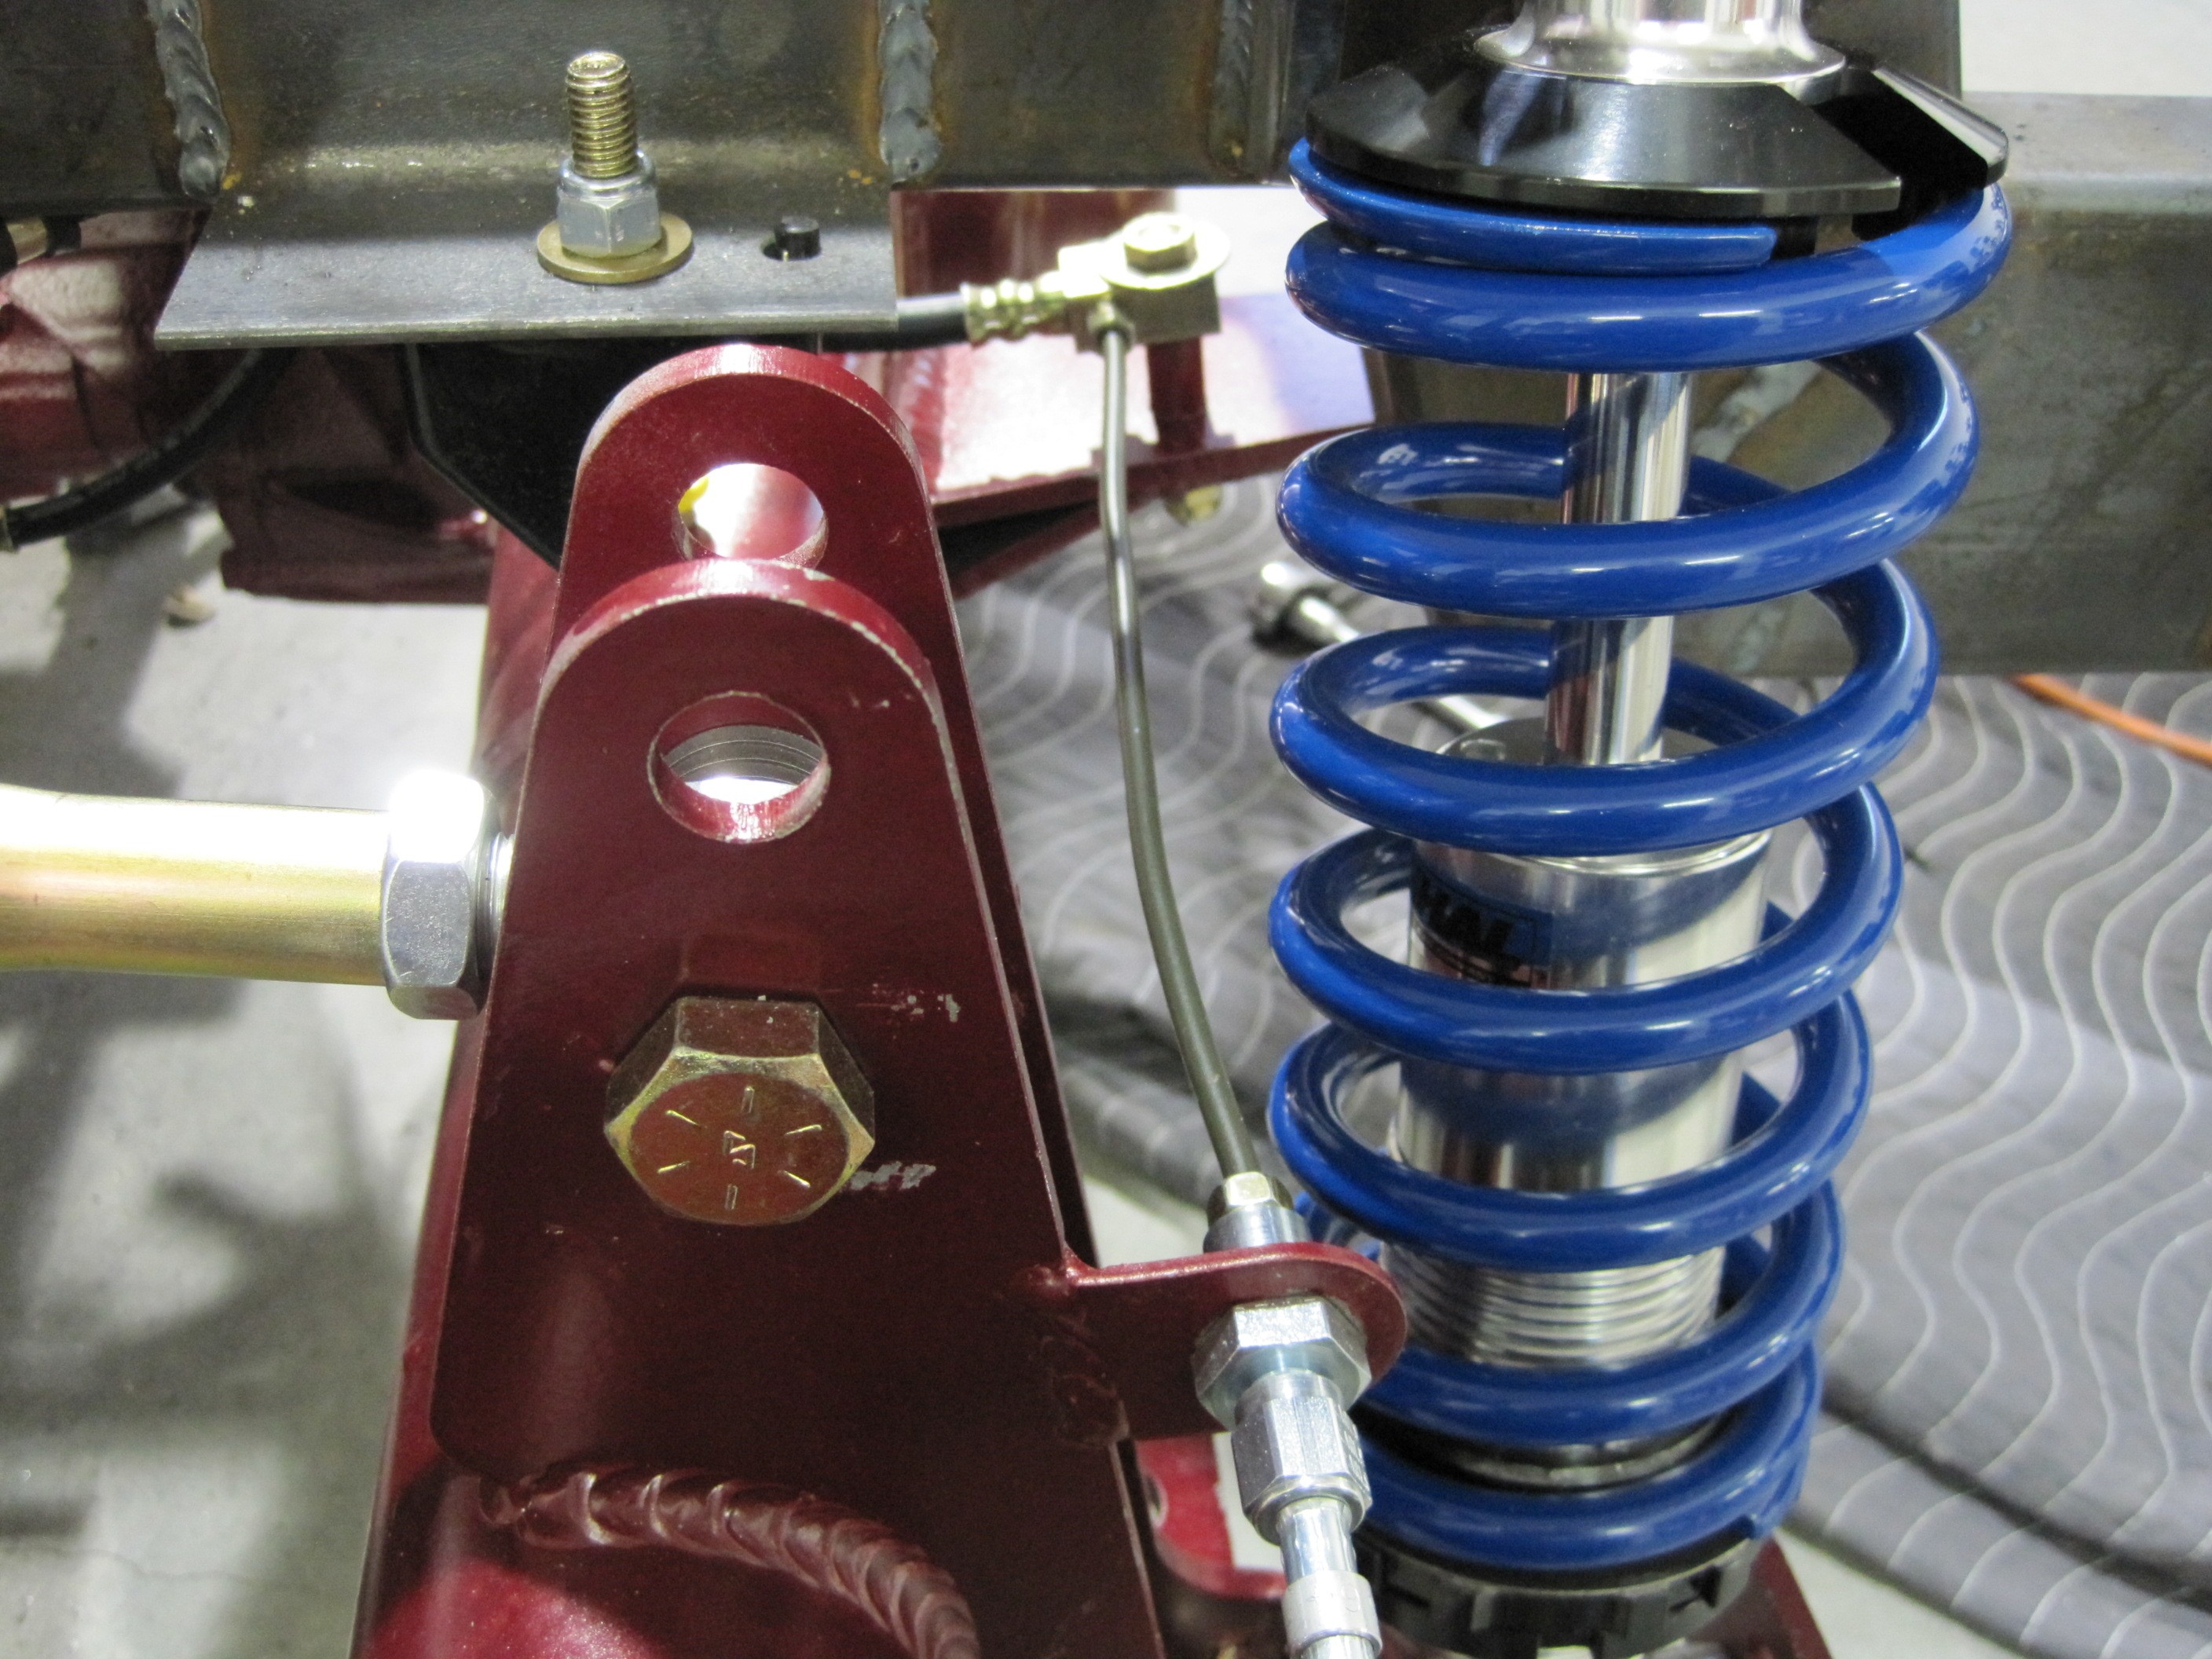
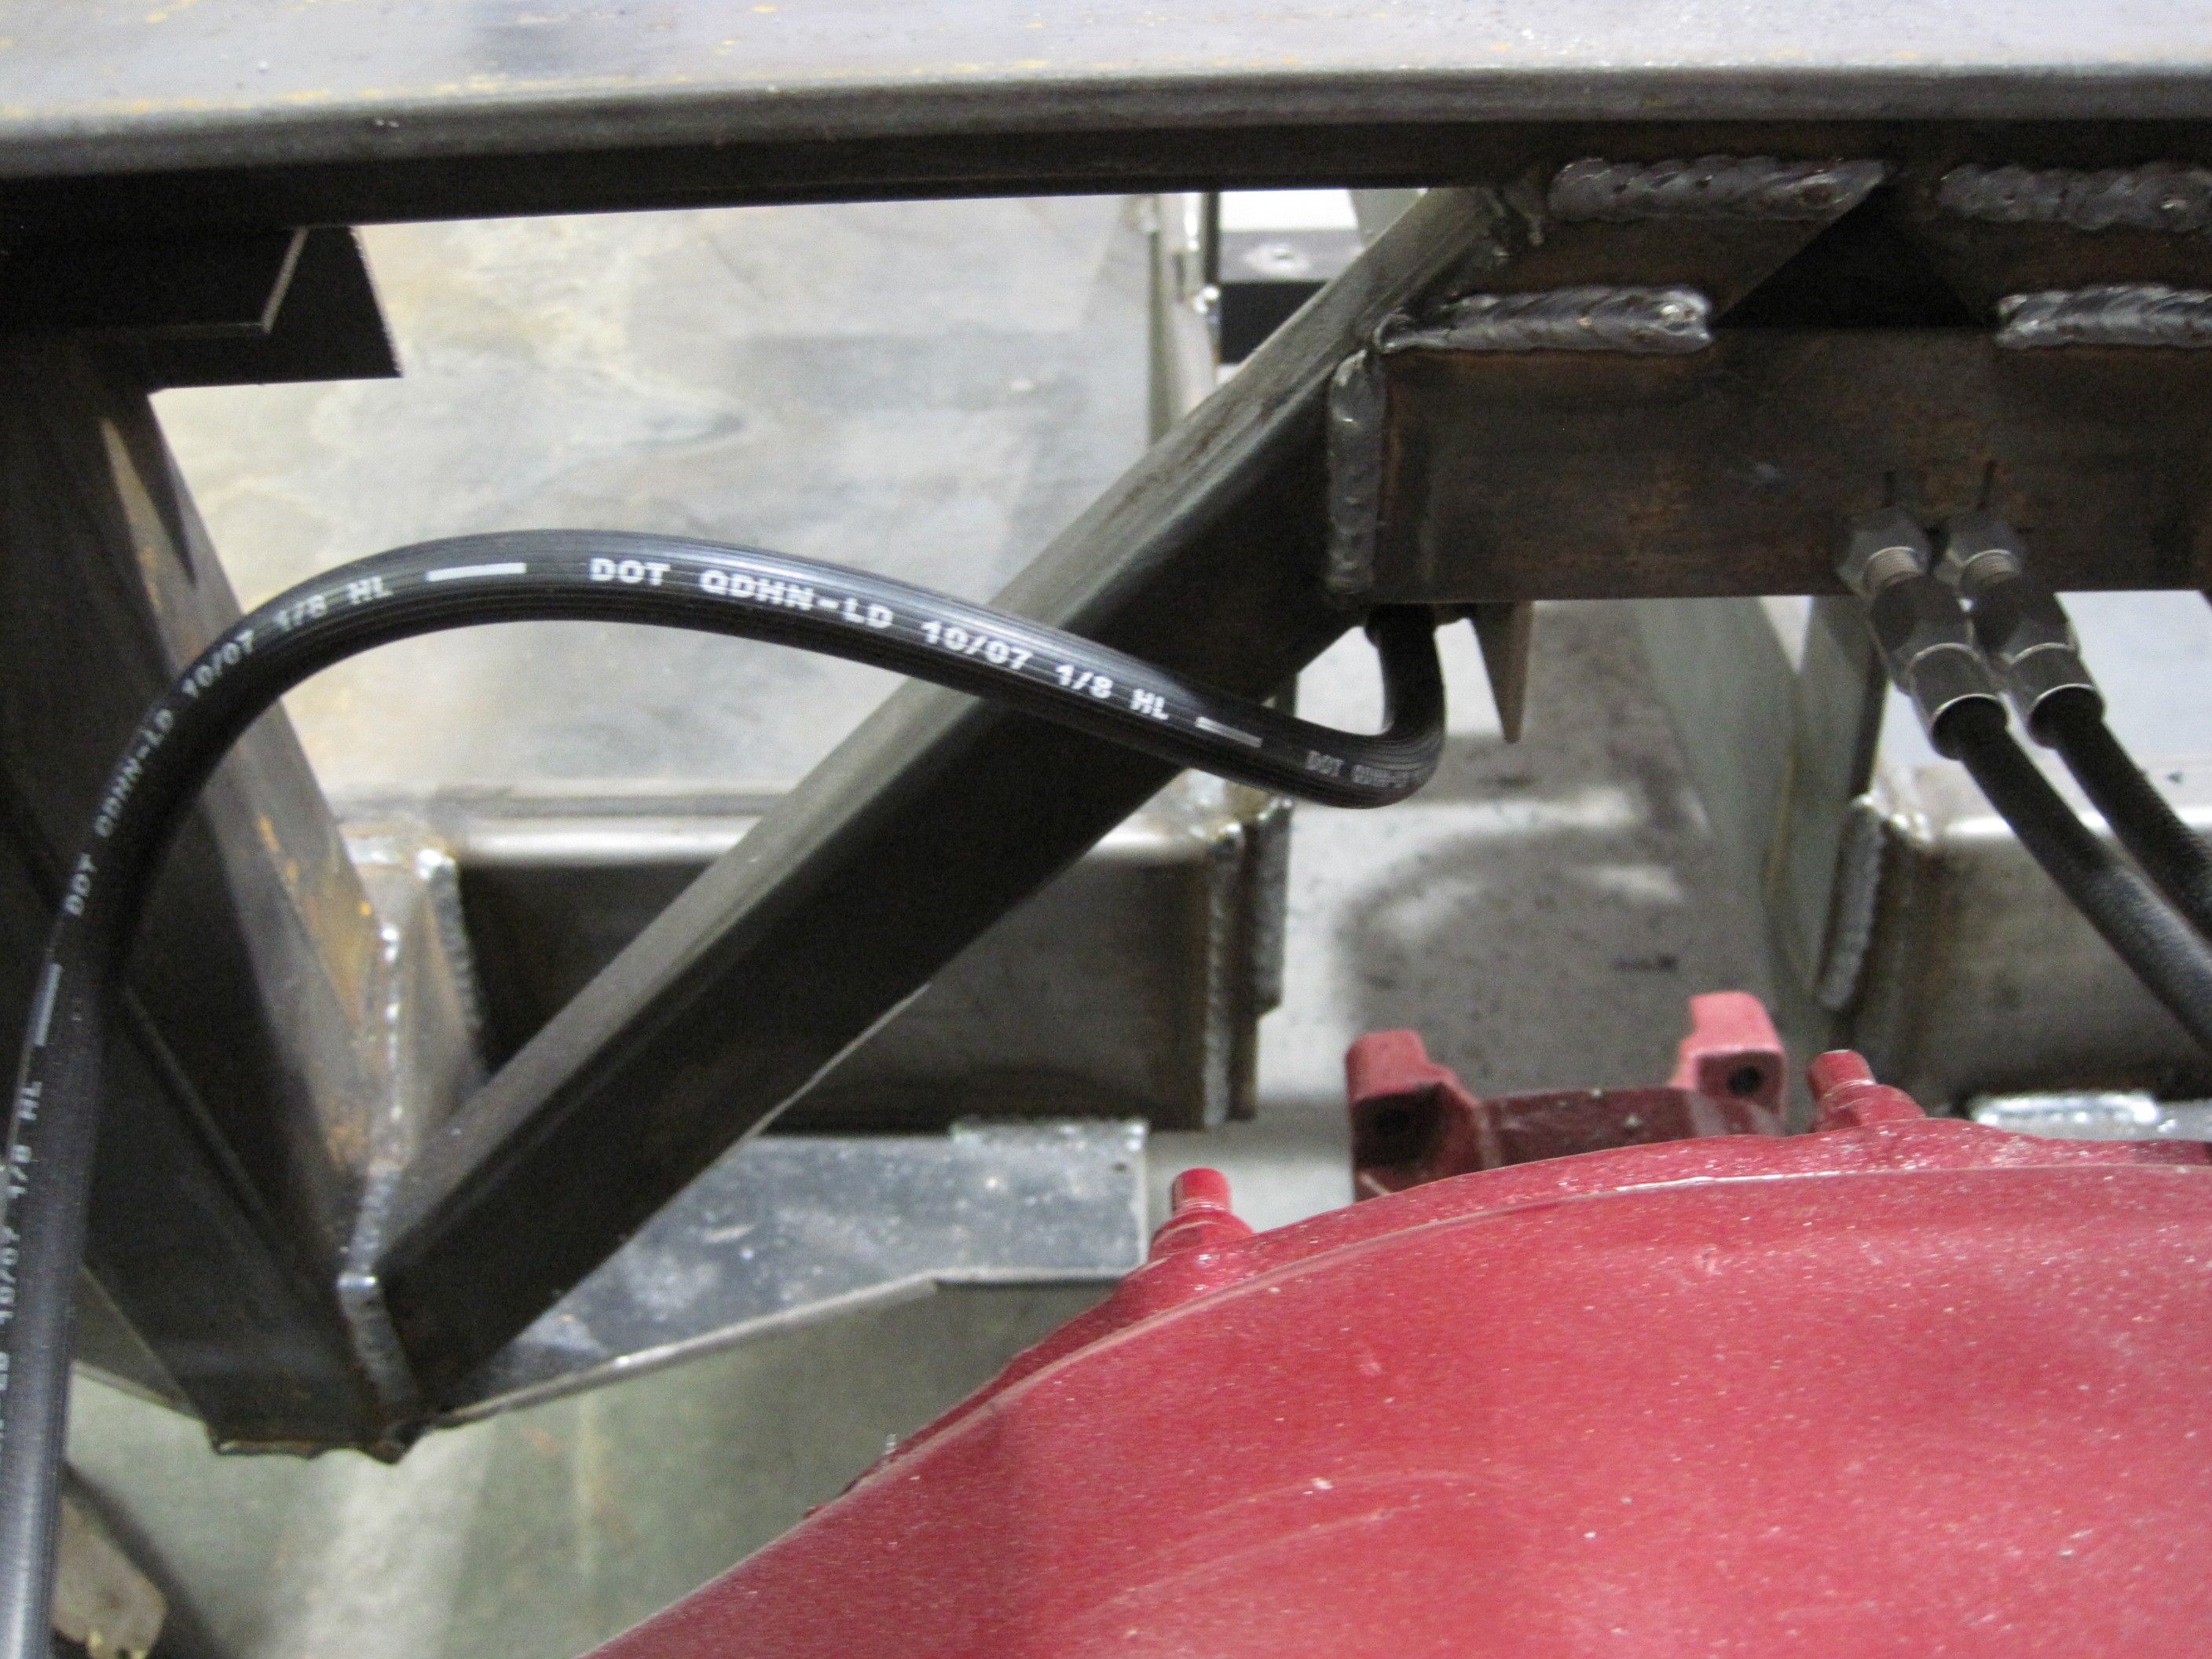
UPDATE:
After trial fitting the body, I decided to run the fuel and brake lines
alongside the emergency brake bracket instead of in the driveline tunnel.
I took the tab for the rear brakes that was welded to the cross member, cut
it off, and re-welded it here.
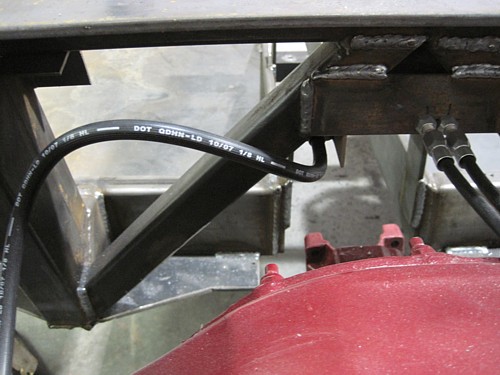
As you can see here,
the flexible brake line now runs up underneath the tunnel rather than
through it. I think this is much safer. It does mean that if the
brake line leaks, getting to this fitting is going to be much harder.
I am not running the
brake line forward just yet until I run the fuel line. That work begins on the next page.
|