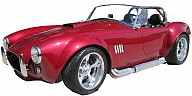
Gas Cap
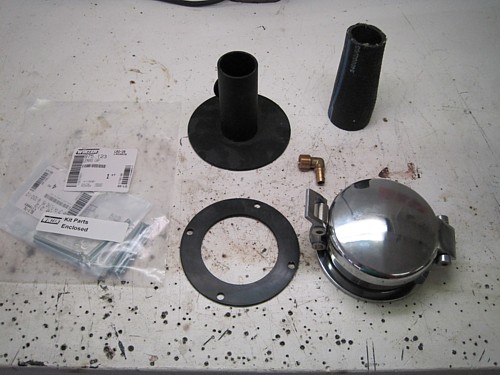
I gathered up the
parts to mount the gas cap to the body. I figured this would be an
easy job and one that would allow me to recover from my ordeal with the rear
bumpers.
Again, the
instructions are pretty lean in terms of what parts go where so I just went
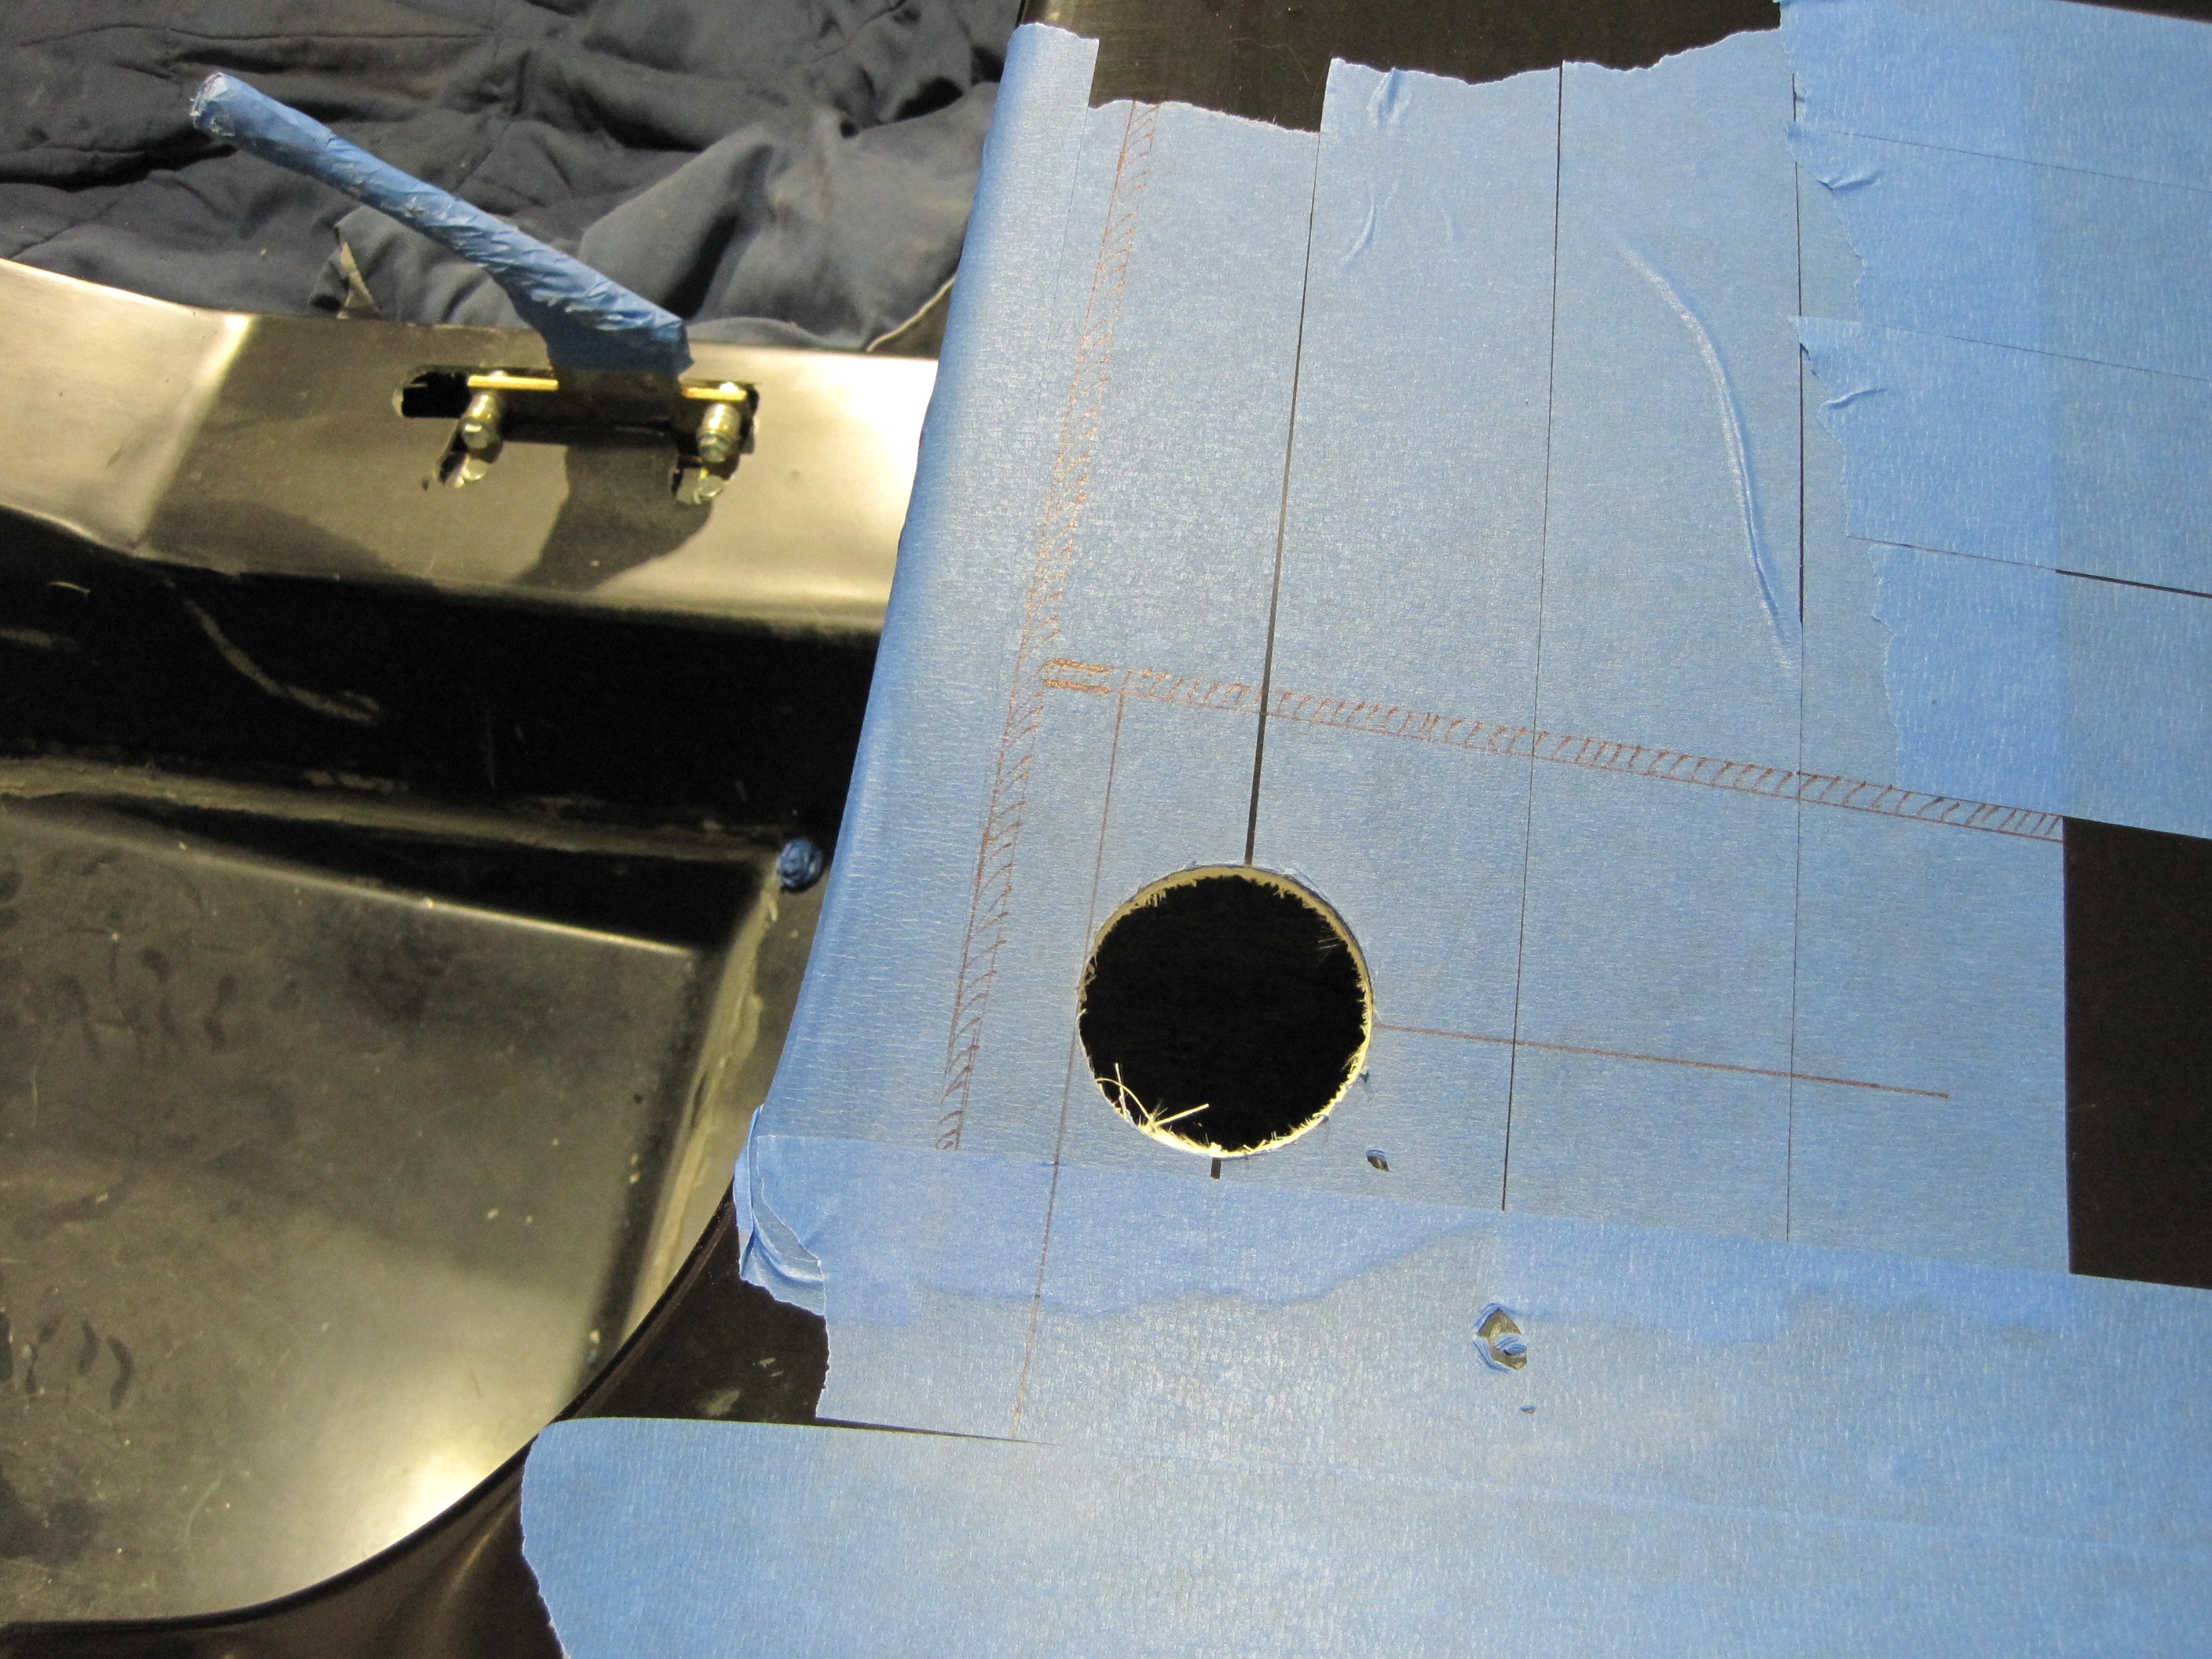
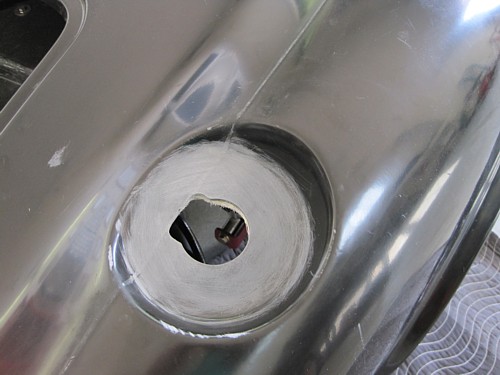
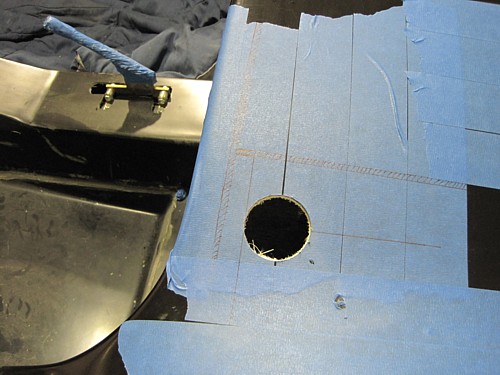
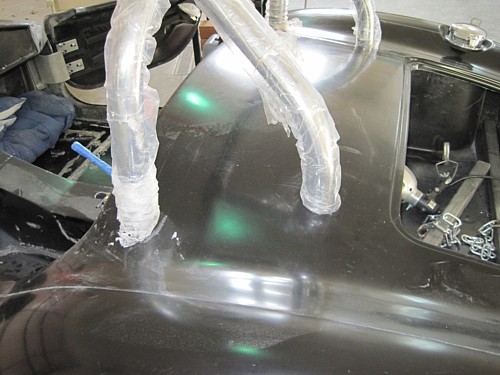
at it the way I thought it should go together. First step was to sand
the area smooth and using the transition tube, find the center and drill out
a hole so the transition tube can be inserted through the hole from the top.

I then removed the
mounting flange from the gas cap assembly and mated it up with the
transition tube. The location of the mounting holes are important, at
least for me. I wanted one of the hole directly under the hinge of the
gas cap. So I screwed the hole assembly together and marked alignment
marks for the flange and the transition tube. Then using the gasket as
a guide, I drilled and countersunk the four mounting holes.
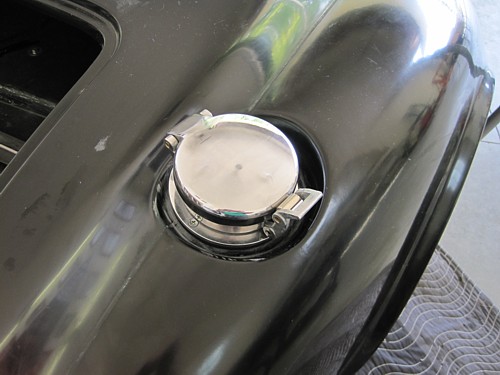
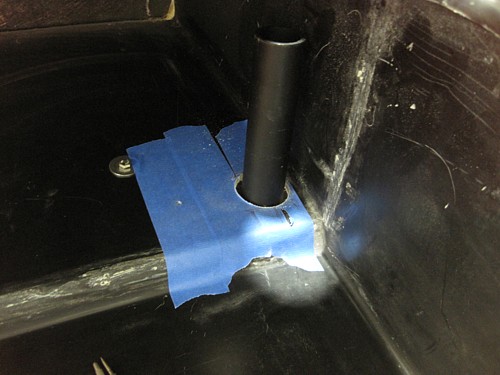
The way I mounted this
was to insert the transition tube from the top, then the gasket, then the
cap assembly. I inserted the mounting screws and tightened the
assembly to the body. I did look at some other pictures to determine
if the cap was angled relative to the body. I did find some prototype
pictures that suggest the cap hinge line is angles to meet the low points in
the body opening so that's the way I drilled it to the body. This is
something that is easily changed since the flange will cover up any
additional mounting holes that you might drill.
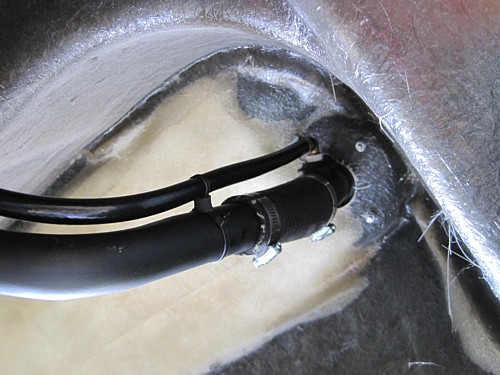
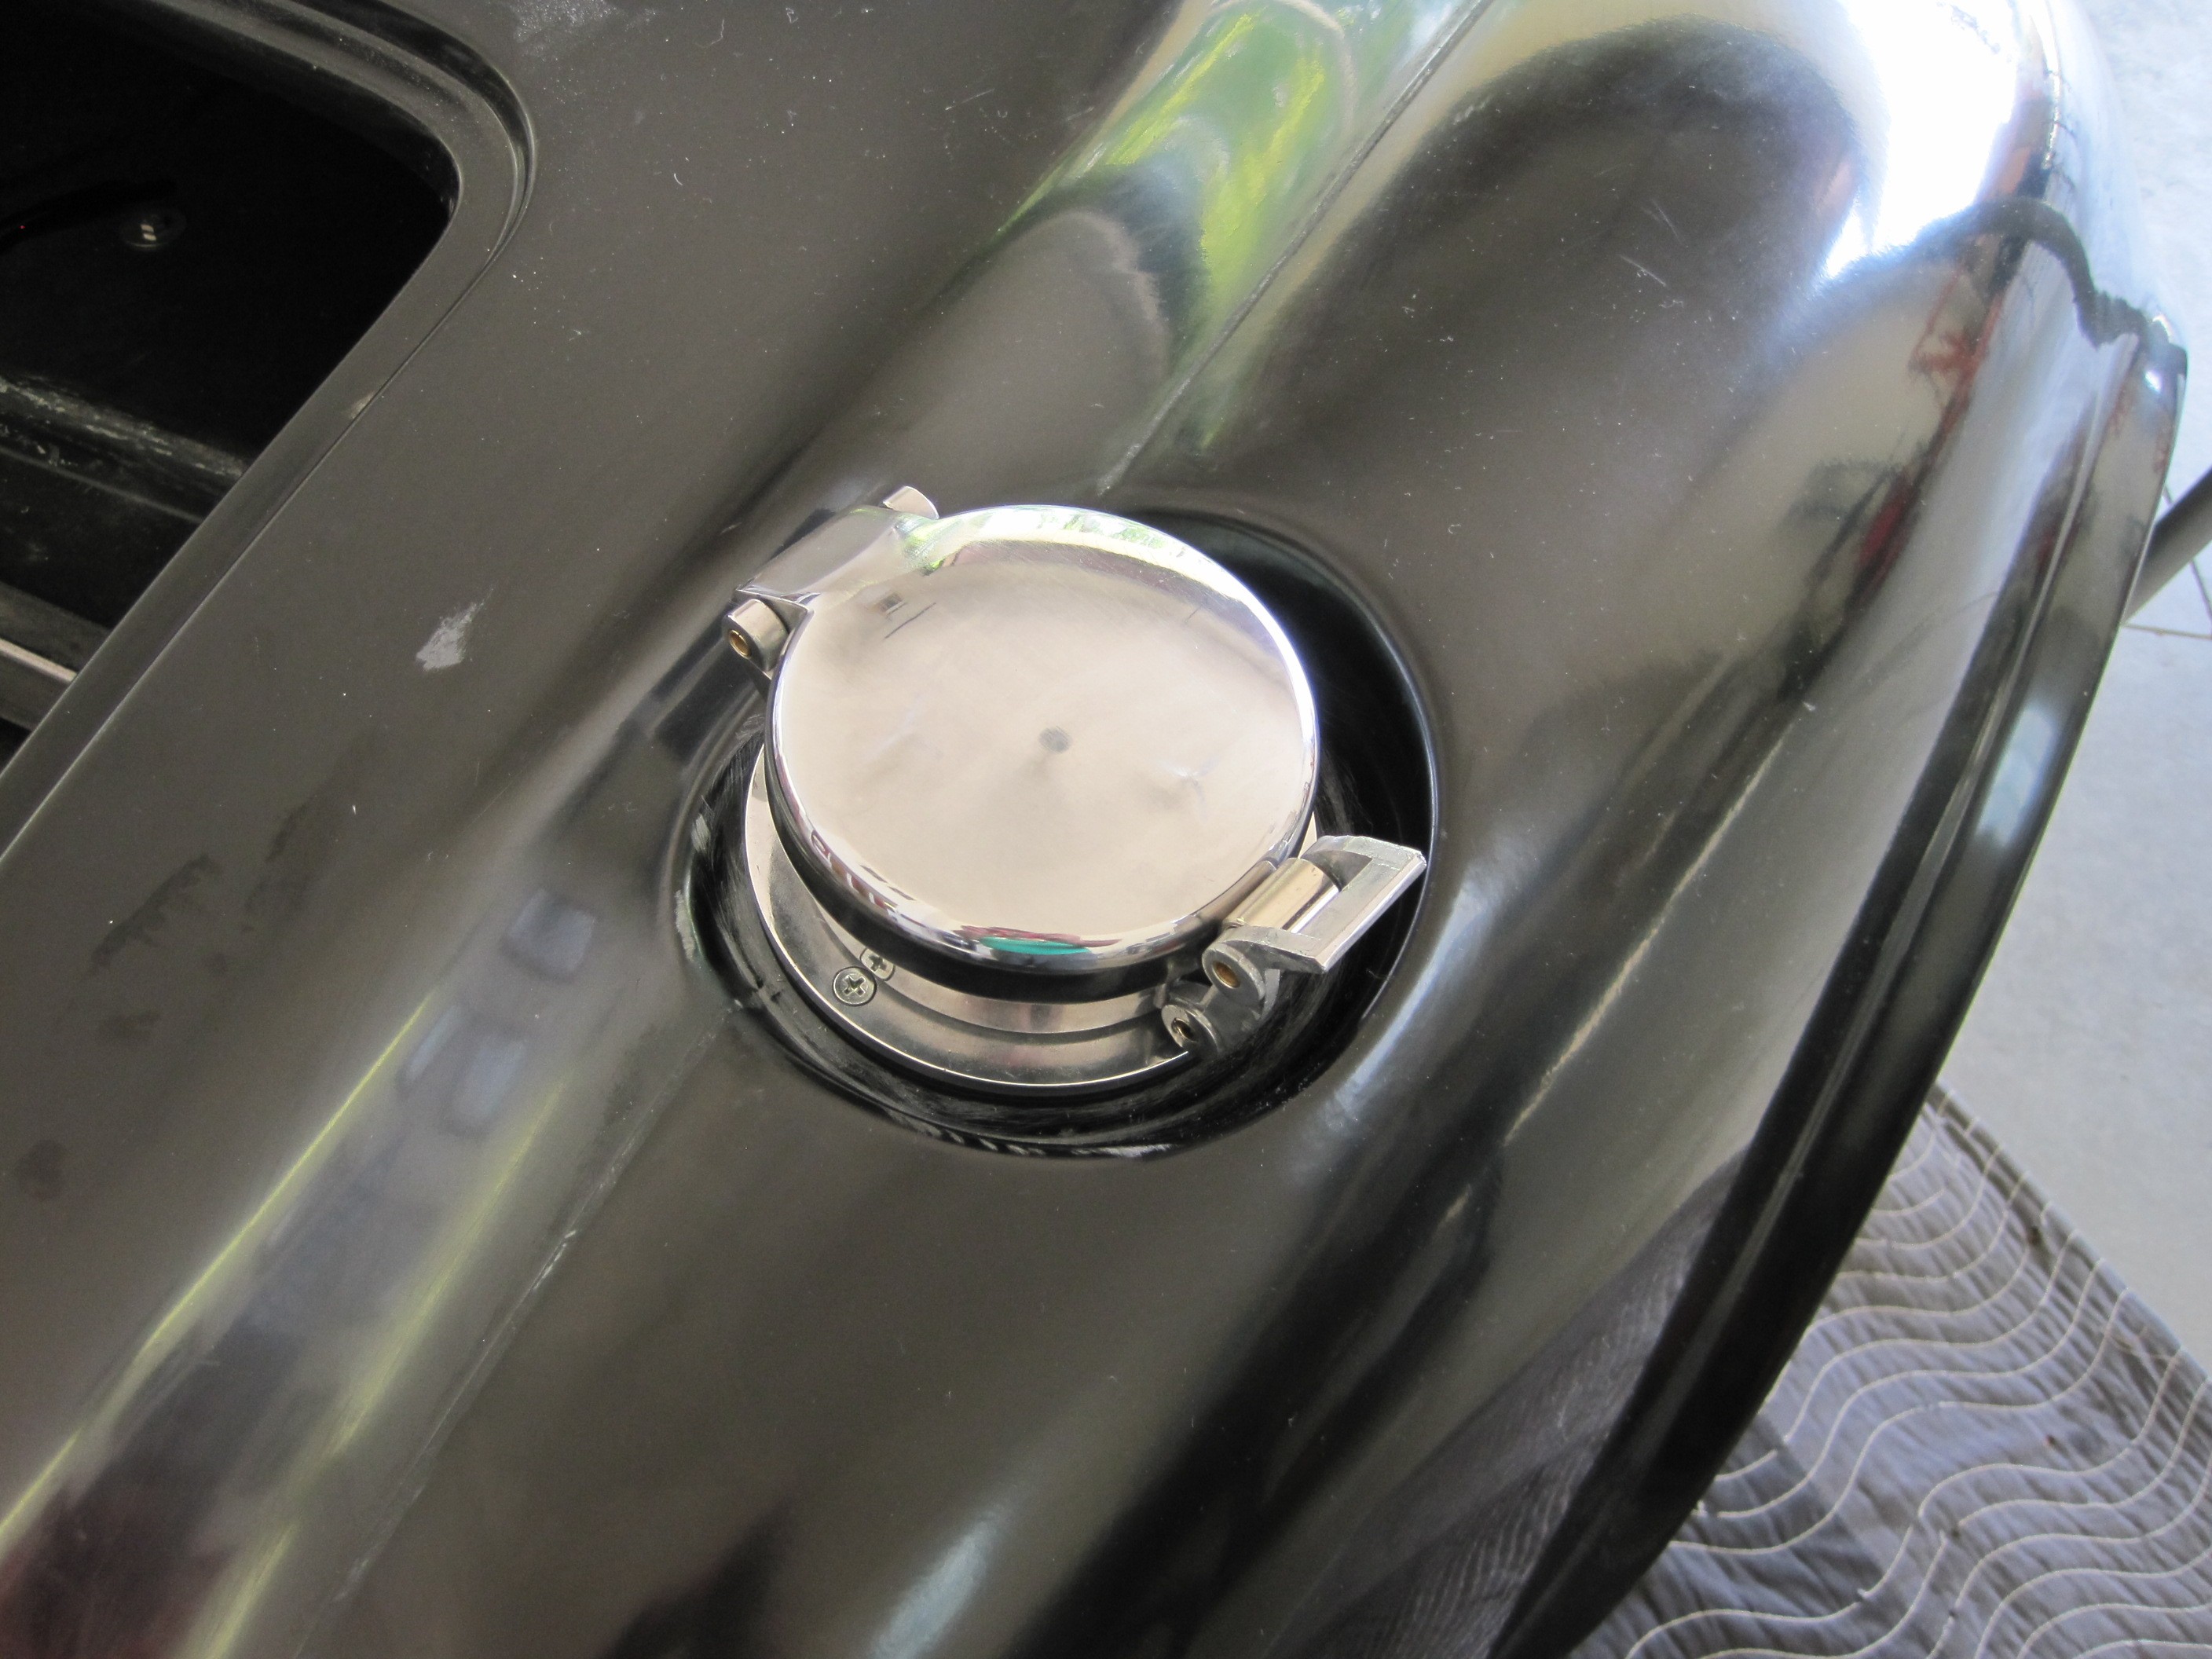
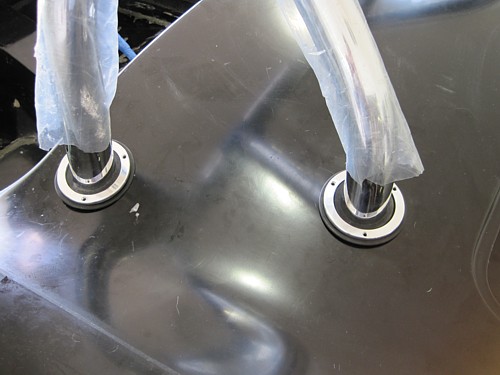
Here is a picture of
the connections inside the wheel well. The hose between the two metal
tubes is the piece you cut off the elbow when you installed the tank.
Hope you saved it!
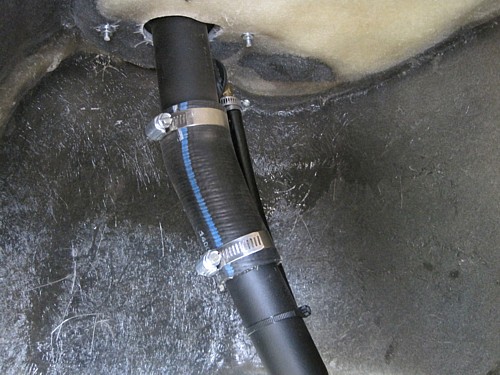
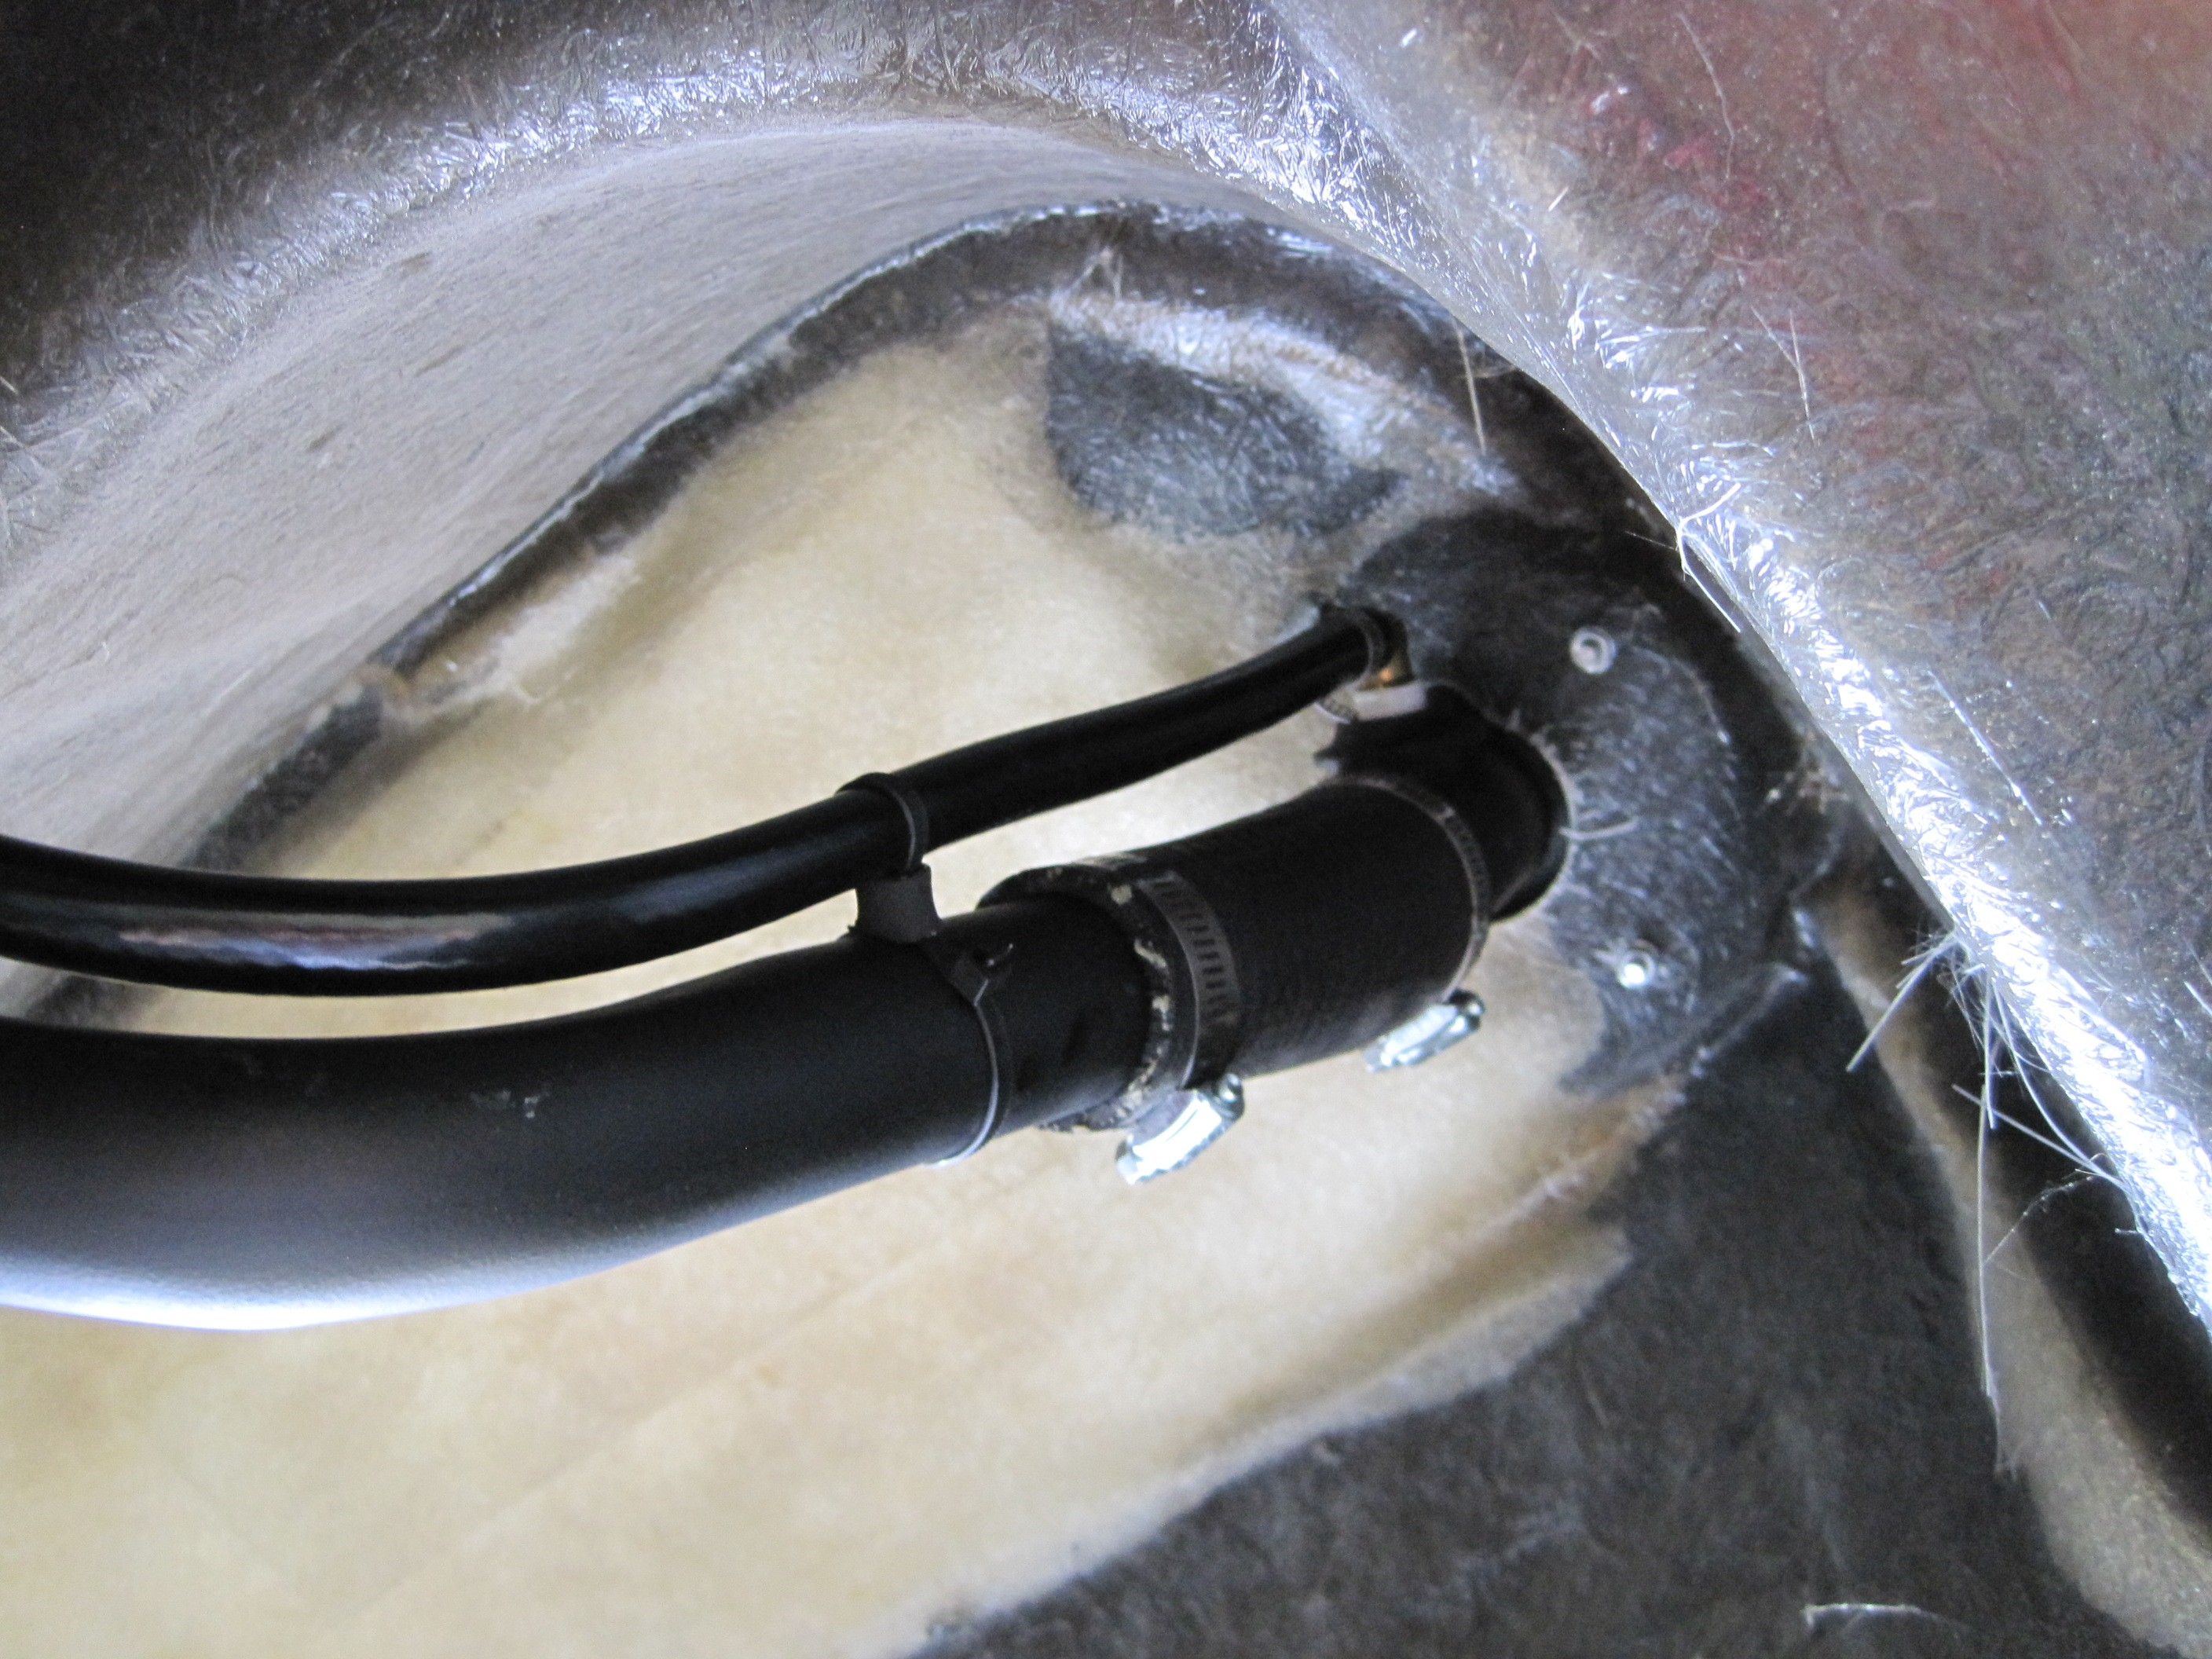
Here's another picture
of the hose installation. That finished up the gas cap and fuel tank
installation.
Roll Bar
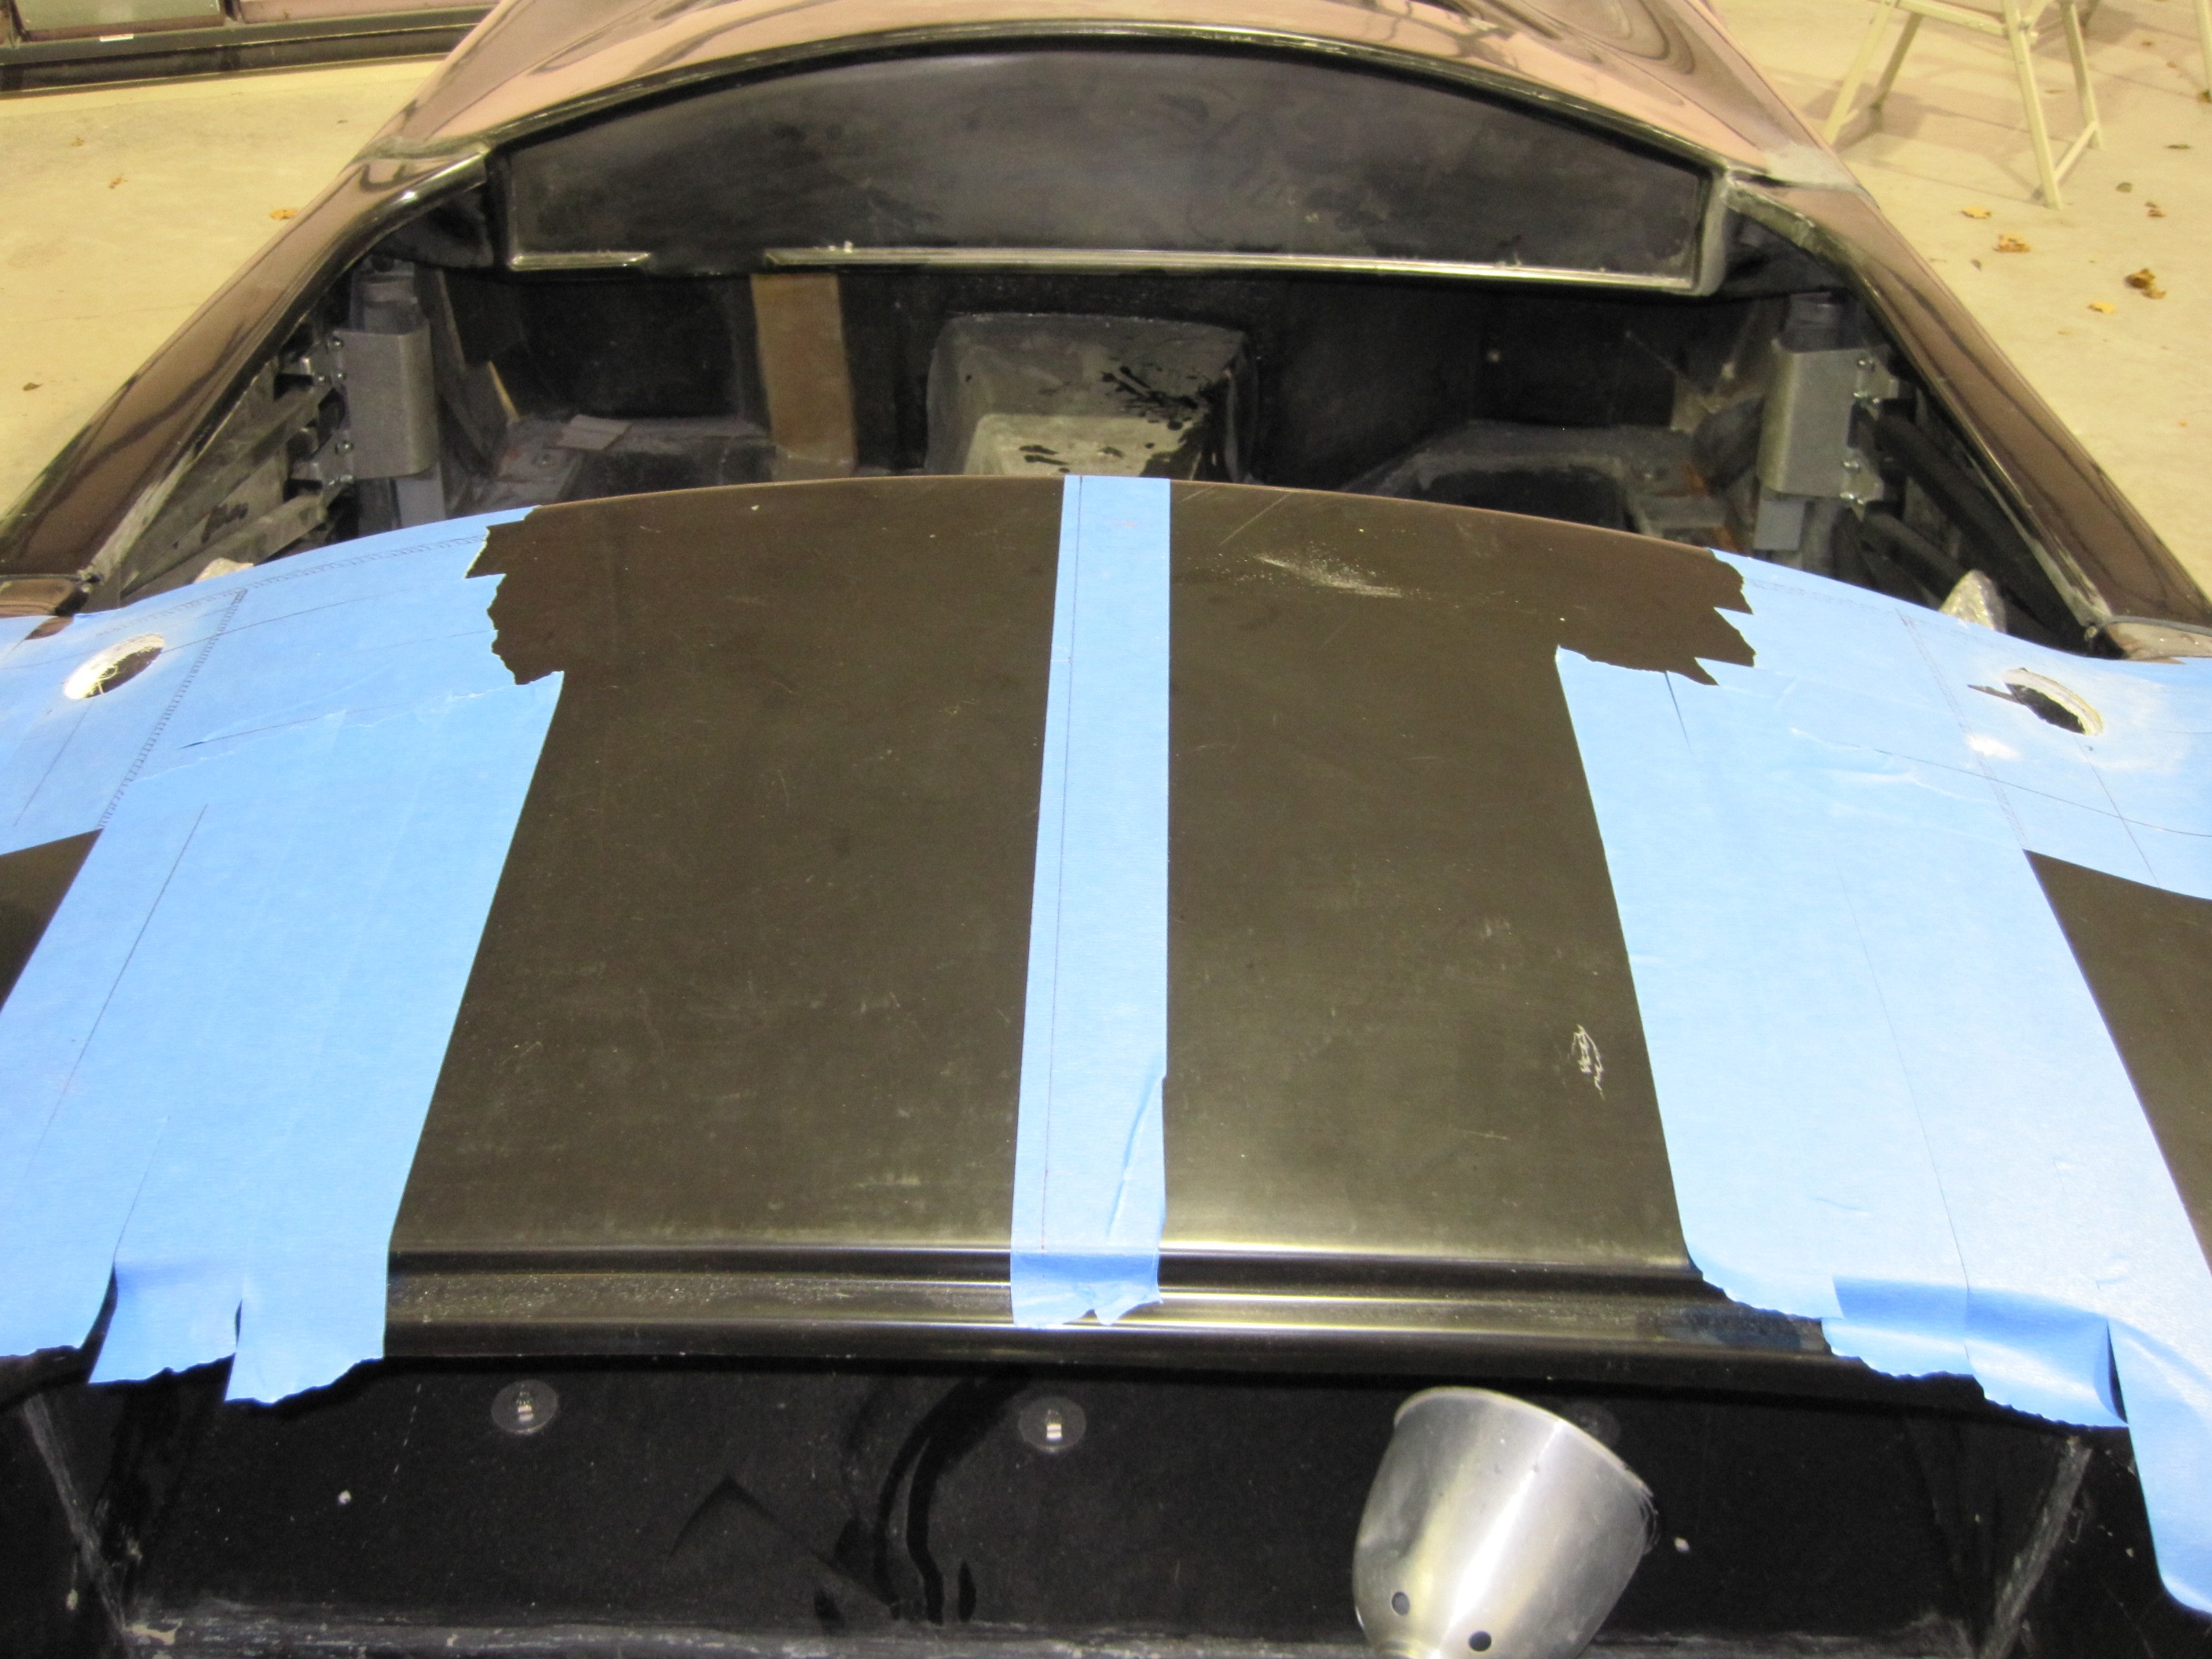
The key to the roll
bar installation is to get it square to the body and centered in the body.
Once the stripes are applied, any mis-alignment will become very visible.
First, I taped up the body and outlined the inner fender panels. I
then used my laser tool to align the two primary holes for my double roll
bar.

In order to get the
two primary holes in the right location front-to-back, I also used my laser
tool to find the center of the body. I used two previous alignment
marks on the frame to shoot a line the length of the body. I then
measured on each side of the centerline to get the right hole center.
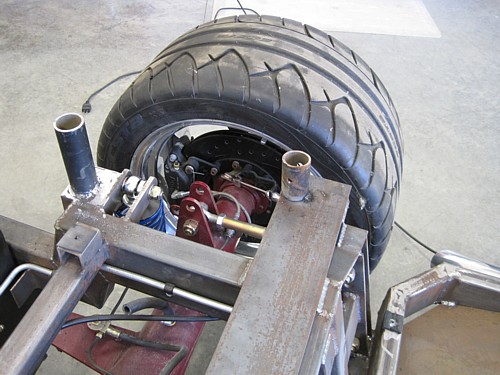
After drilling the
primary holes, I set the roll bar in them and marked the location of the
rear holes.
With all four holes
drilled, I lowered the bar down to the mounting brackets and marked the
location for the mounting holes.
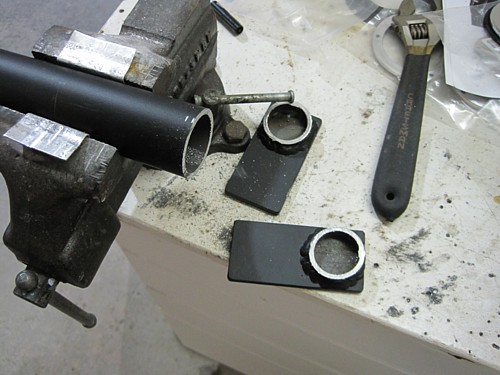
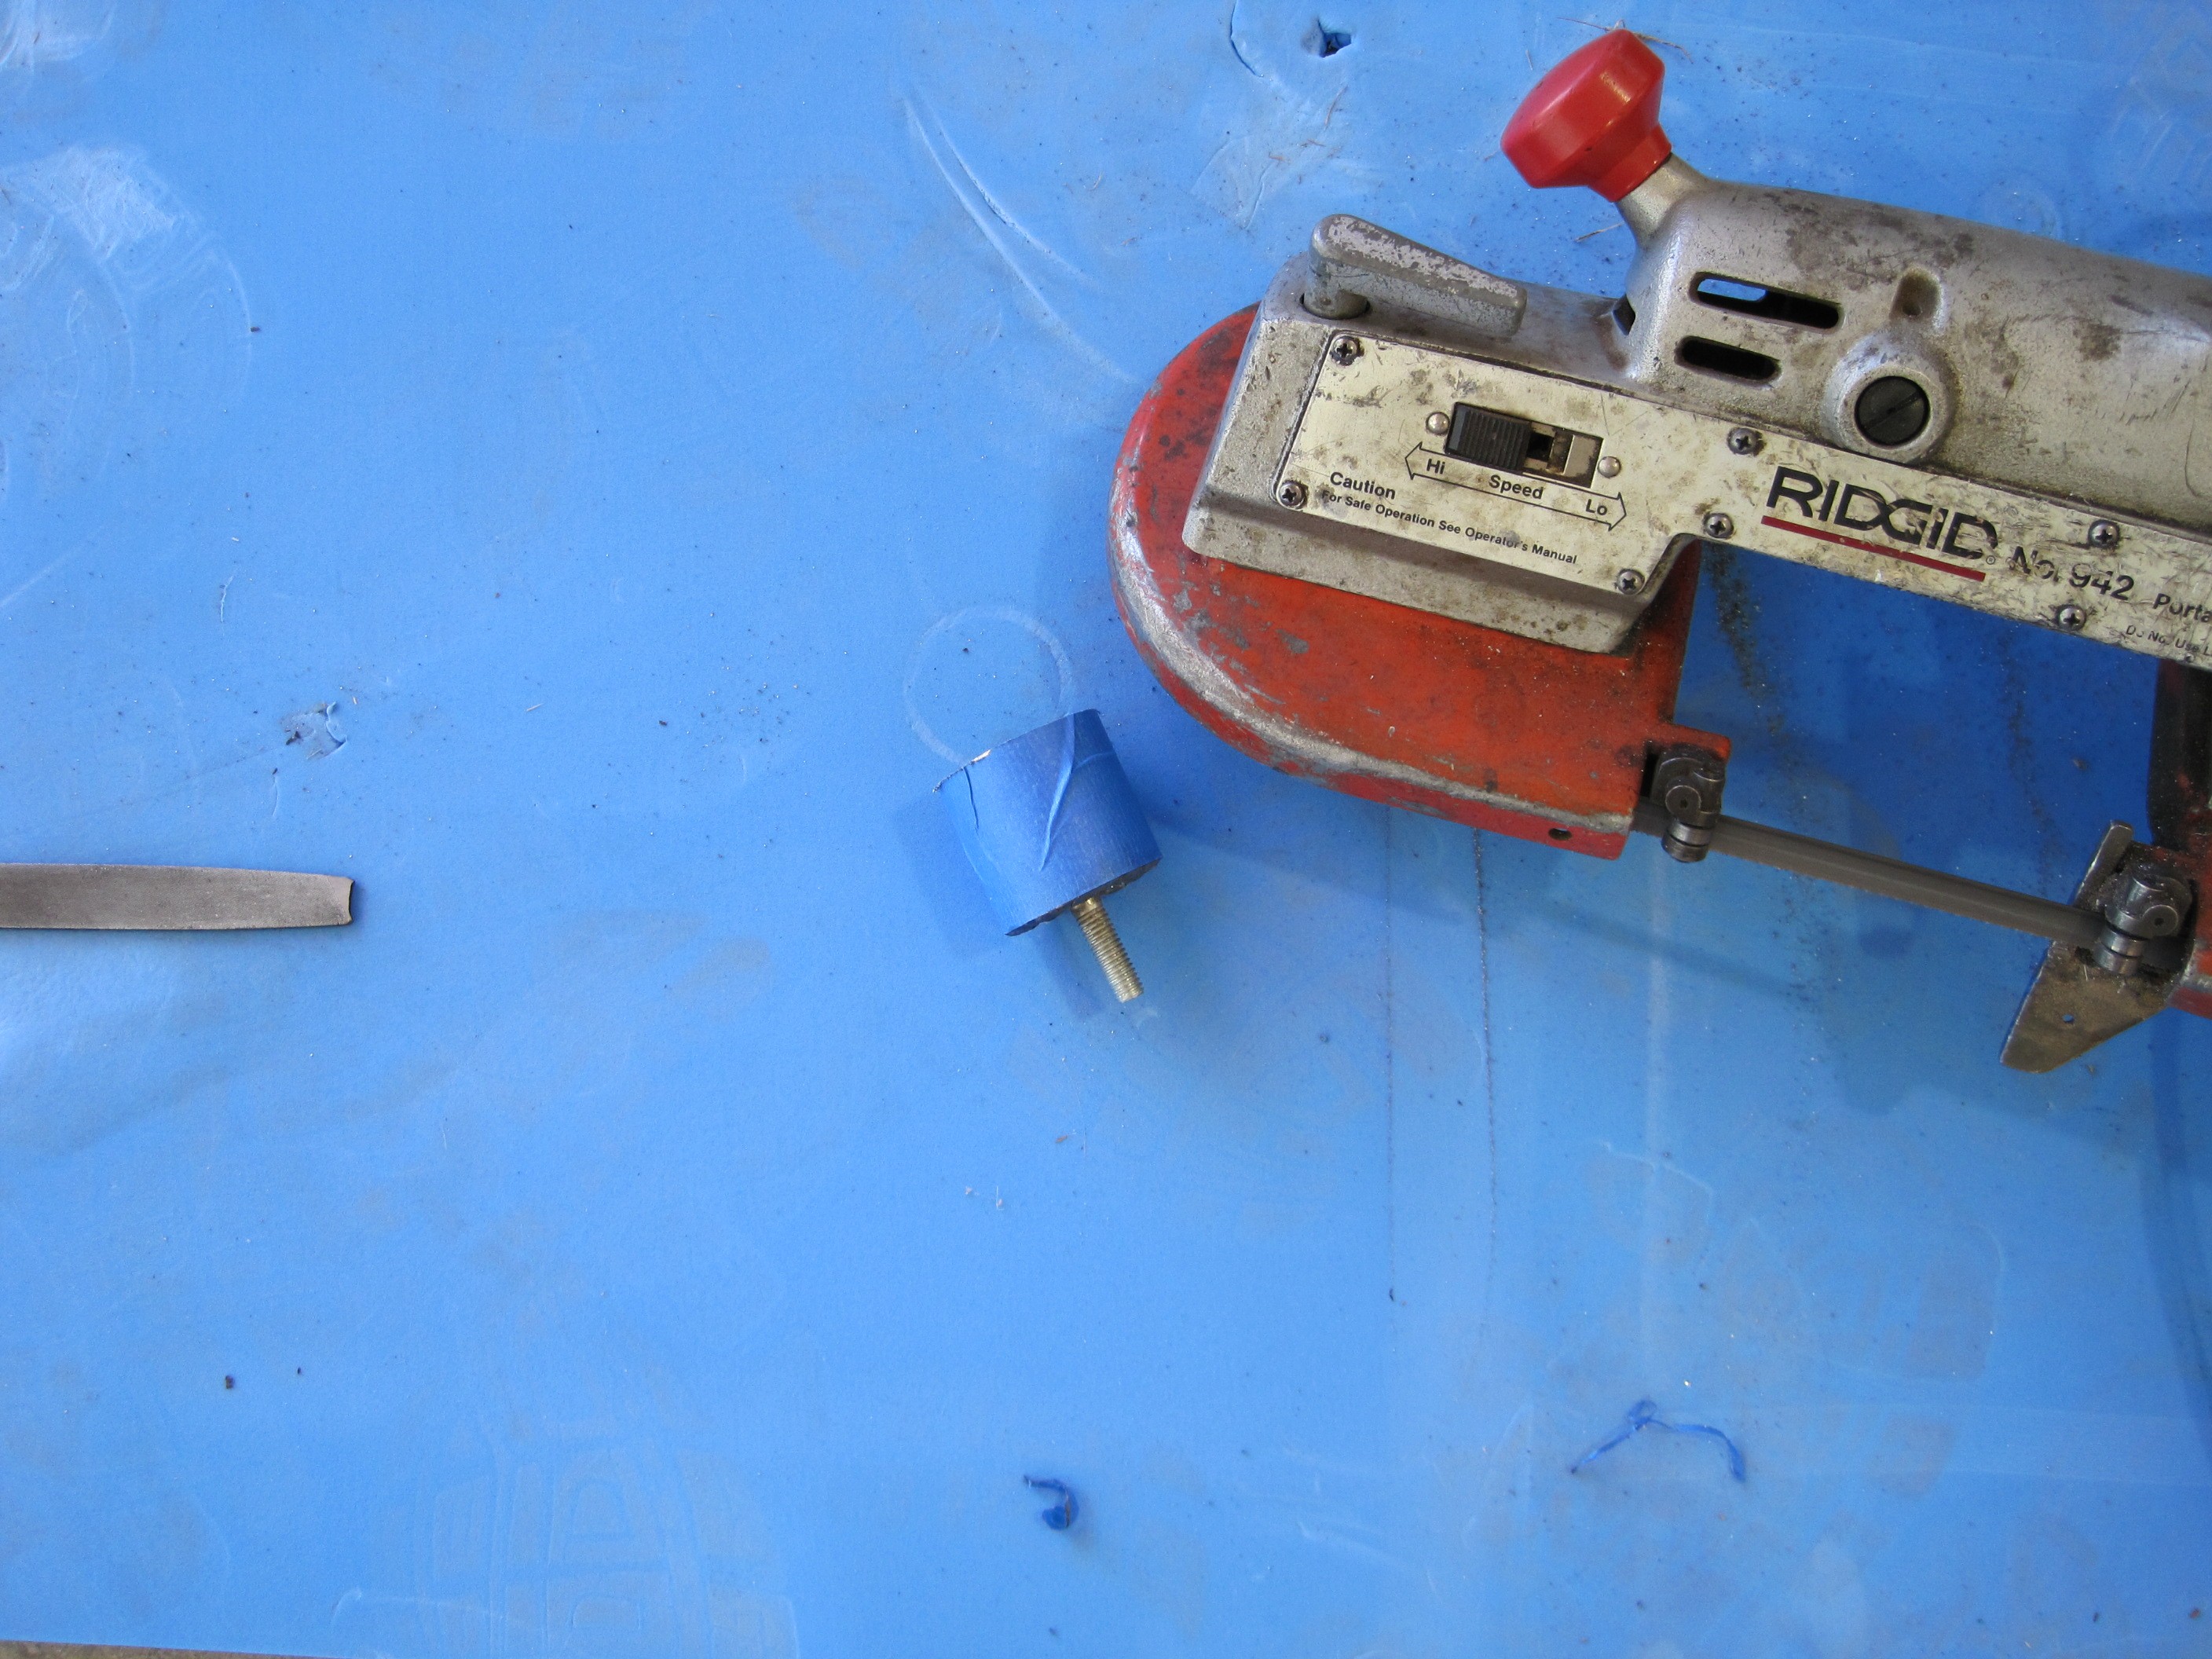
I used the inserts in
the rear bars to find a way to mount them. Unfortunately, the bars
were centered above the mounting bracket so any way I turned the feet, they
missed the mount. My solution was to cut the feet off and just weld
the inserts to the frame directly.
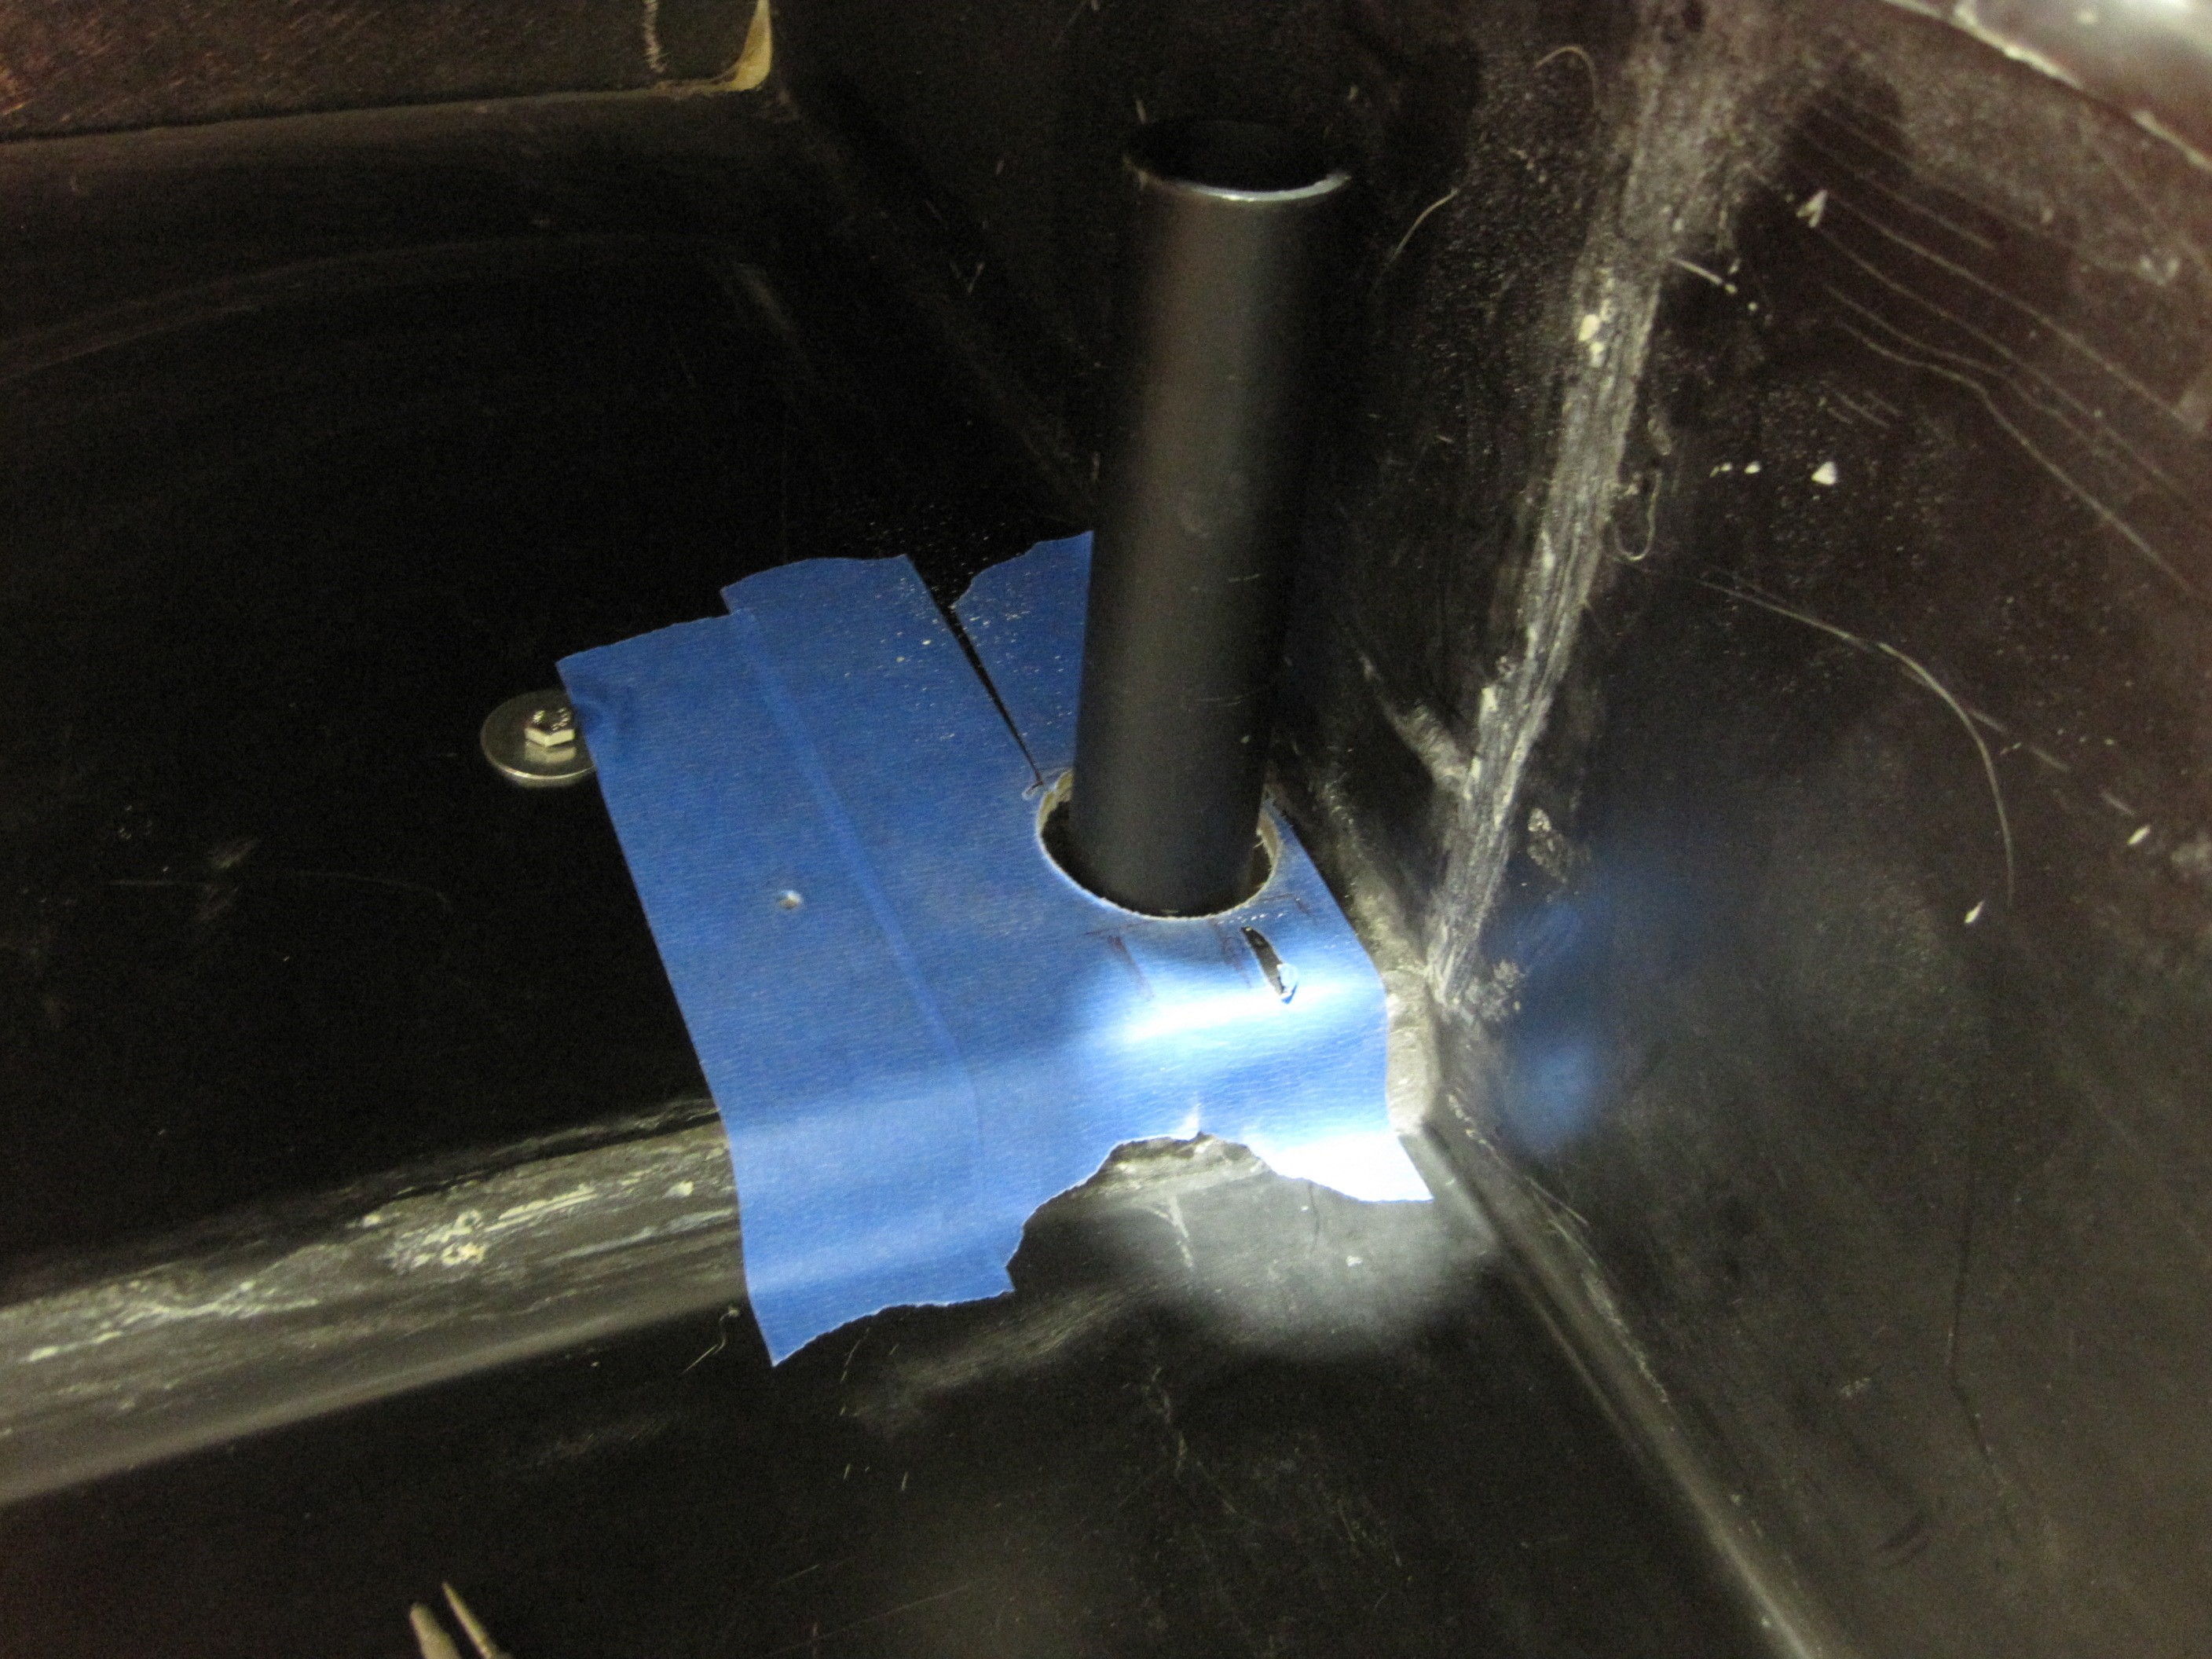
I drilled holes in the
floor of the trunk and stuck the inserts in.
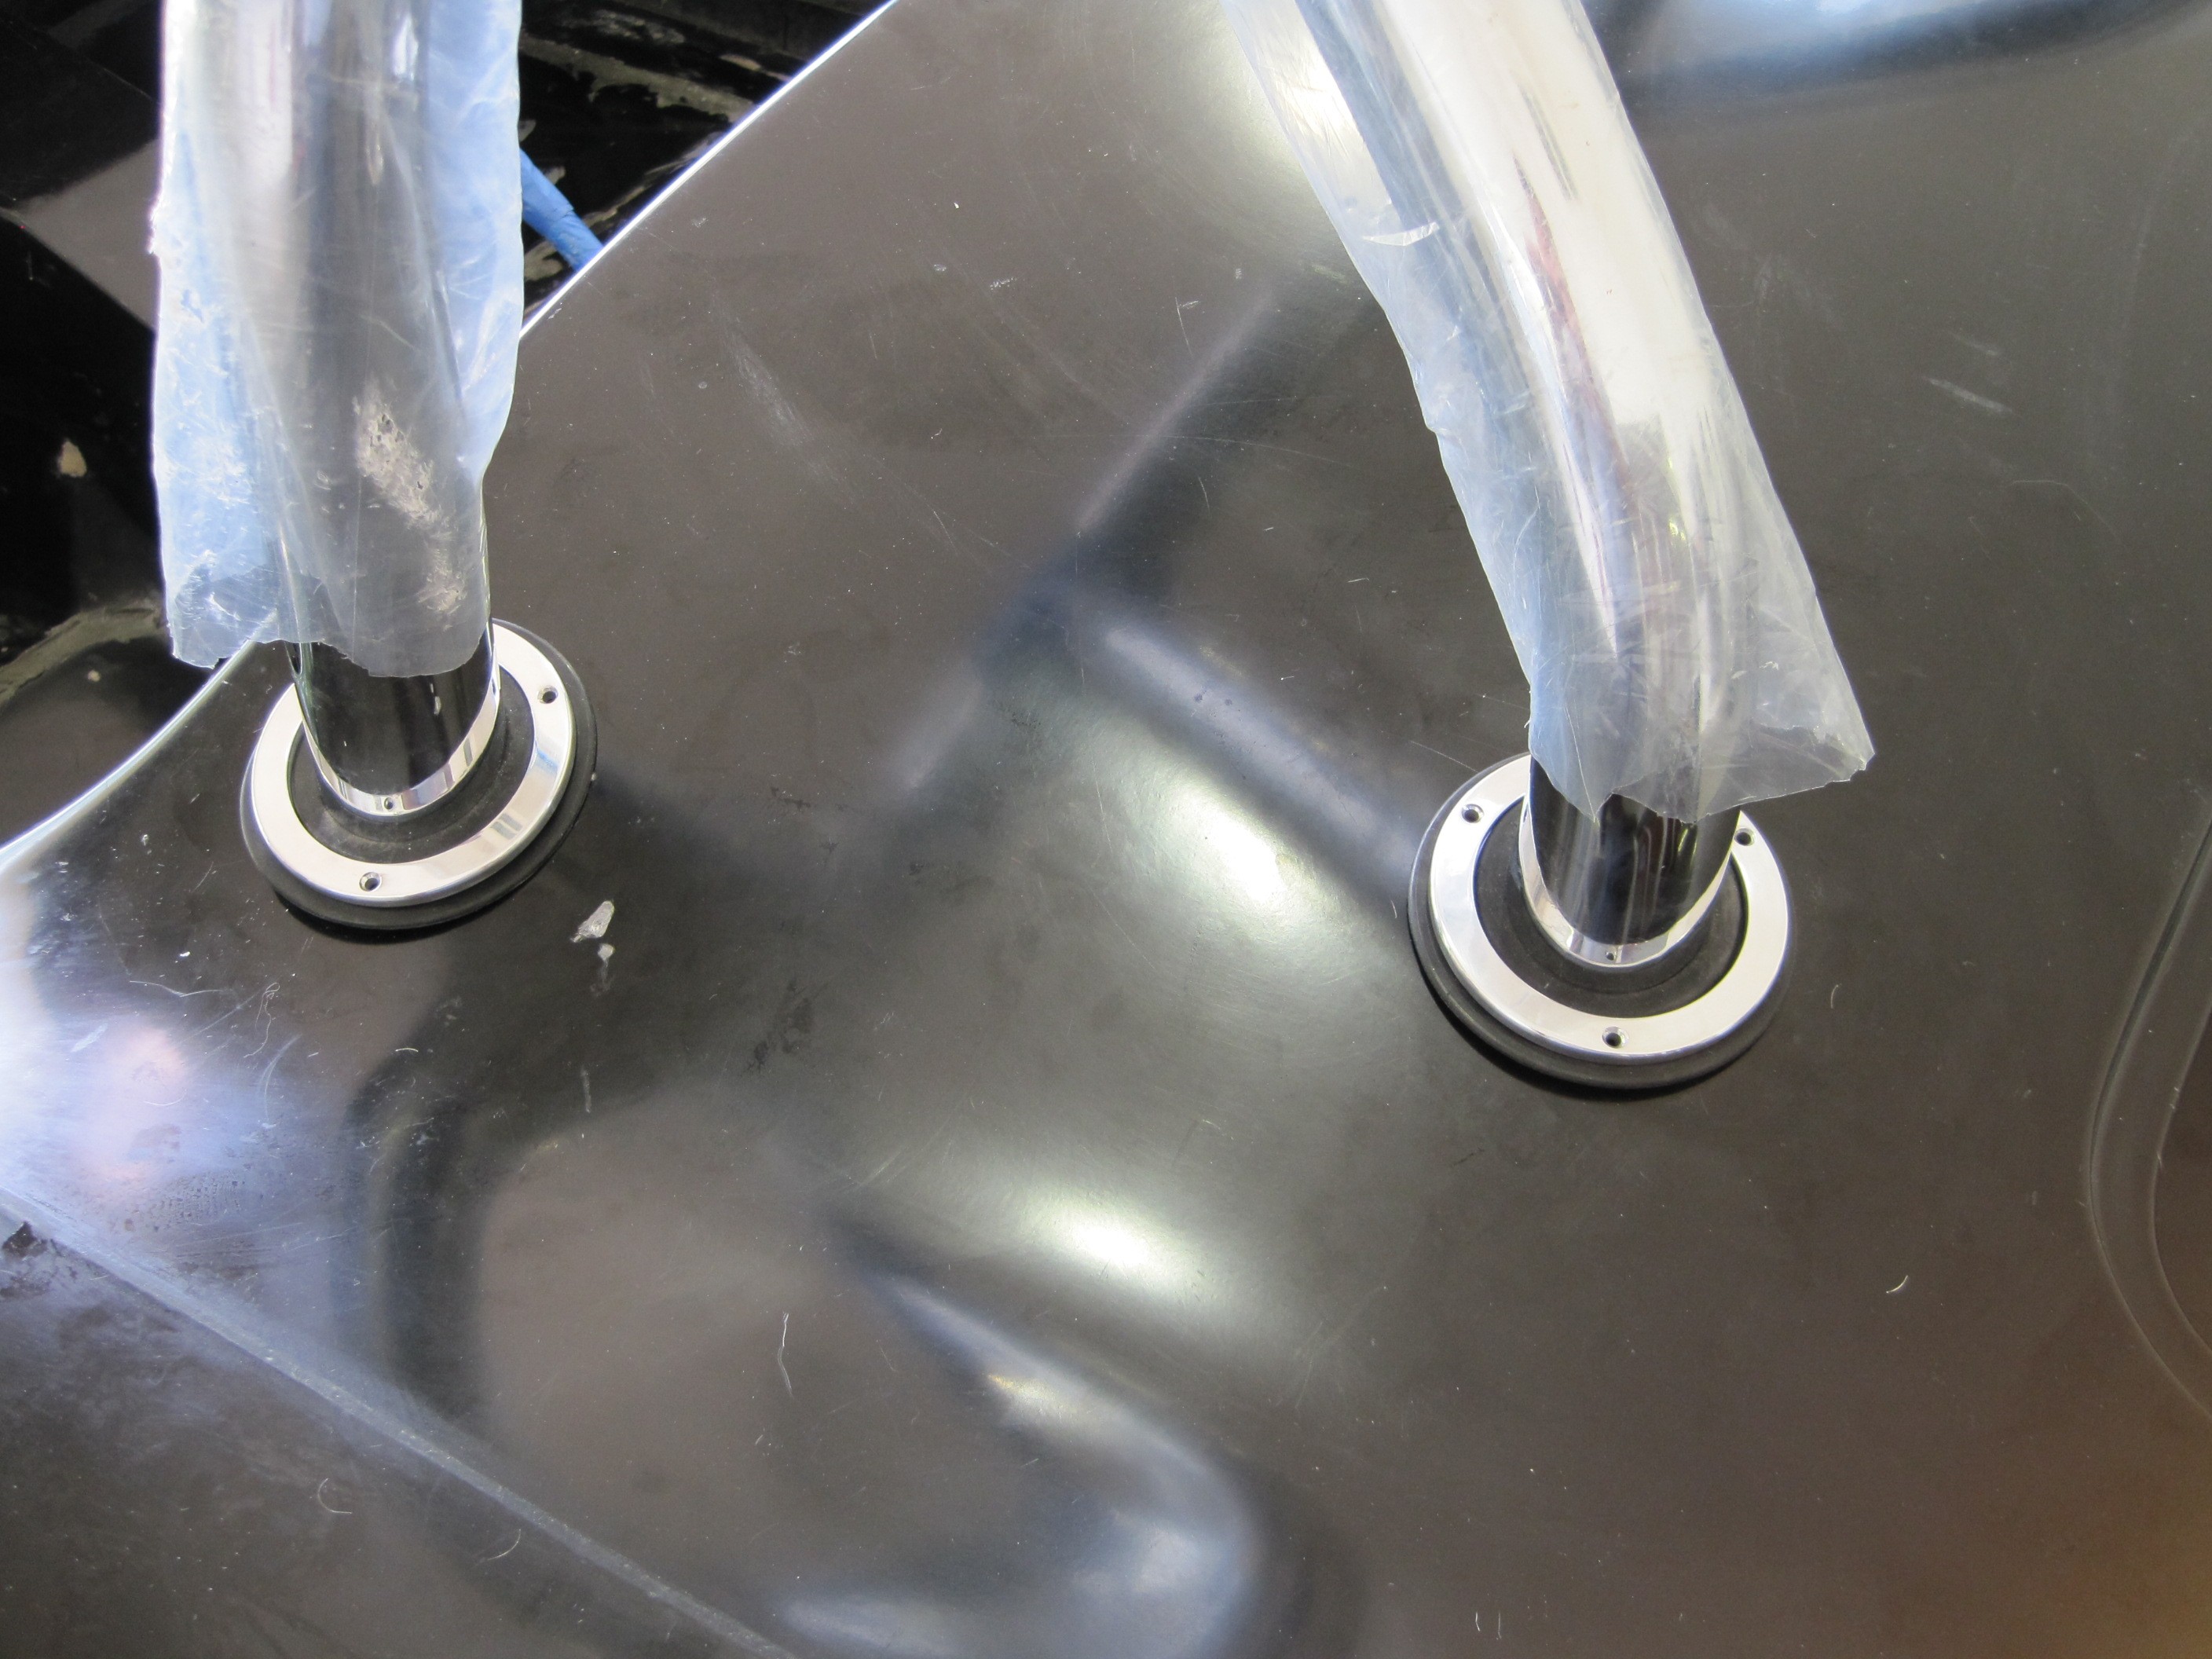
With the roll bar
mounted and bolted into place, I tack welded the tubes in place. That
will hold them until I remove the body to fully weld them up.
The last step was to
insert the counting rings and gaskets. I decided to not mount them at
this point. I figured the body man is going to sand the fill the holes
so I will wait for the final install after paint to drill and attach the
rings.

After mounting the
windshield, I decided that I didn't like the look of the car with the roll
bar so high, so I decided to lower it. I cut about 2" off each post to
get the roll bar to sit at about the same height as the windshield. I
like the look much better now.
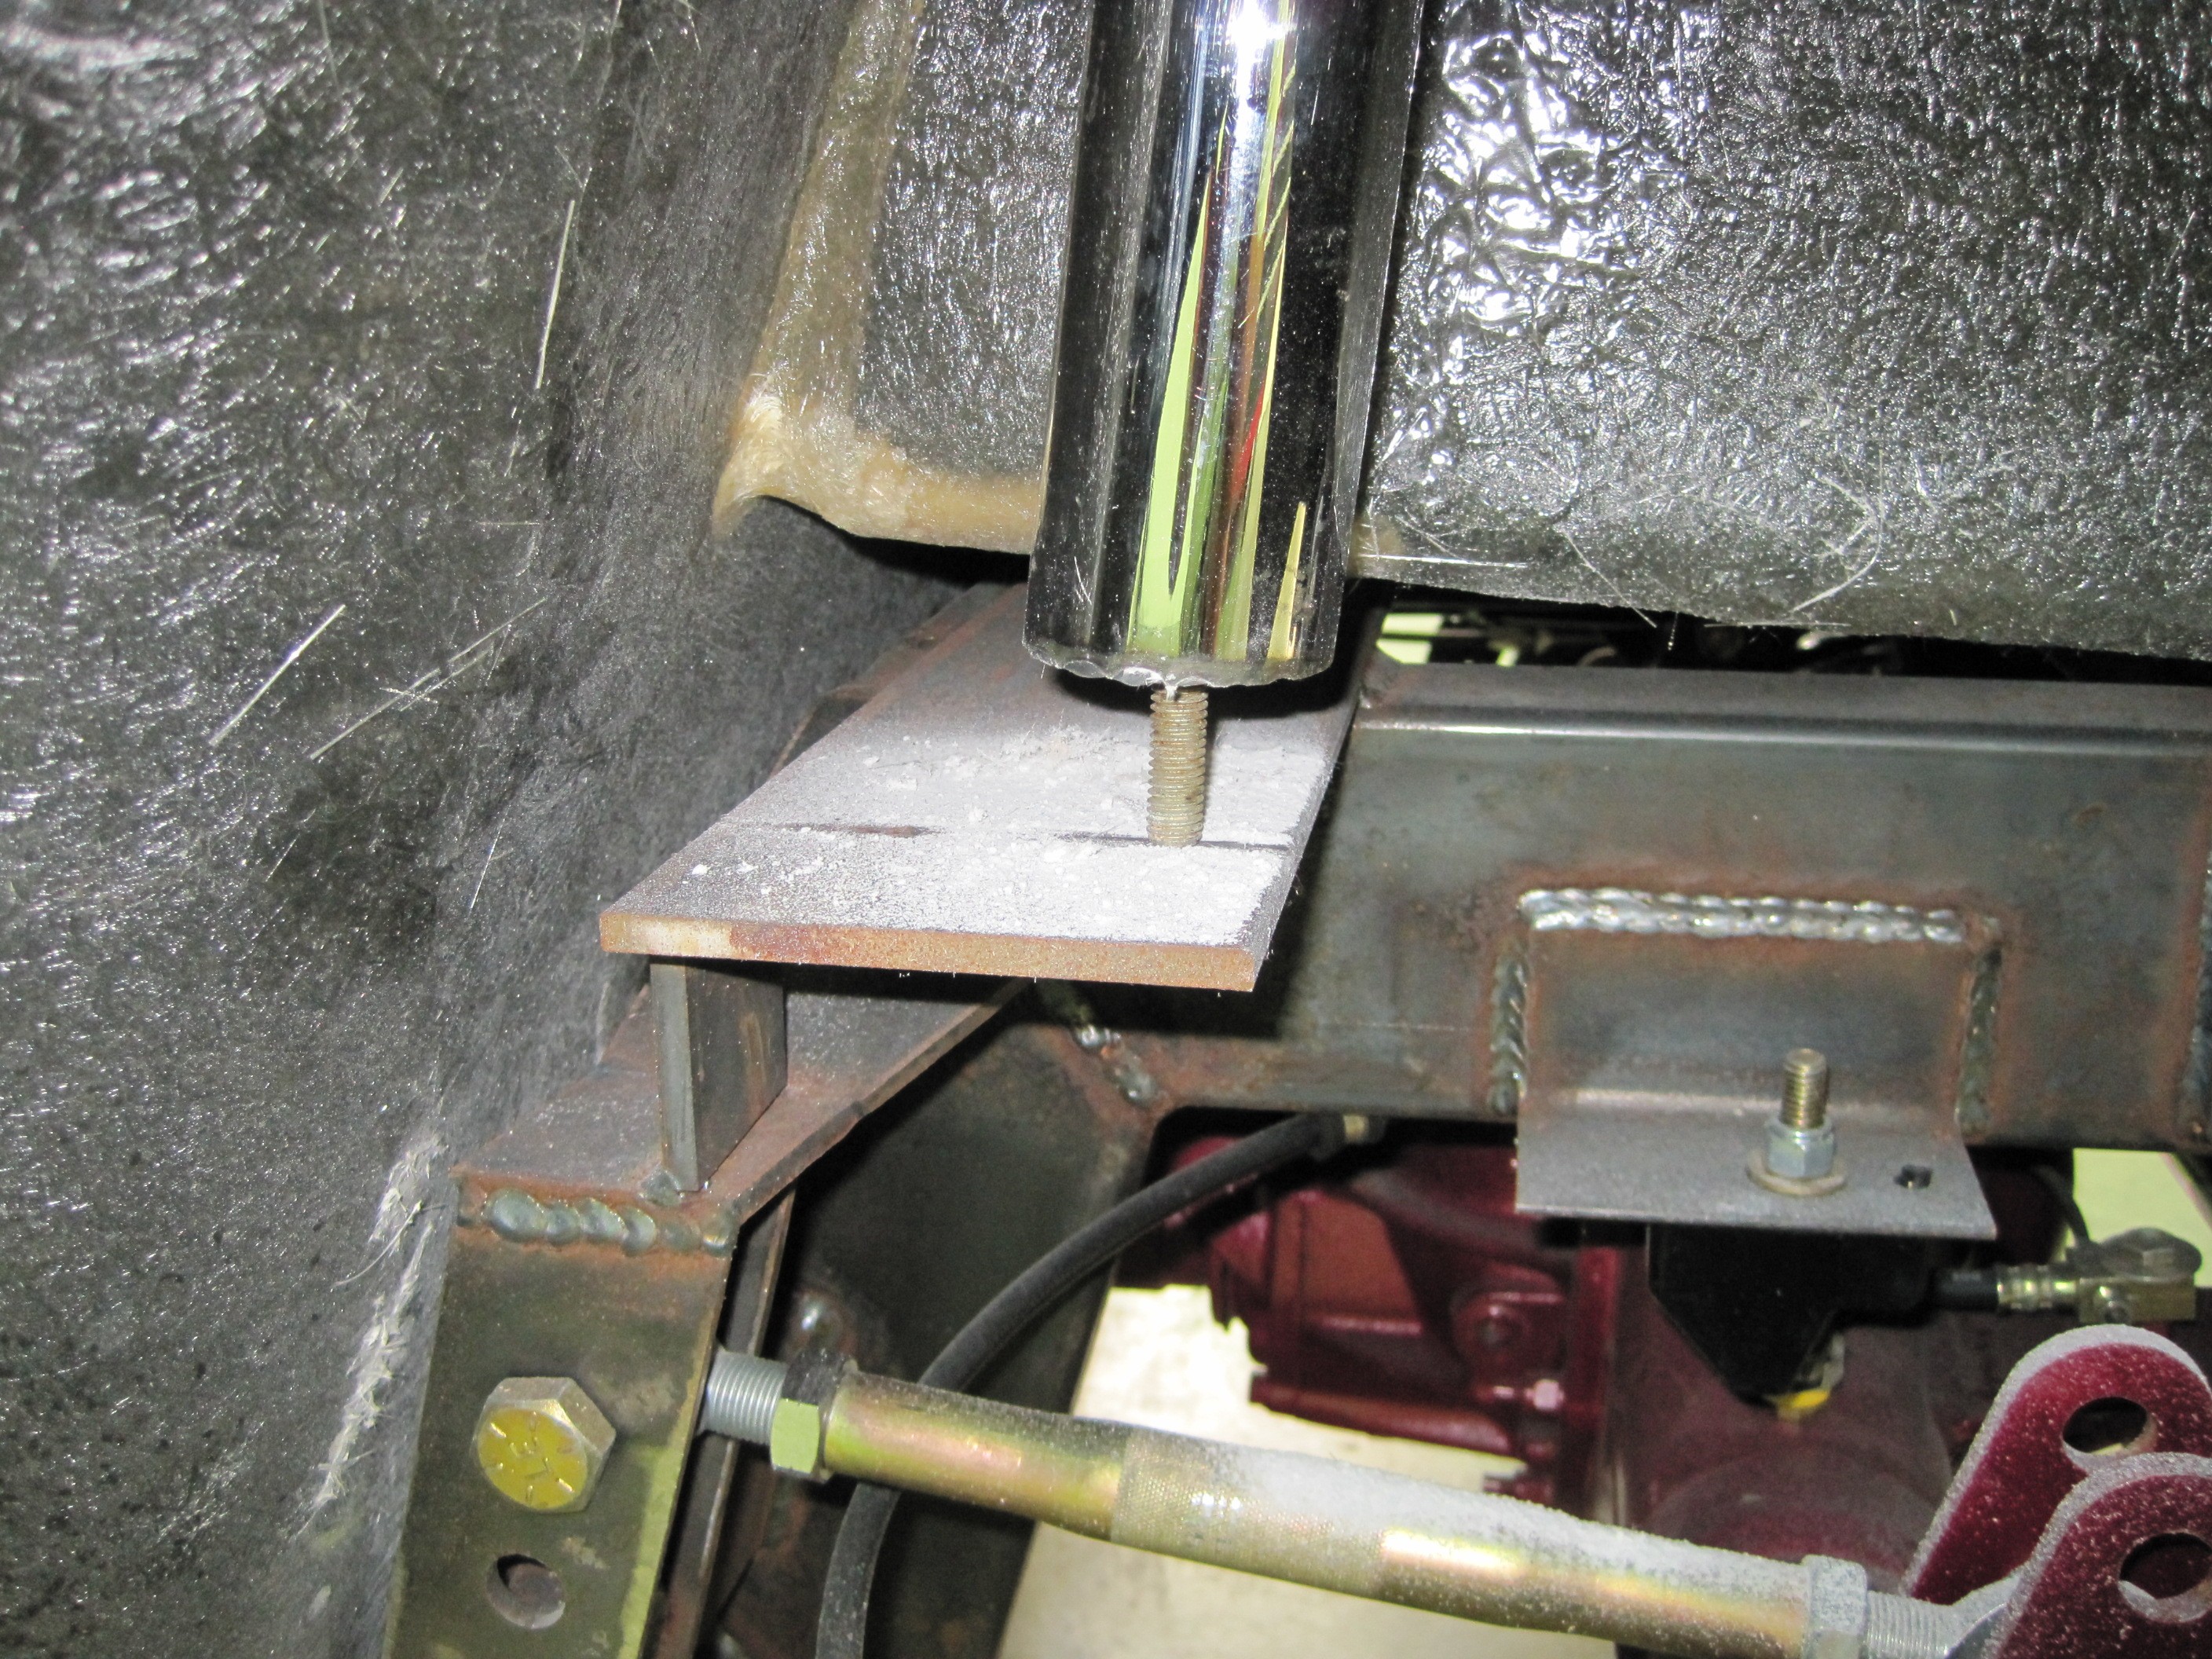
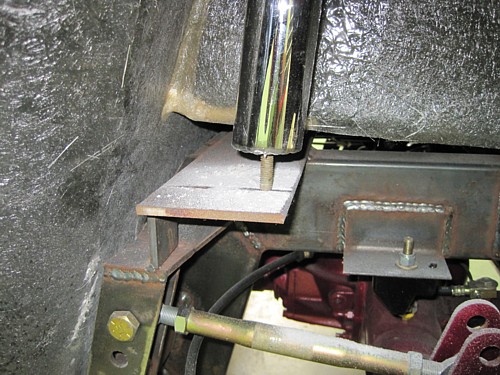
Rather than weld a
stud into the bottom of the chrome roll bar and ruining the plating job, I
decided to mount sleeves for the inner mounts just like the rear mounts.
I cut the rear mounts down to give me a piece to work with and then I welded
it to the frame. Once I had the position set correctly, I finish
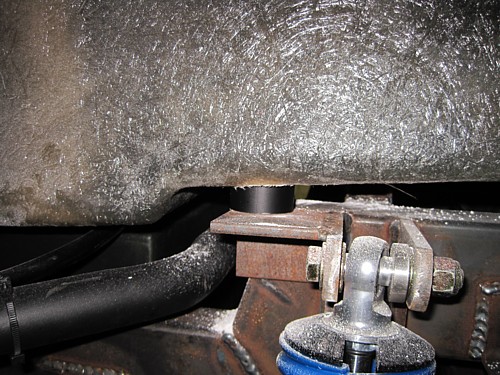
welded them and drilled them for the mounting bolts. The pictures in
this picture show the old mounting holes that were drilled for the rear
mounts. The final holes go from front to back.
That finishes up the
roll bar installation. Next step is to install the steering column.
That work begins on the next page.
|